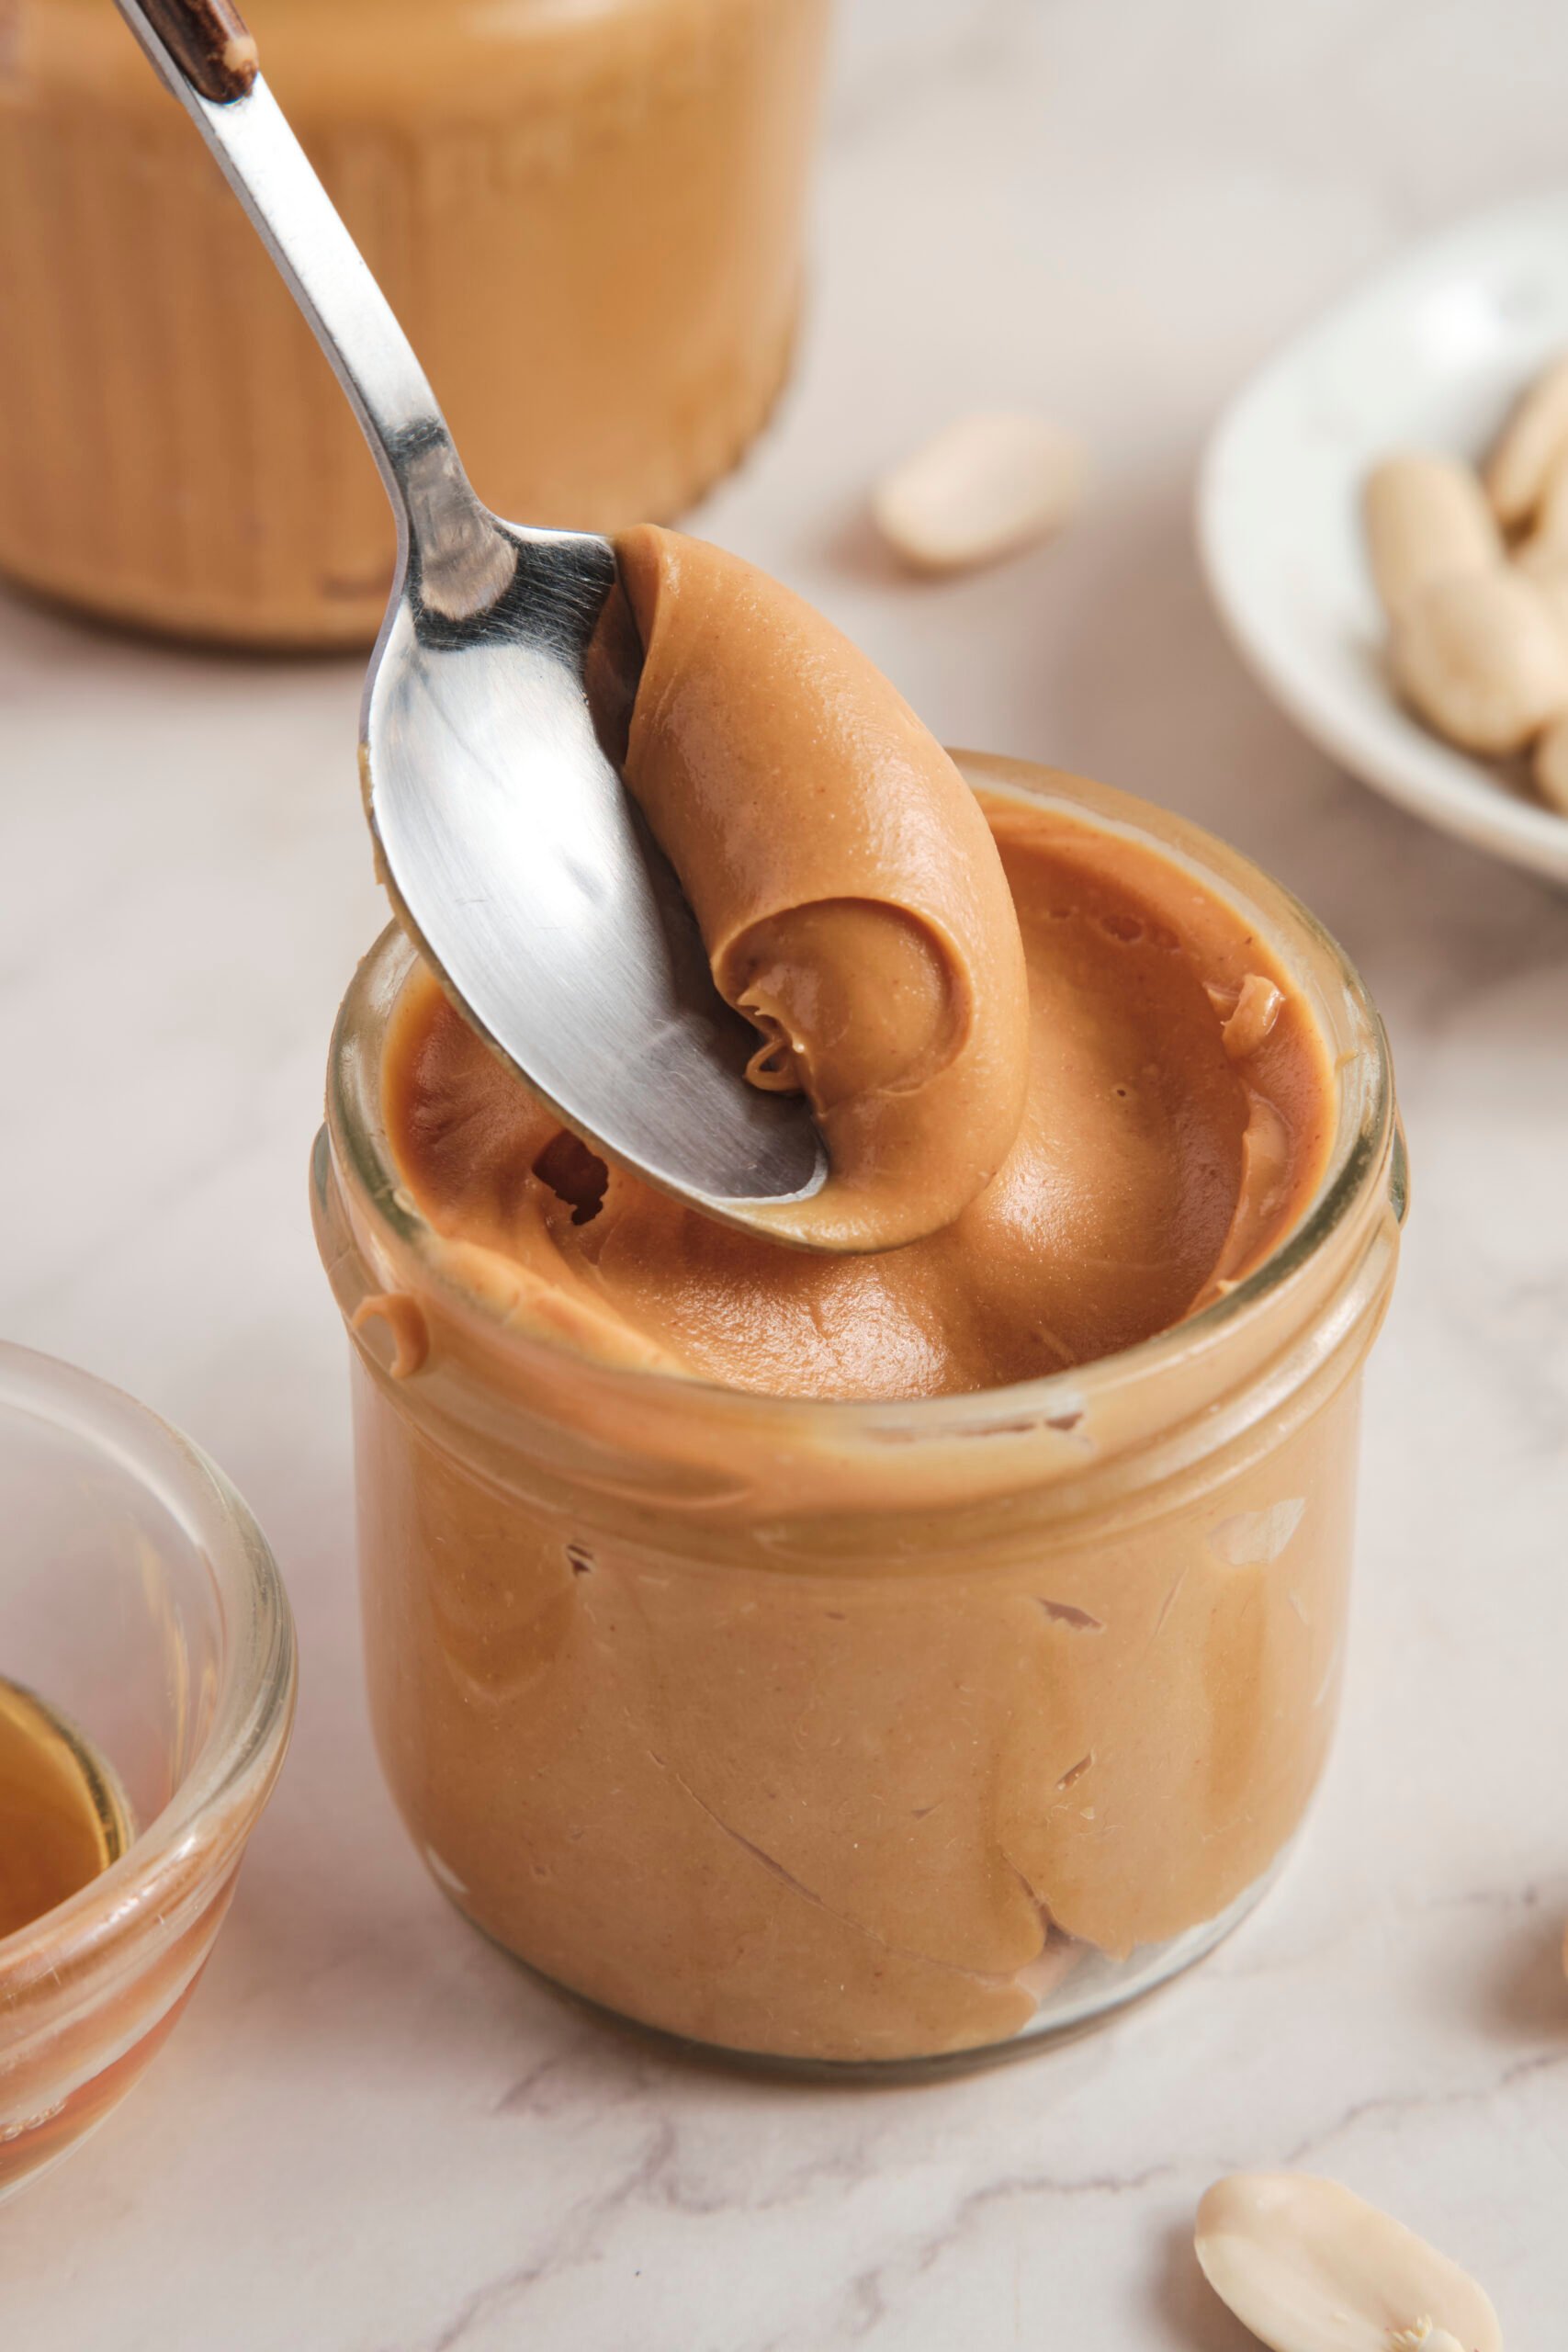
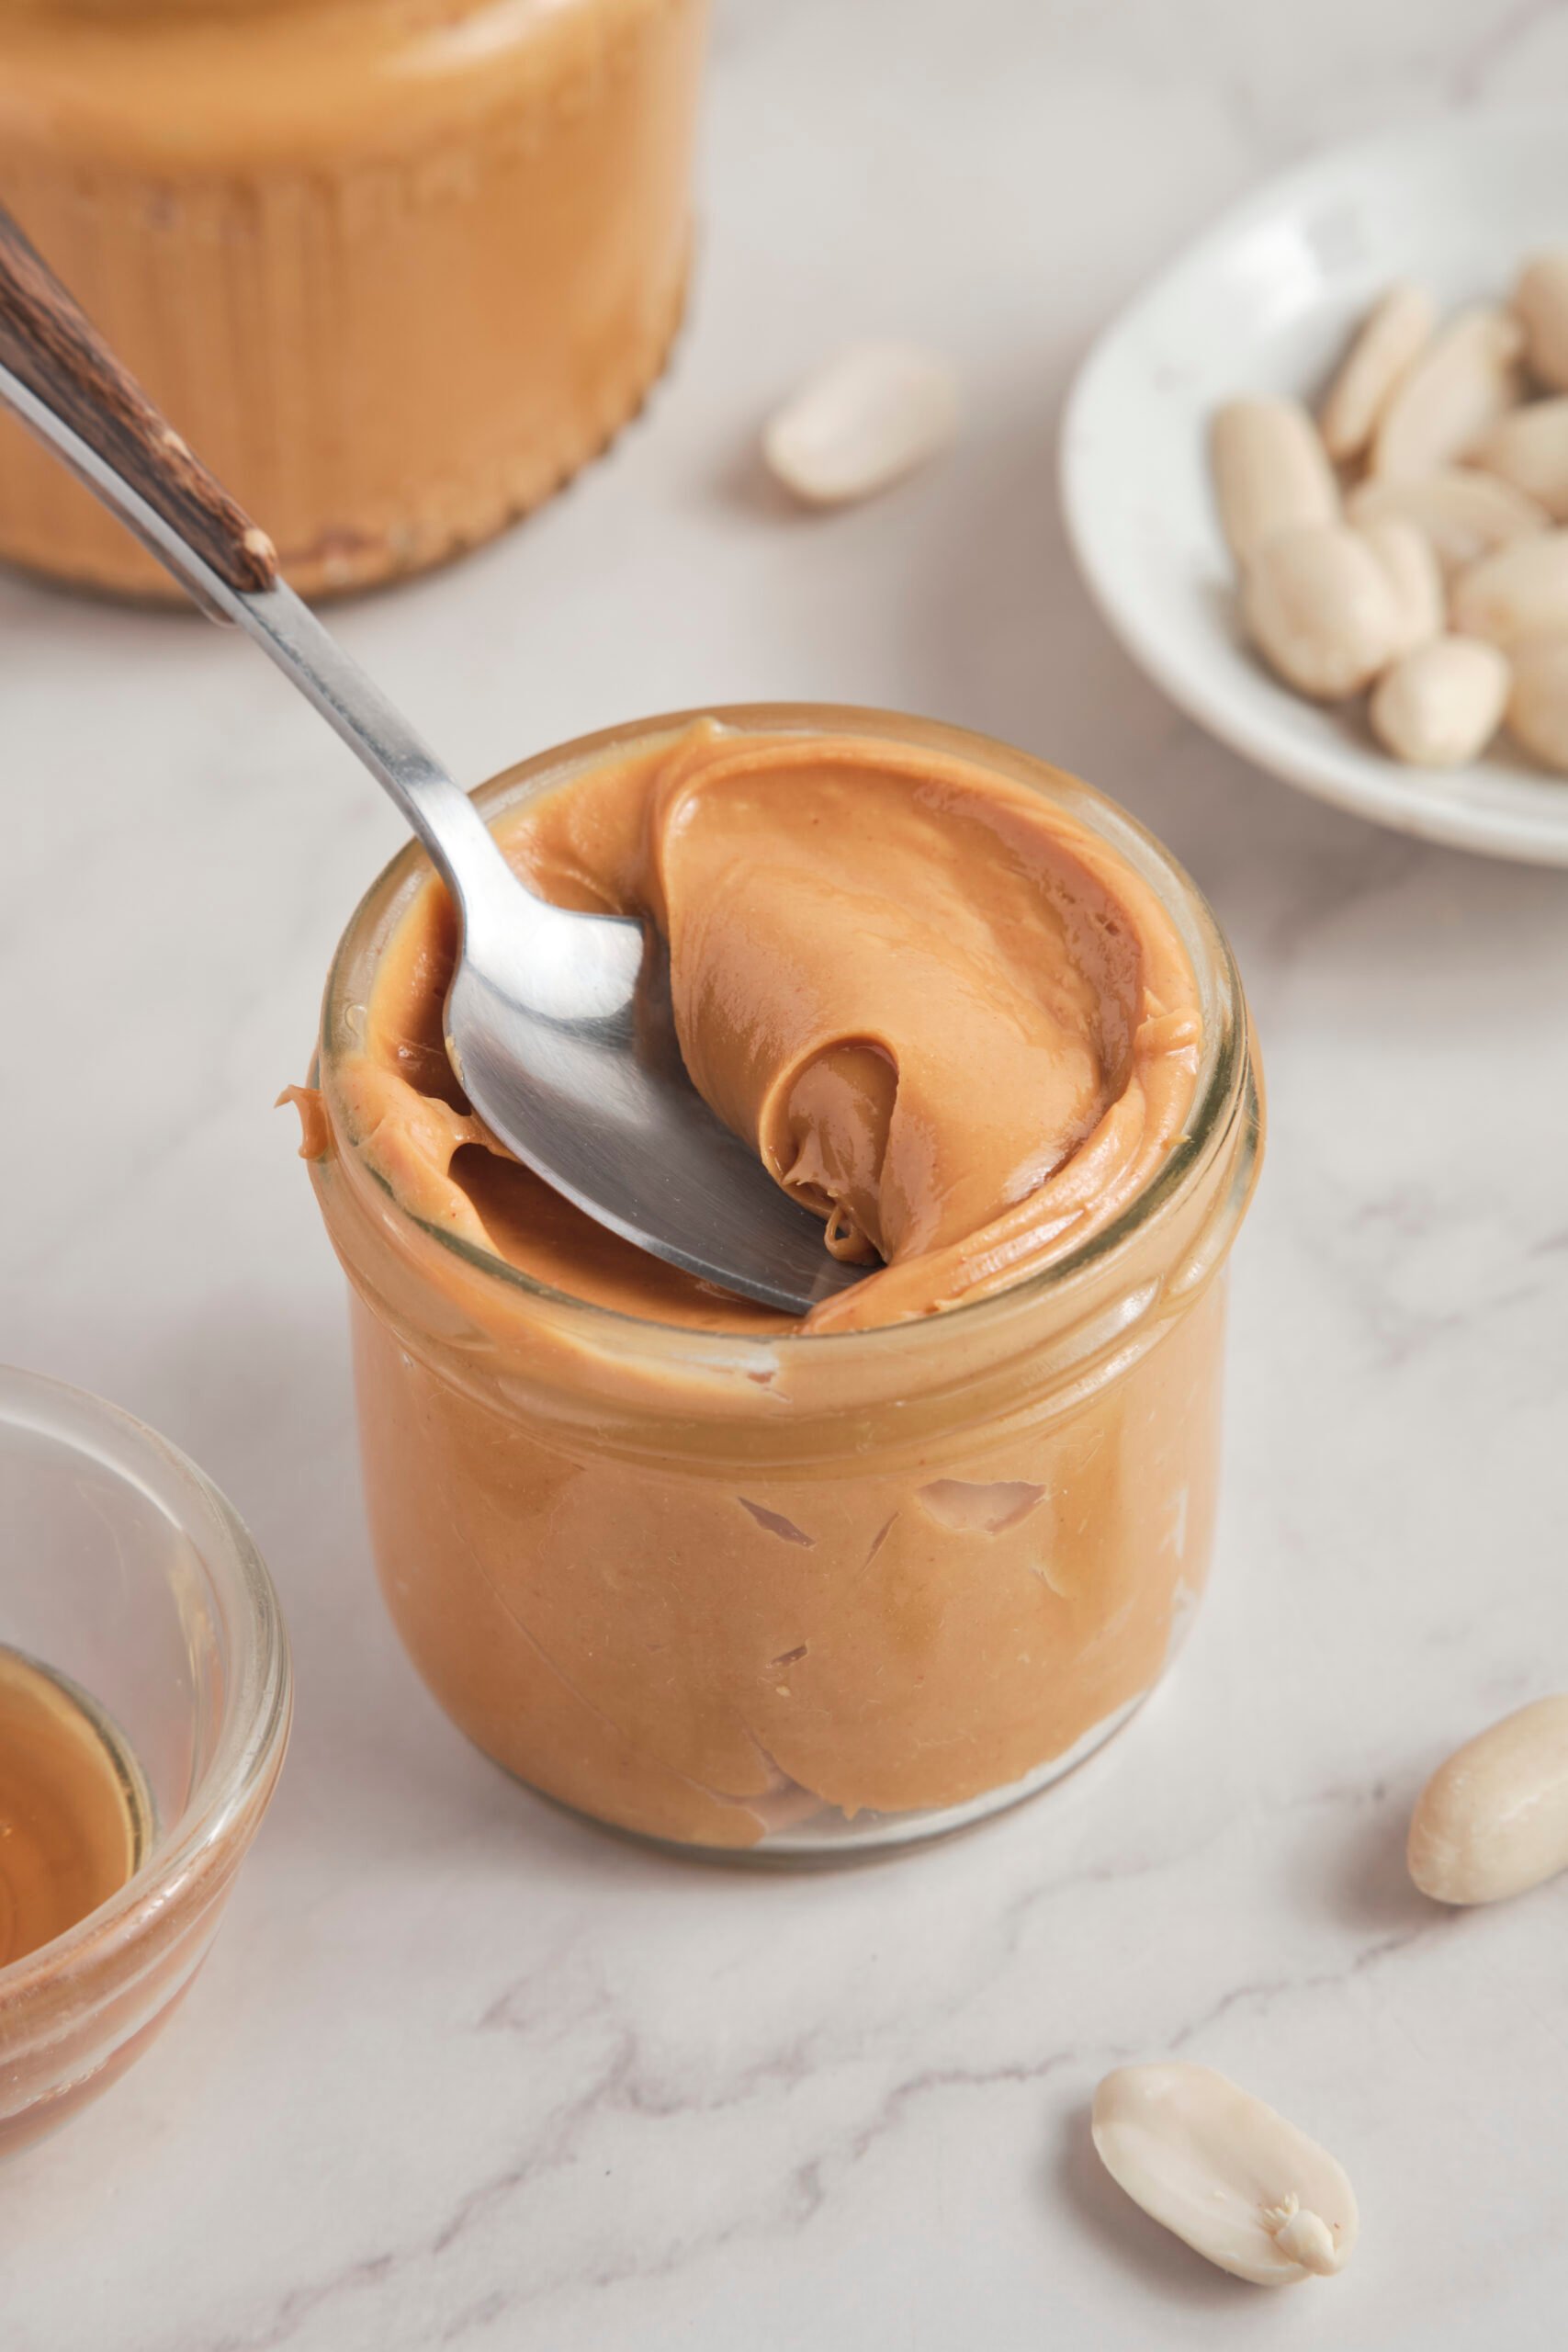
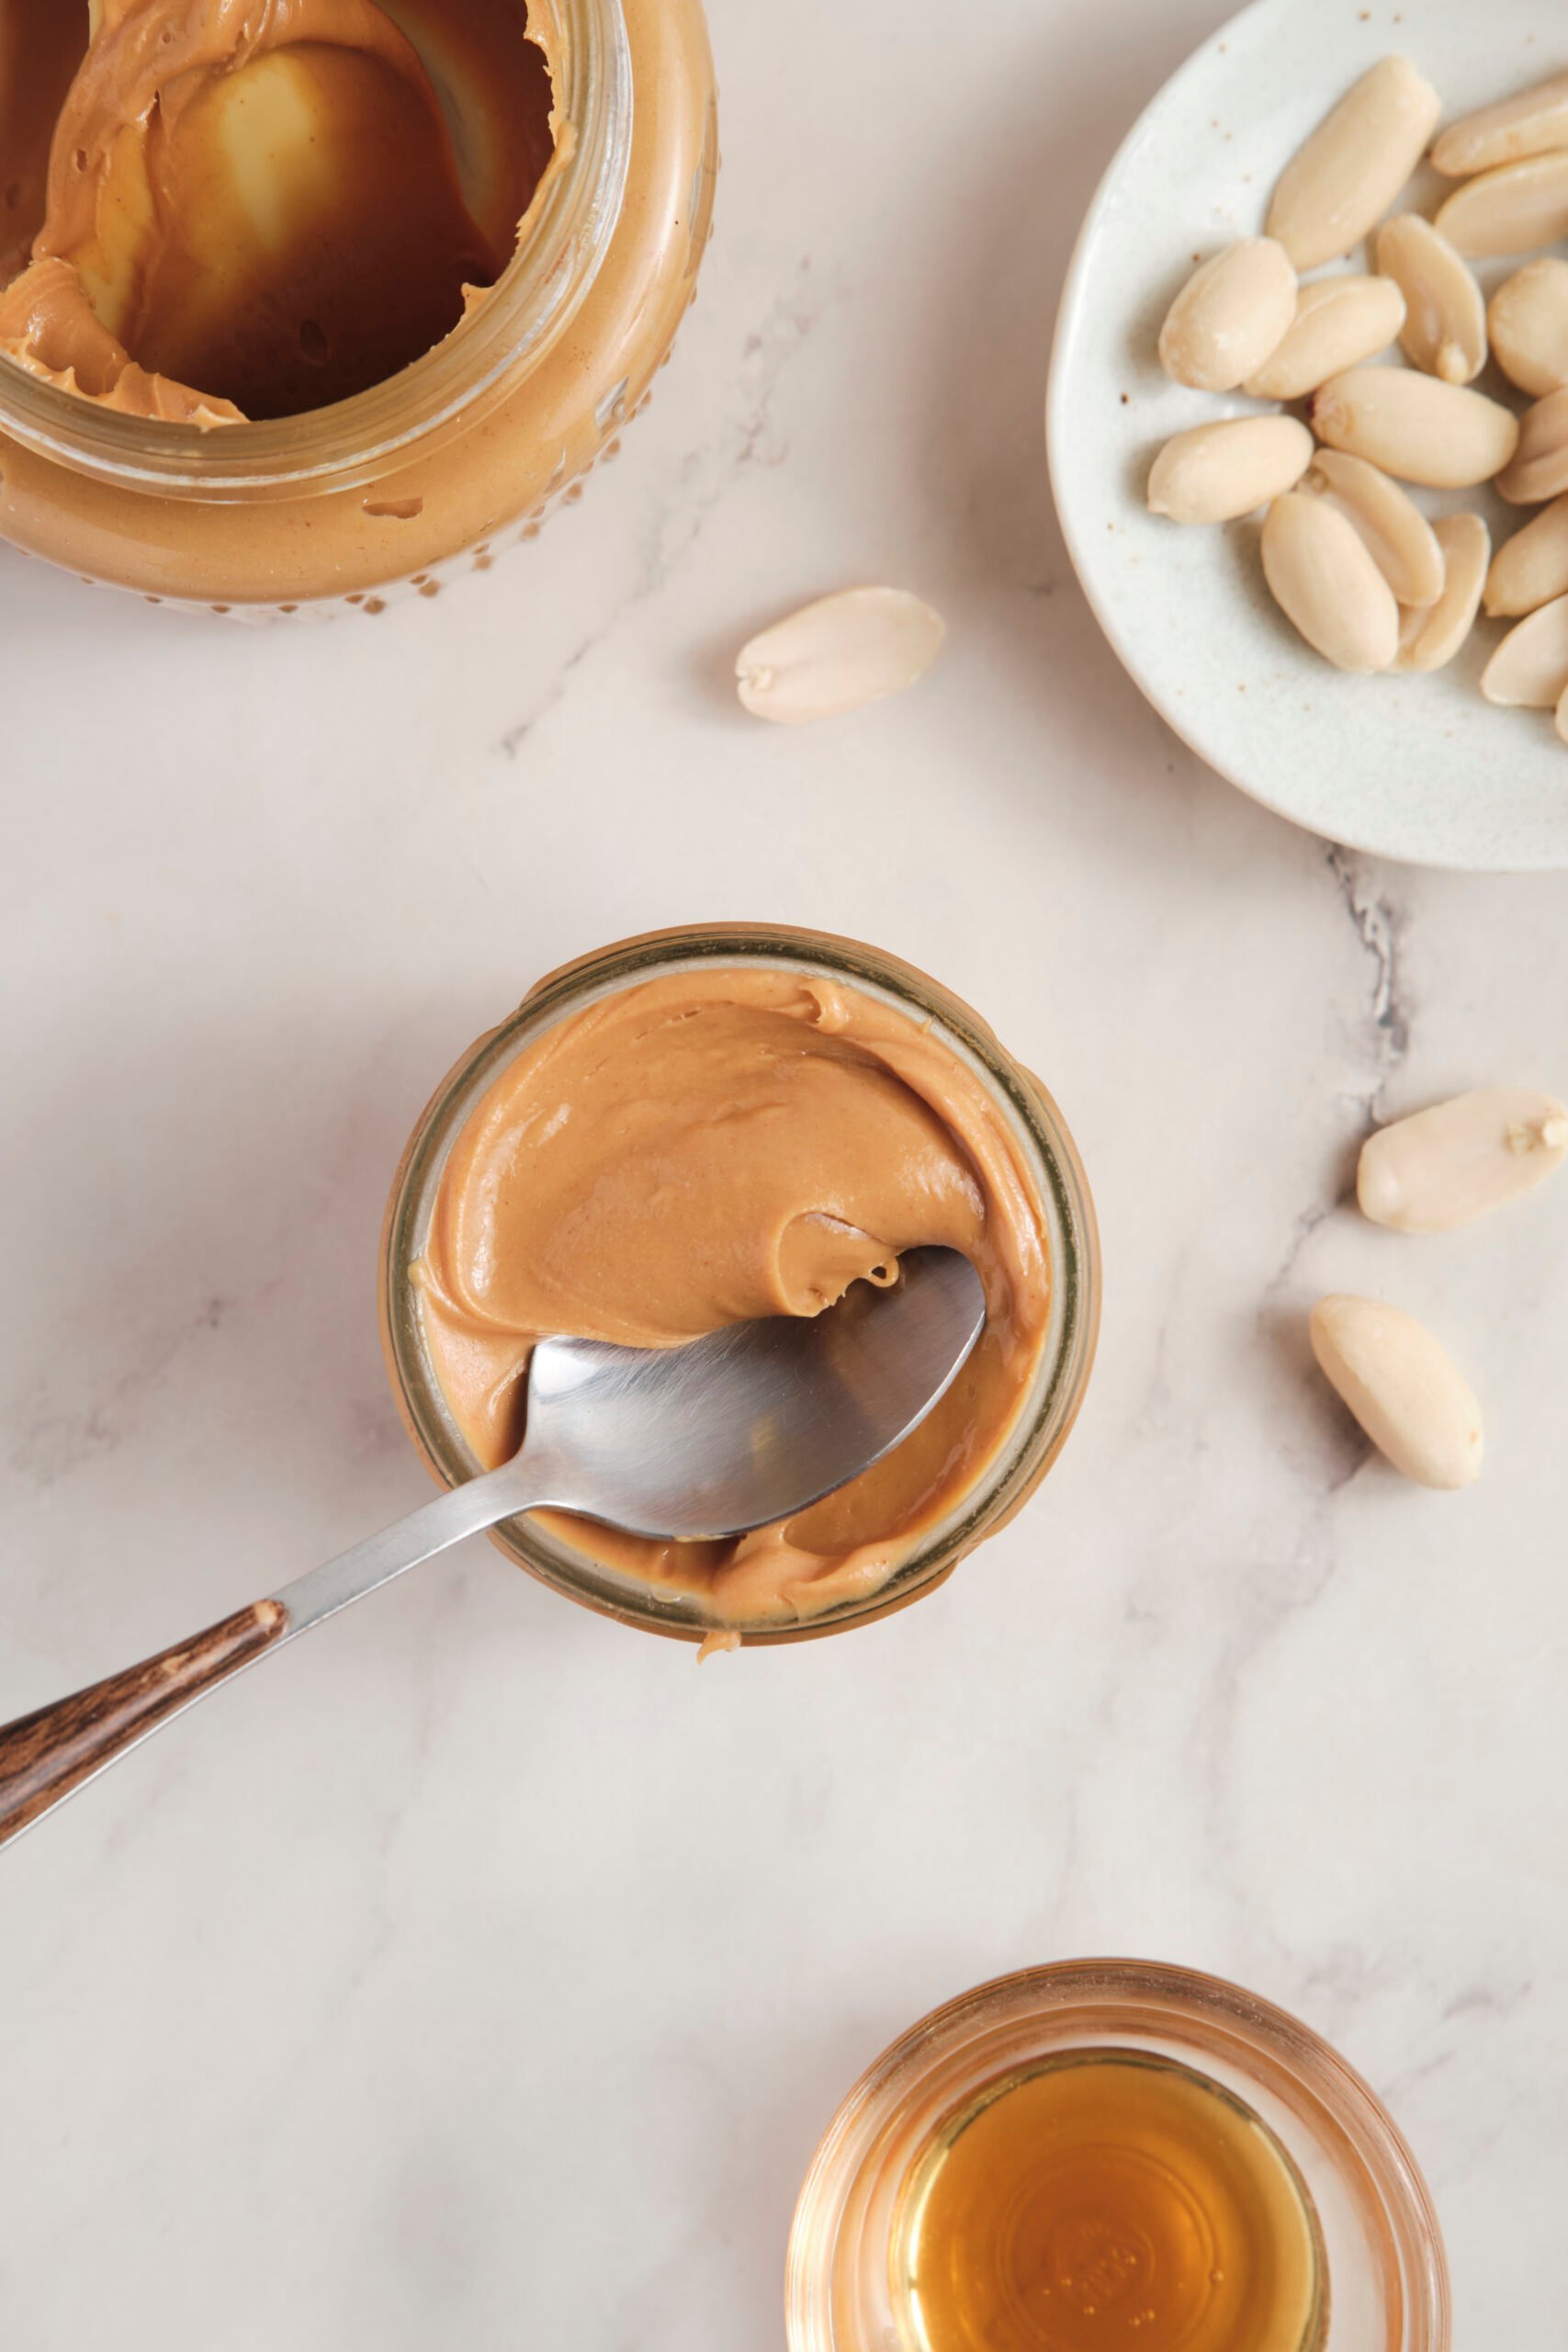
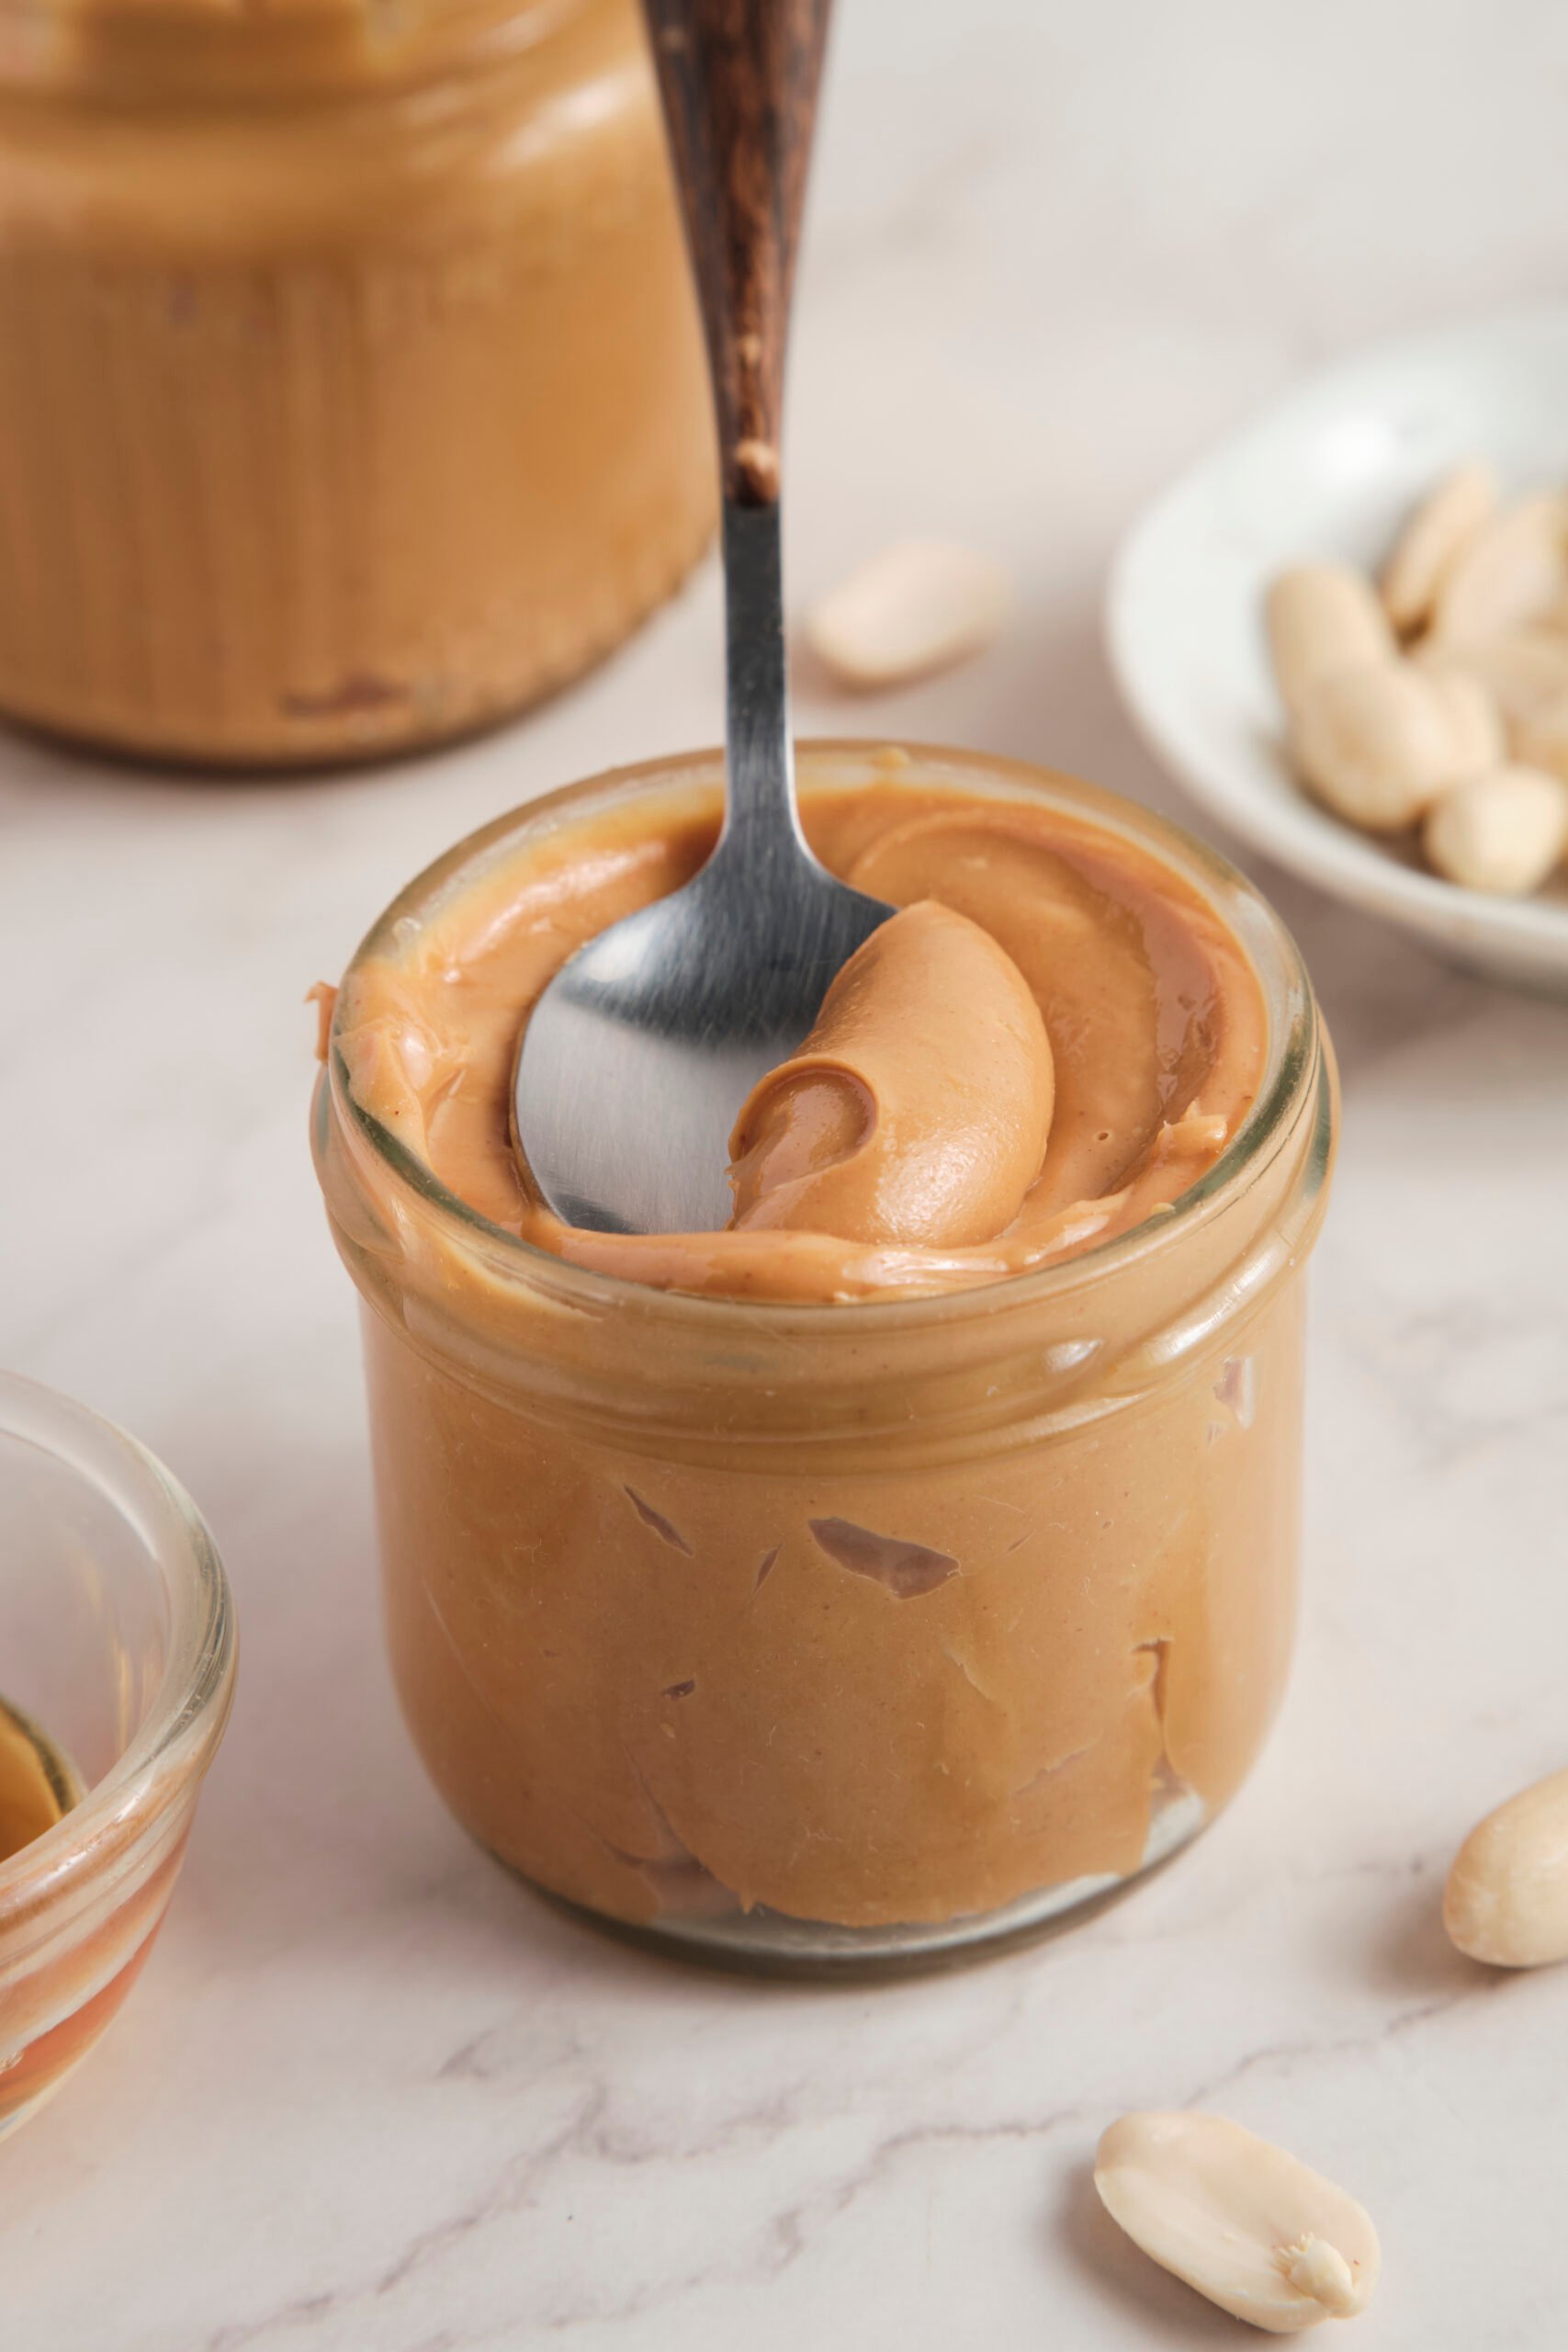
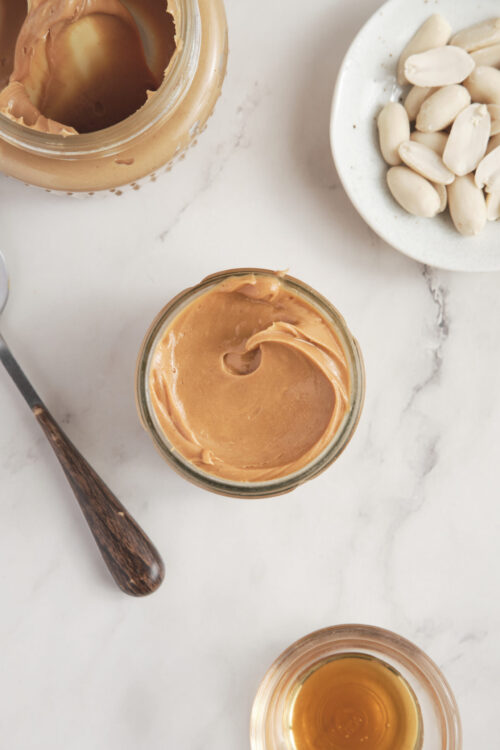
The OG nut butter, smooth and creamy, full of nutty flavor—easily made from scratch.
I’ve always been a fan of peanut butter. I put it on everything—bananas, mango, toast, PB&J sandwiches, and so much more! But a few years ago, I discovered that most store-bought peanut butters had excessive amounts of sugar and oils, which wasn’t ideal. Since then, I’ve dabbled in crafting peanut butter from scratch, and let me tell ya—it’s worth it.
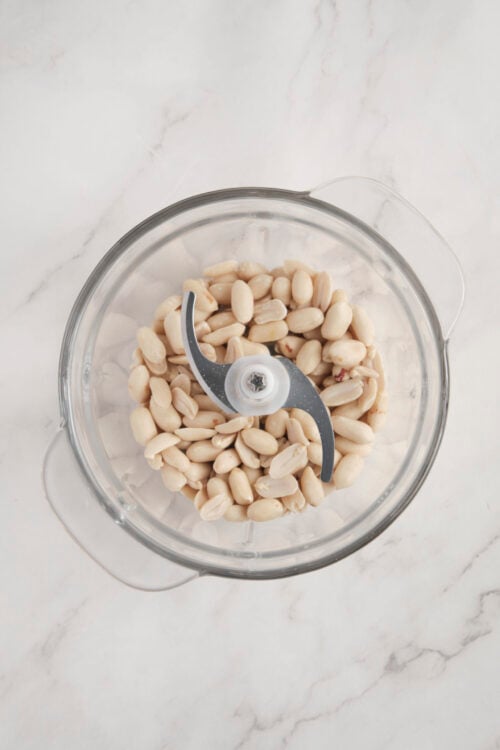
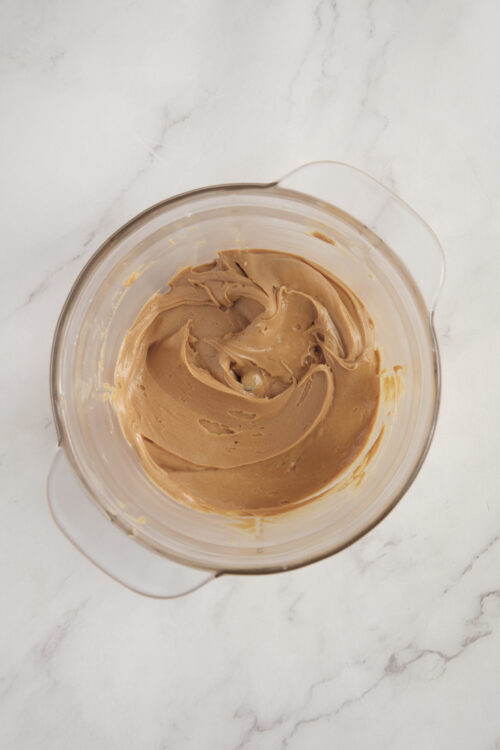
Initially, homemade peanut butter can seem a bit intimidating. How do crunchy, dry-roasted peanuts turn into a velvety smooth butter? Well, the key is to use a food processor. Never—I repeat, NEVER—use a blender for this job. Blenders, although they are quite high-powered nowadays, are made with a different kind of blade, which is not designed to cut through solid foods without liquid. Food processors, on the other hand, make this go by like a breeze. Within a few minutes, those pretty little peanuts turn into a luscious peanut butter that you can use in a multitude of ways. You even have the option of adding some honey to sweeten the deal, which is a superior alternative to corn syrup.
With this recipe up your sleeve, you can join me in saying “goodbye” to store-bought peanut butter and “hello” to a simple, even more delectable homemade version.
How to make it chunky
When it comes to the debate between chunky or smooth peanut butter, many folks have a firm preference. Personally, it depends on my mood. So, the best thing for me to do is make two jars—one for smooth and one for chunky so that I always have a choice between them. The beauty of making peanut butter from scratch is that you can clearly see just how chunky or smooth it is. So, as you’re pulverizing them in the food processor, remember to check intermittently until you reach your ideal consistency. The more time, the smoother it will be.
How do I store leftovers?
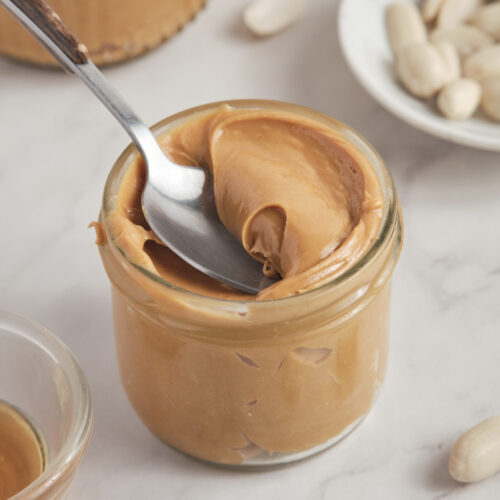
In an airtight jar, keep your homemade peanut butter somewhere cool and dry, like a pantry, for up to 2 weeks. Otherwise, refrigerate it for up to 1 month. Serve it cold or at room temperature with your favorite snacks and treats.
Serving suggestions
Oh, the many beautiful ways to serve peanut butter! How could I possibly choose just one? Well, I’ll narrow it down as much as possible so you can get a taste for just how versatile this dish is. In the morning, spread your peanut butter on Air-Fryer Toast, French Toast Bagels, or Healthy Chocolate Chip Banana Muffins. I also like to swirl some into my Strawberry Overnight Oats. But if it’s a dessert you’re looking for, incorporate your peanut butter into Healthy Protein Peanut Butter Cups or Peanut Butter Oatmeal Cookies.
Homemade Peanut Butter
Ingredients
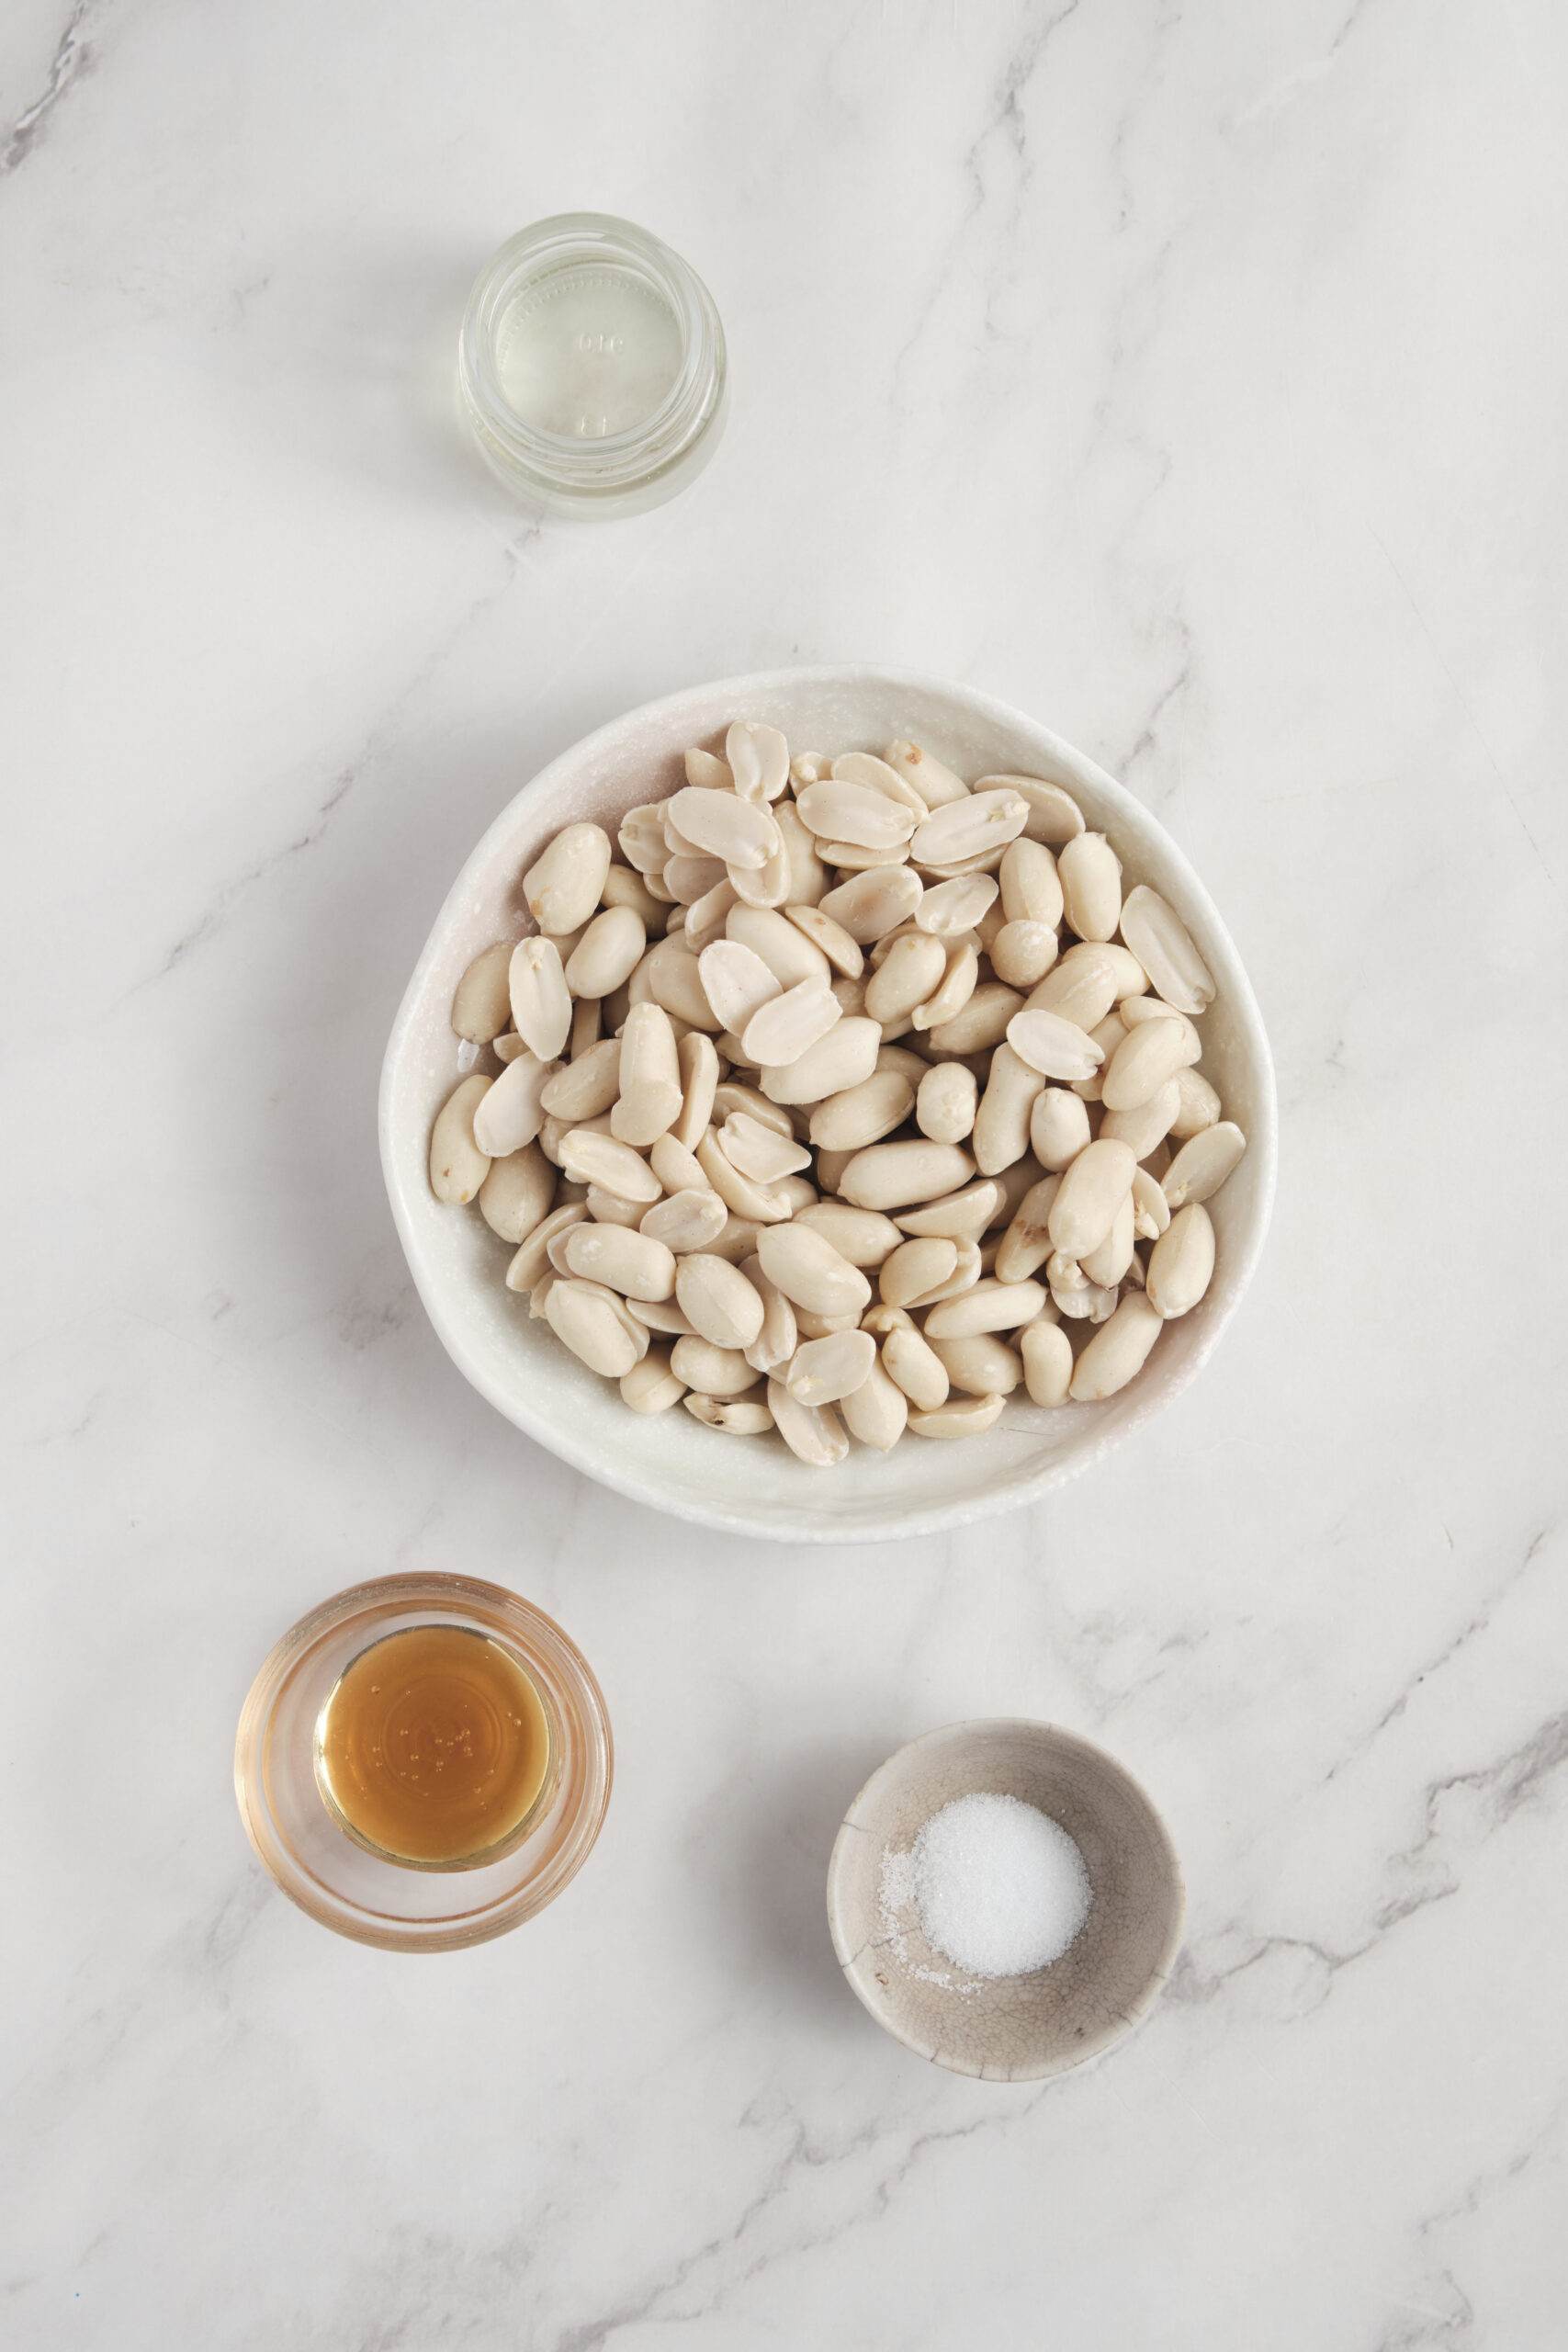
- 2 cups dry-roasted peanuts unsalted or salted
- Kosher salt to taste (if using unsalted peanuts)
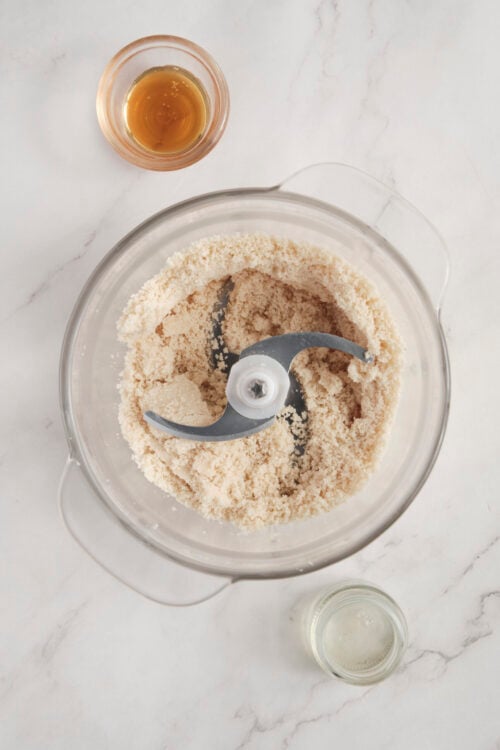
- 1 tablespoon honey optional, for slight sweetness
- 1 to 2 teaspoons peanut oil optional, to adjust consistency
Instructions
-
Place the dry-roasted peanuts in a food processor. Process for 4 to 7 minutes until the mixture thickens and turns creamy. Pause every couple of minutes to scrape down the sides.

-
Add the salt and, if using, the honey. Process for another 30 seconds until well mixed.
-
If the peanut butter is too thick, drizzle in 1 teaspoon of peanut oil at a time and blend until you reach your preferred consistency.
-
Transfer the peanut butter to a clean jar. Let it cool to room temperature, then seal tightly and store in the refrigerator for up to 1 month.
-
Enjoy your homemade peanut butter on toast, fruits, or as a dip for veggies.
Nutrition
The post Homemade Peanut Butter appeared first on Food Faith Fitness.