Level up your office lunches by packing these delicious Yaki Onigiri!
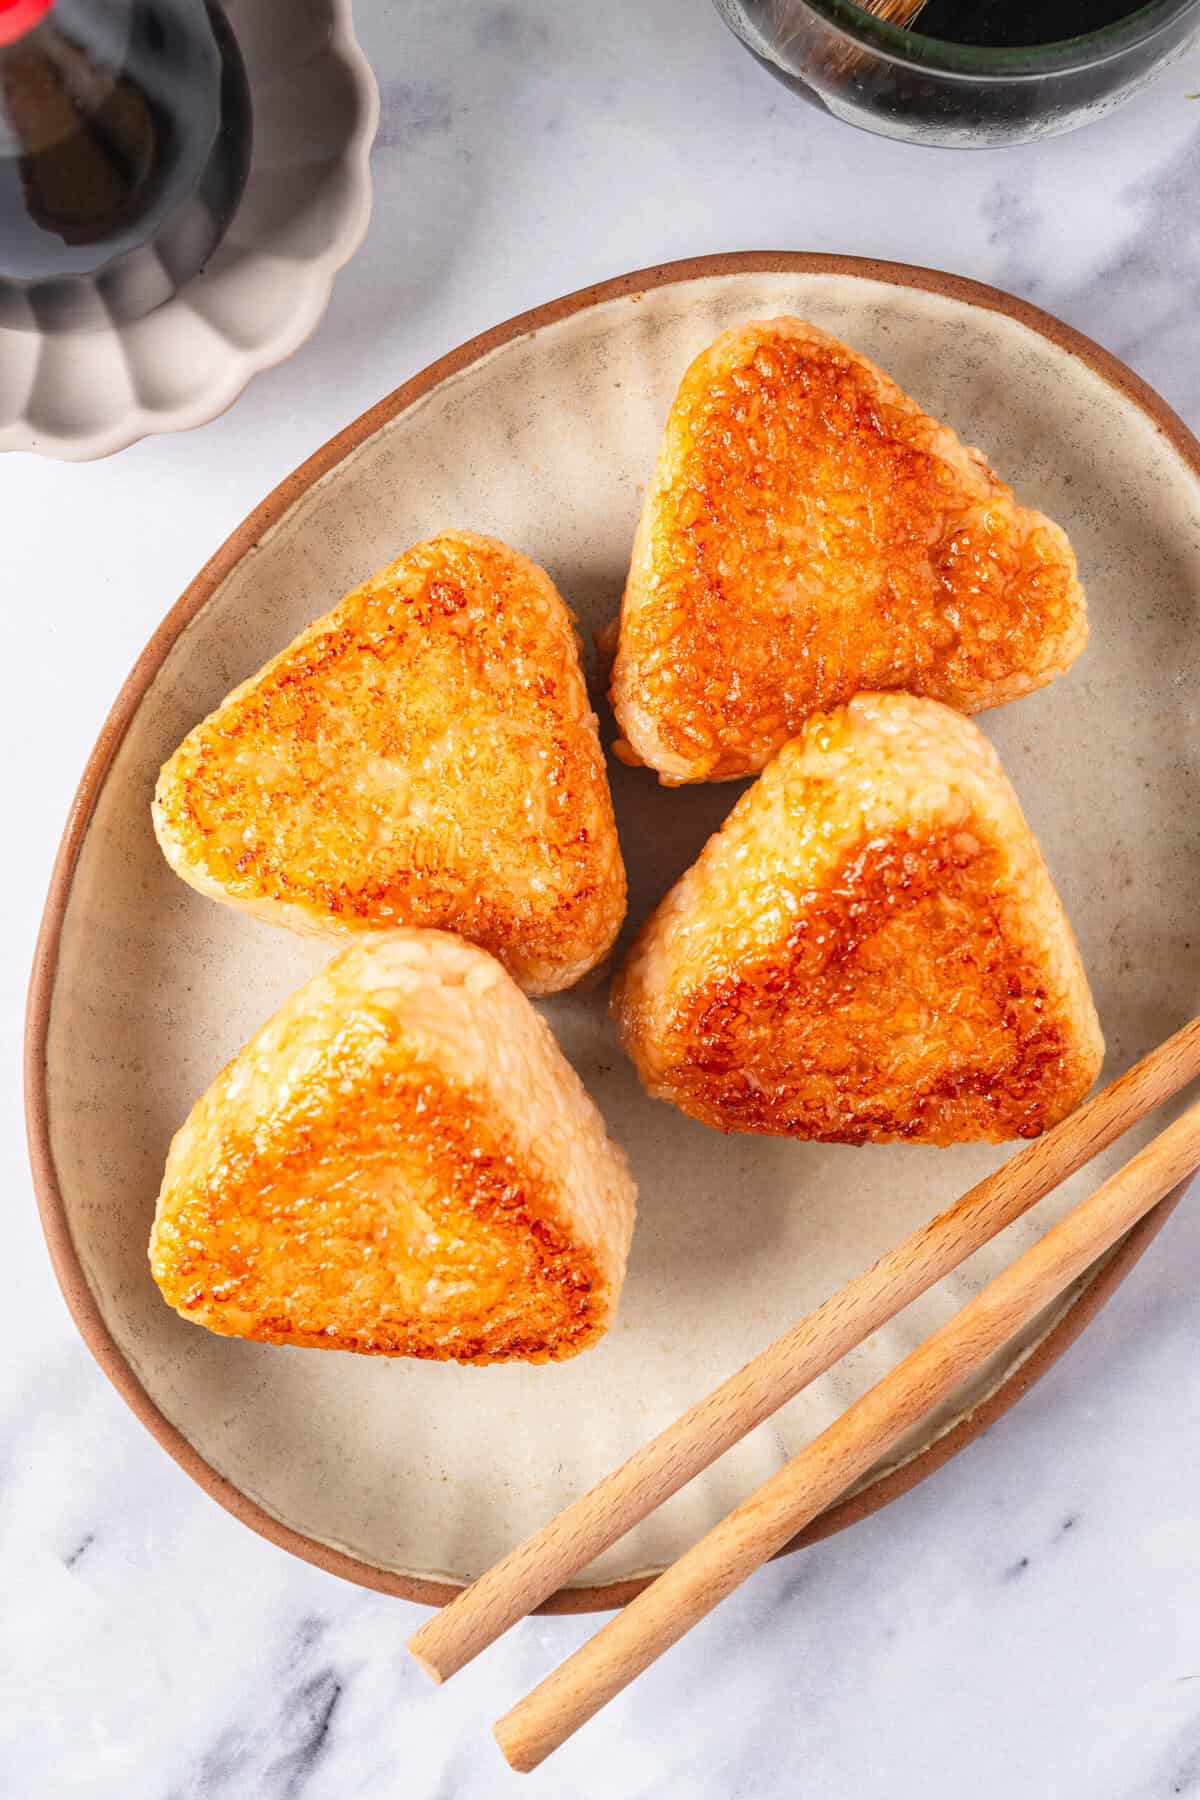
I’ve been obsessed with making yaki onigiri ever since I was a kid. Everything from the salty seasoned rice to the golden, crispy exterior and umami-packed soy sauce makes my mouth water. My grandmother used to make these for my siblings and me for lunch, carefully shaping each triangle. Anytime I am feeling nostalgic, I find myself making this recipe. I love making these for my office lunches or whenever I need a satisfying snack. They’re incredibly versatile and always hit the spot whenever my cravings come.
The beauty of yaki onigiri lies in their ease of preparation and comfort. Every time I make them, I’m reminded of my grandmother’s kitchen, filled with the sizzling sounds and nutty aroma of rice searing on the hot pan. She always said the secret was in the timing. You’ve got to flip just at the right time so the soy sauce caramelizes without burning. These little rice triangles became our after-school snack. They are perfect for grabbing on the go or munching on them while catching up on some schoolwork.
The best part is how simple they are to make with just a few pantry staples, yet they deliver such incredible flavor and texture. Whether I’m packing them in my bento box or enjoying them fresh from the skillet, these yaki onigiri never fail to transport me back to those cozy afternoons in my grandmother’s kitchen.
What does yaki mean?
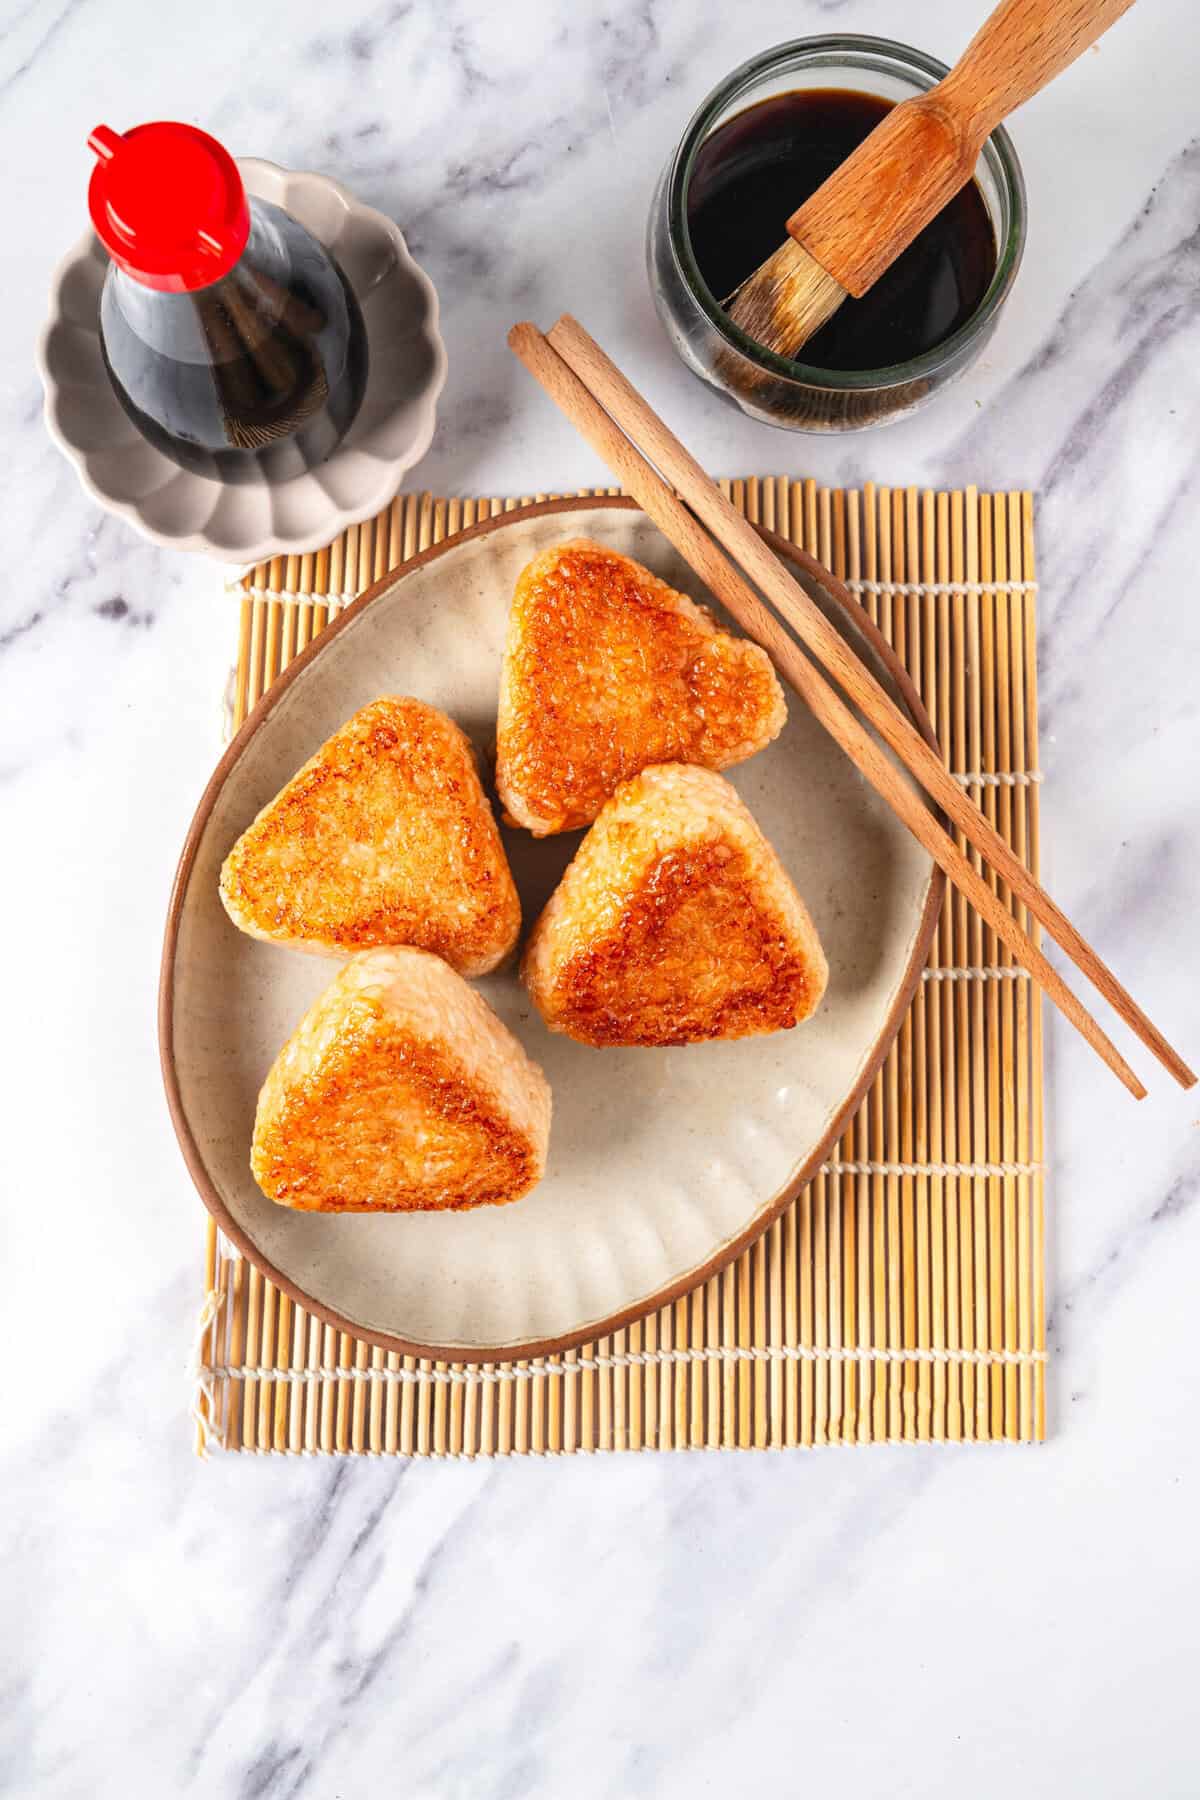
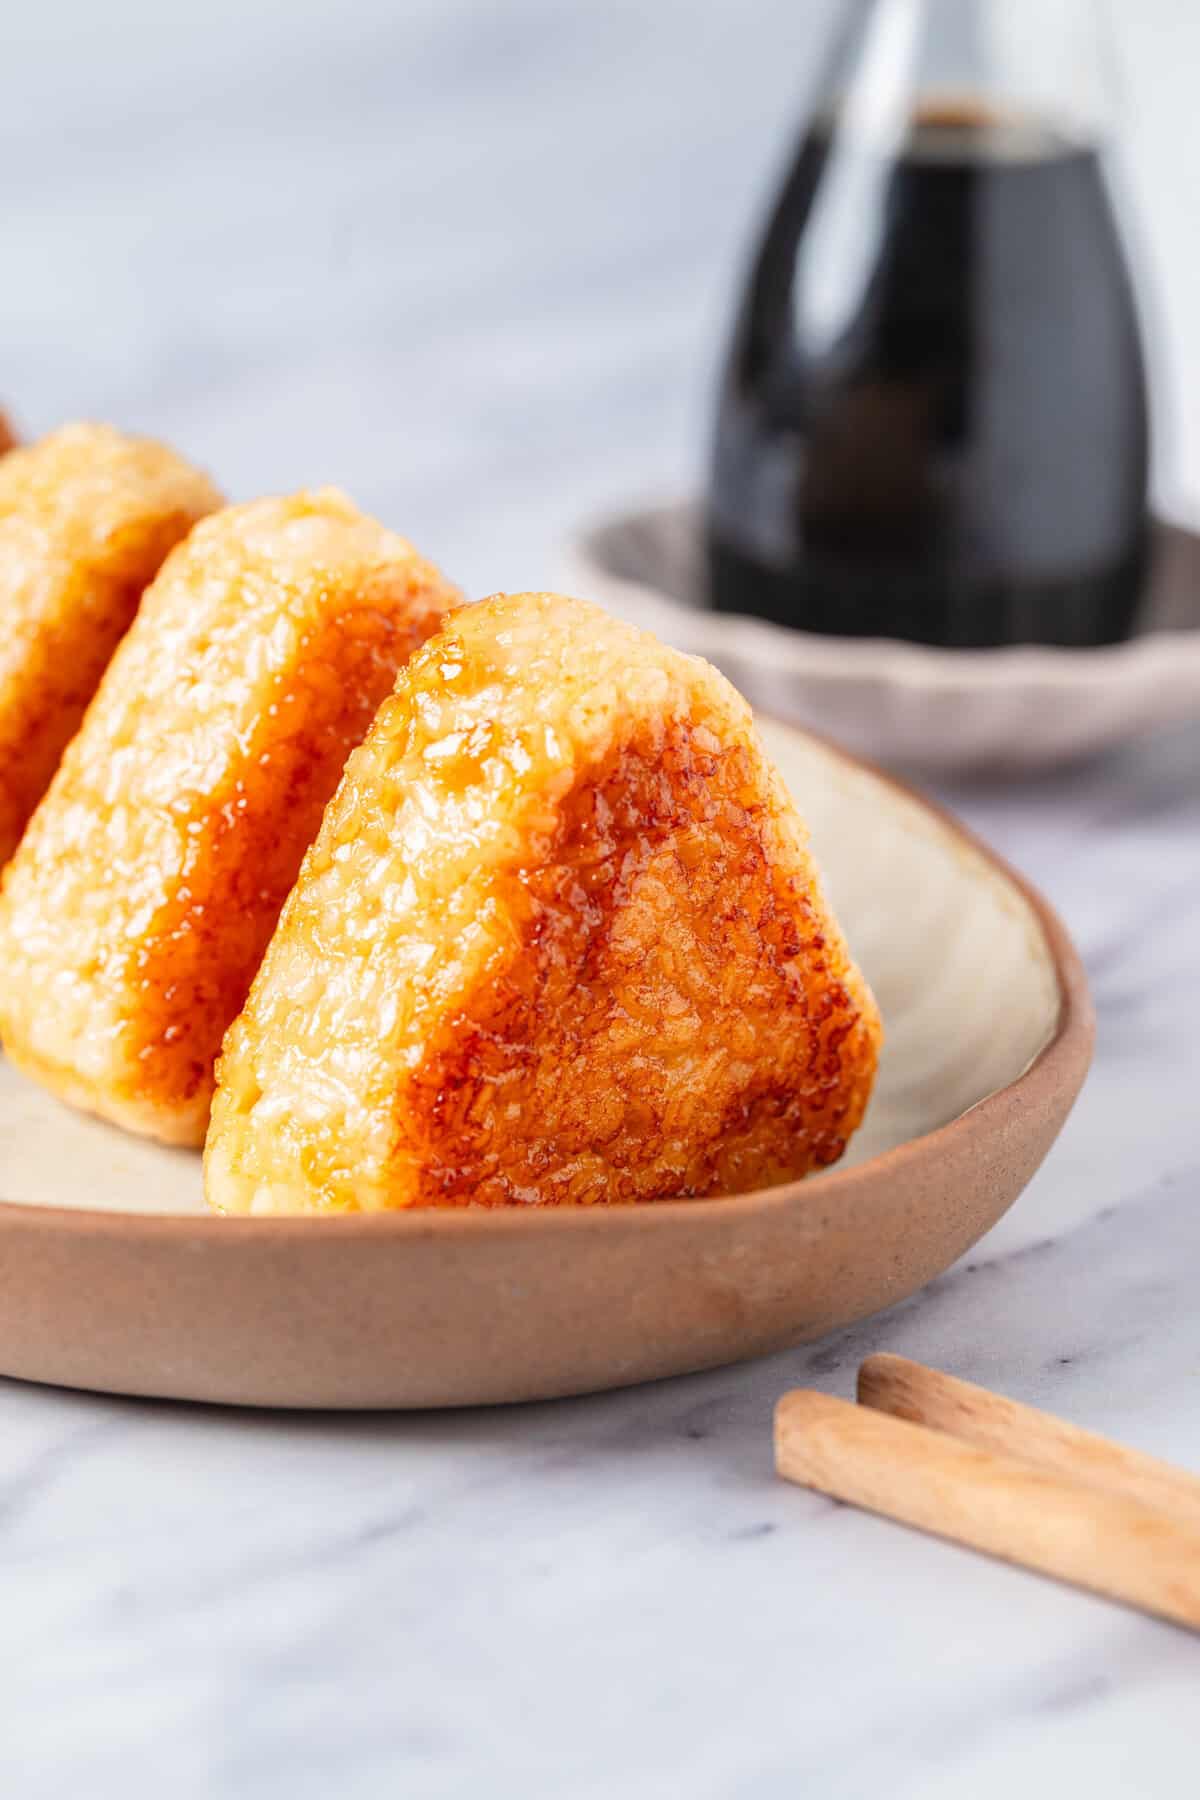
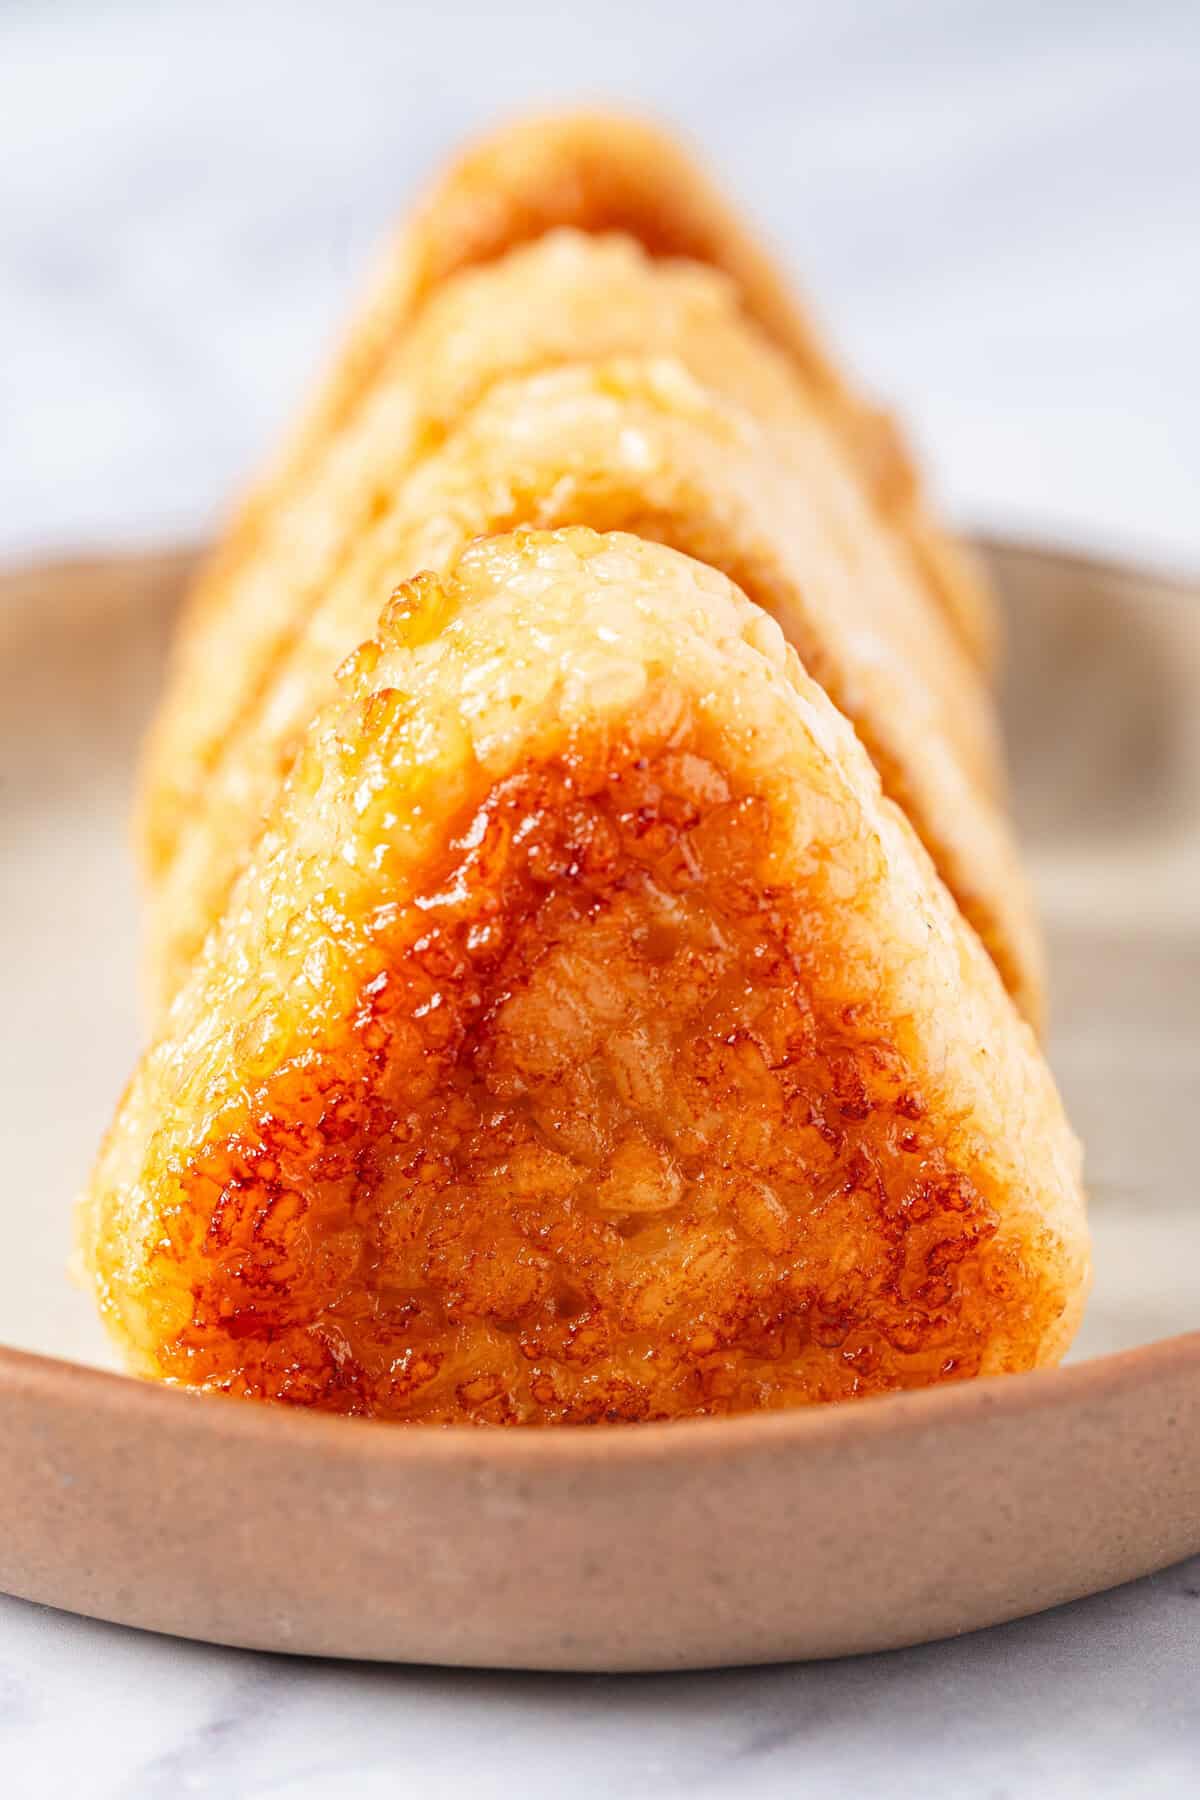
For those of you who don’t know, yaki means “grilled” or “pan-fried” in Japanese. Yaki onigiri refers to the cooking method where the rice balls are pan-fried until they develop a golden, crispy exterior. The crispy, golden brown crust sets them apart from regular onigiri, which are typically served without being pan-fried after being shaped. The yaki technique creates a delicious contrast between the crunchy, caramelized outside and the soft, seasoned rice within.
How do I store leftovers?
If you’ve got any leftovers from this yaki onigiri recipe, you can store them in an airtight container in the fridge for up to 2 days. You can reheat them using a nonstick skillet over medium-low heat with a small amount of oil, cooking for 2-3 minutes per side until warmed through and crispy. You can also use a toaster oven at 350°F for 5-7 minutes, flipping halfway through. For microwave reheating, wrap the onigiri in a damp paper towel and heat for 30-45 seconds, though this won’t restore the crispy exterior. I prefer the skillet method since it maintains the characteristic golden, crispy crust that makes this recipe so special.
Serving suggestions
I love making these yaki onigiri for my office lunches or whenever I need a satisfying snack. They’re perfect for my bento box, and I always like to include them alongside Pickled Daikon, one of these Soy Sauce Eggs, and some Cucumber Kimchi. They pair beautifully with any crisp pickled vegetables, especially if you have some tangy napa cabbage kimchi to serve alongside. You can make it a complete dinner by serving it with this delicious Asian Salmon and a big bowl of this Asian Cabbage Salad.
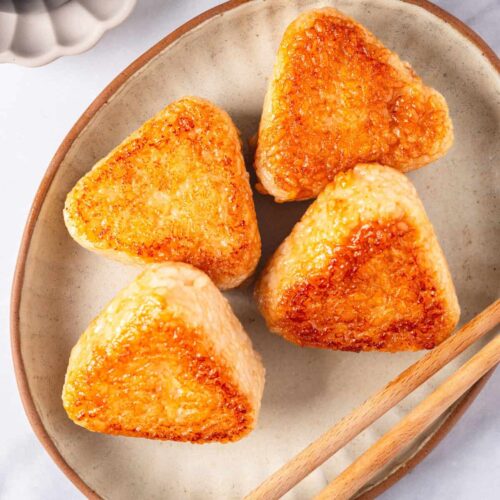
Yaki Onigiri Recipe
Ingredients
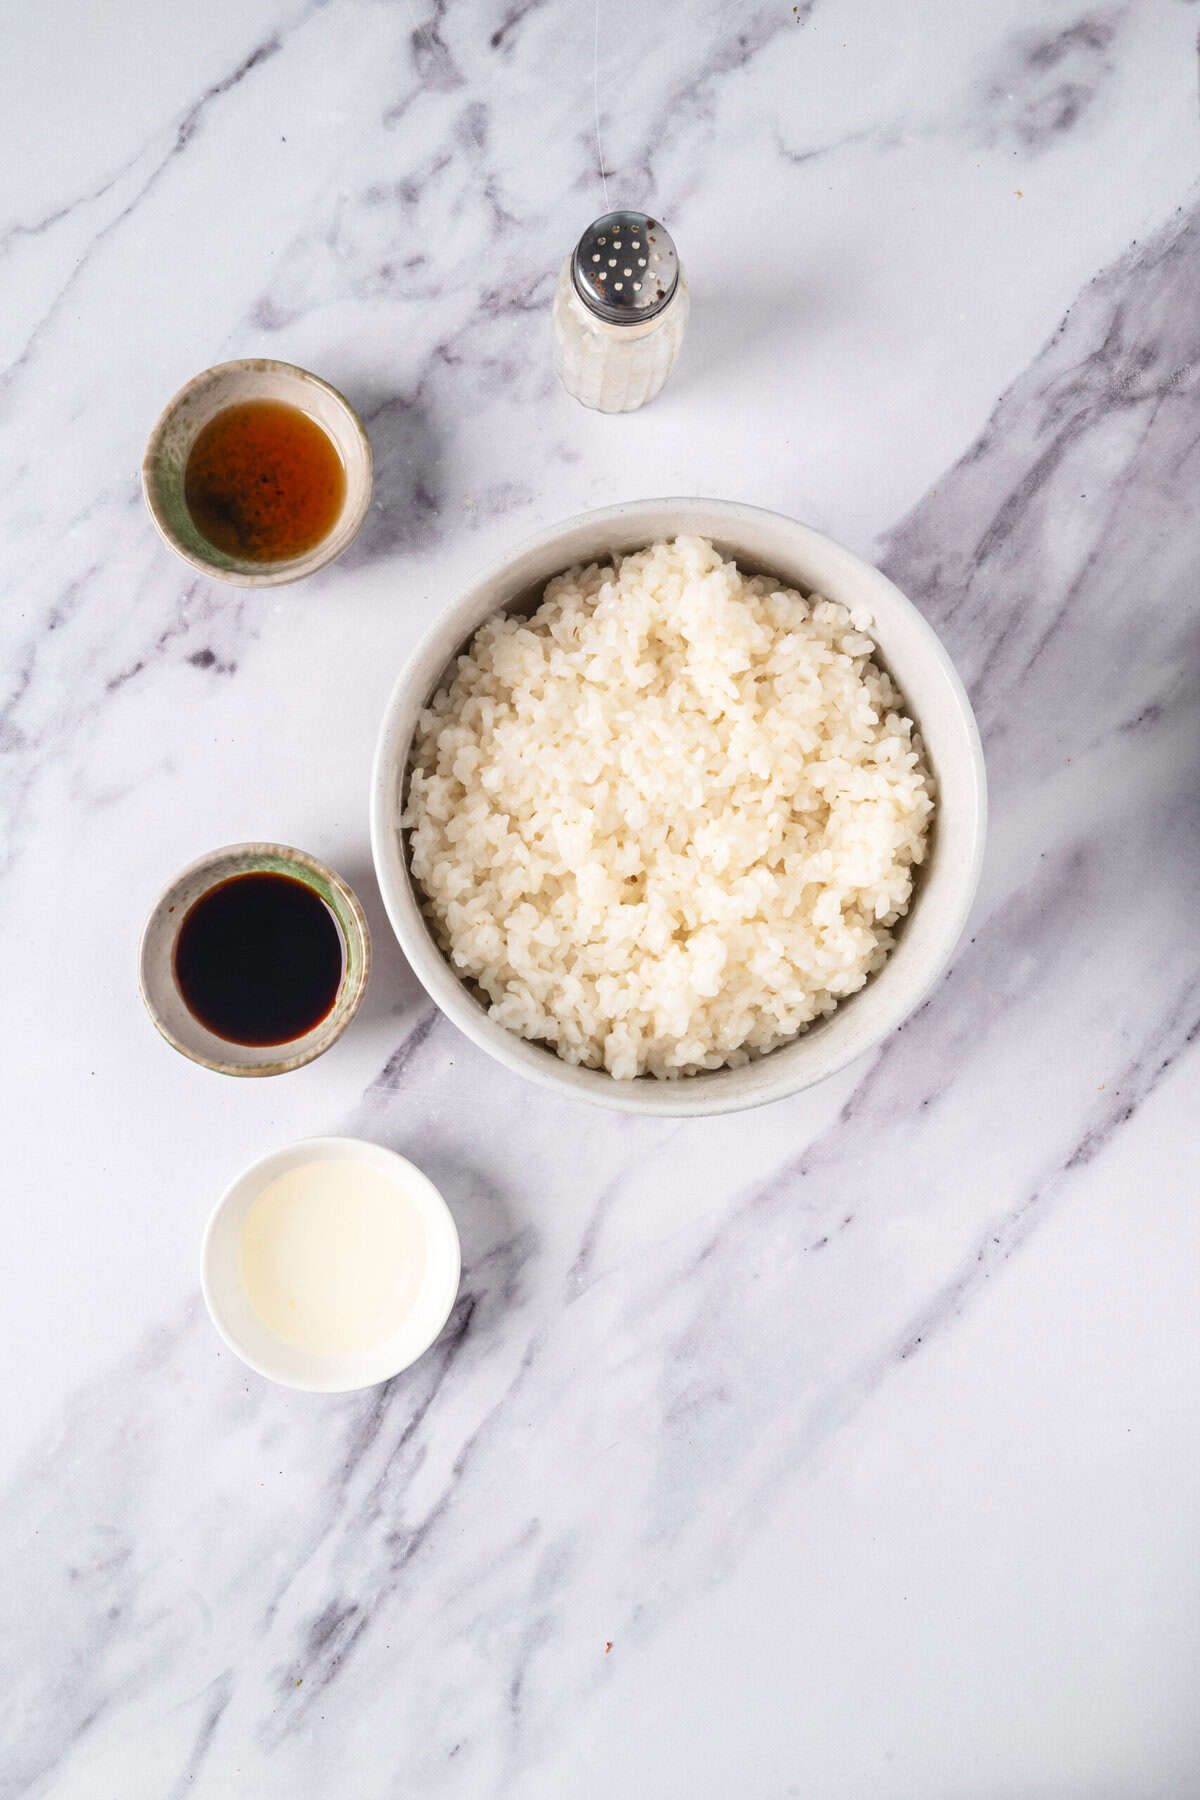
- 1 tablespoon soy sauce
- 3/4 teaspoon toasted sesame oil
- 2 cups cooked sushi rice, warm
- 1 tablespoon vegetable oil, plus more as needed
- Salt to taste, optional
- Furikake for garnish, optional
Instructions
-
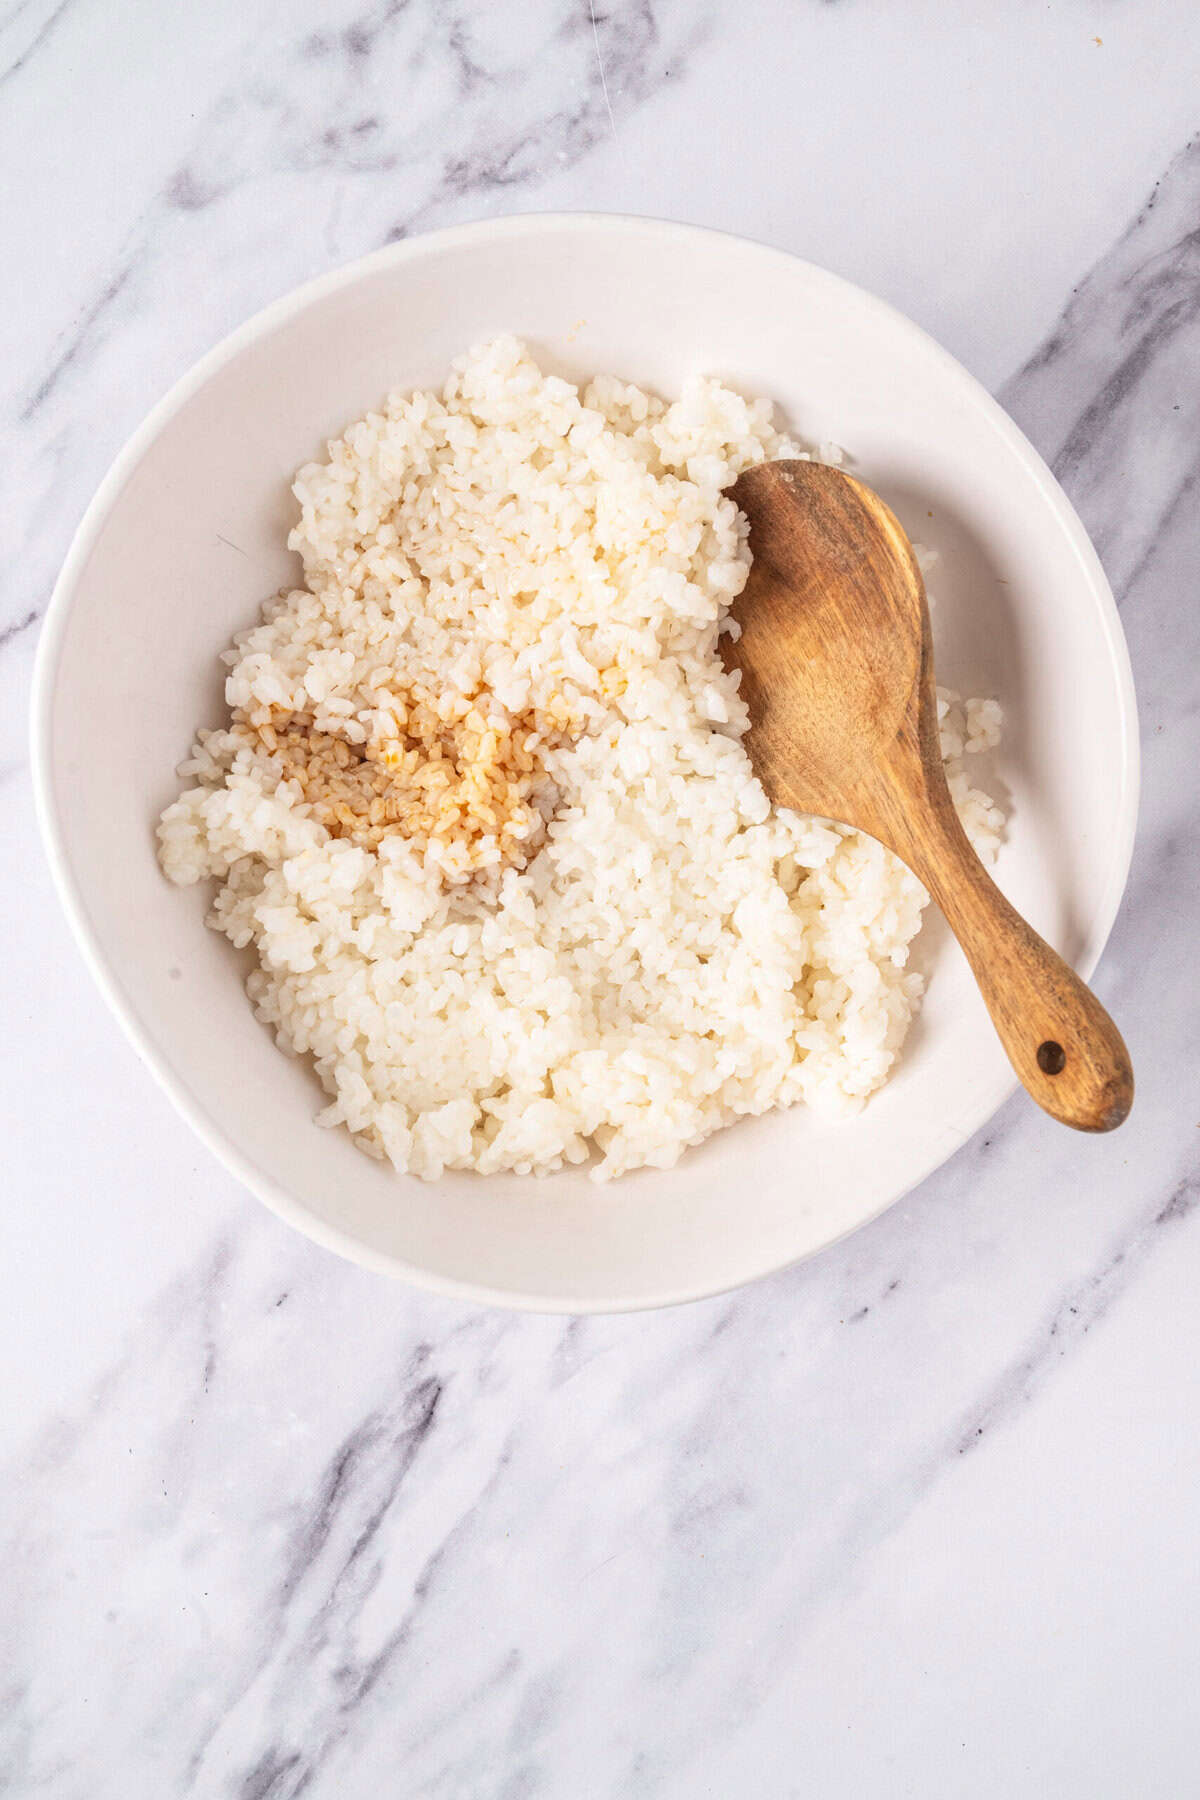
In a large bowl, drizzle the soy sauce and toasted sesame oil over the warm rice. Gently mix until the seasoning is evenly distributed.

-
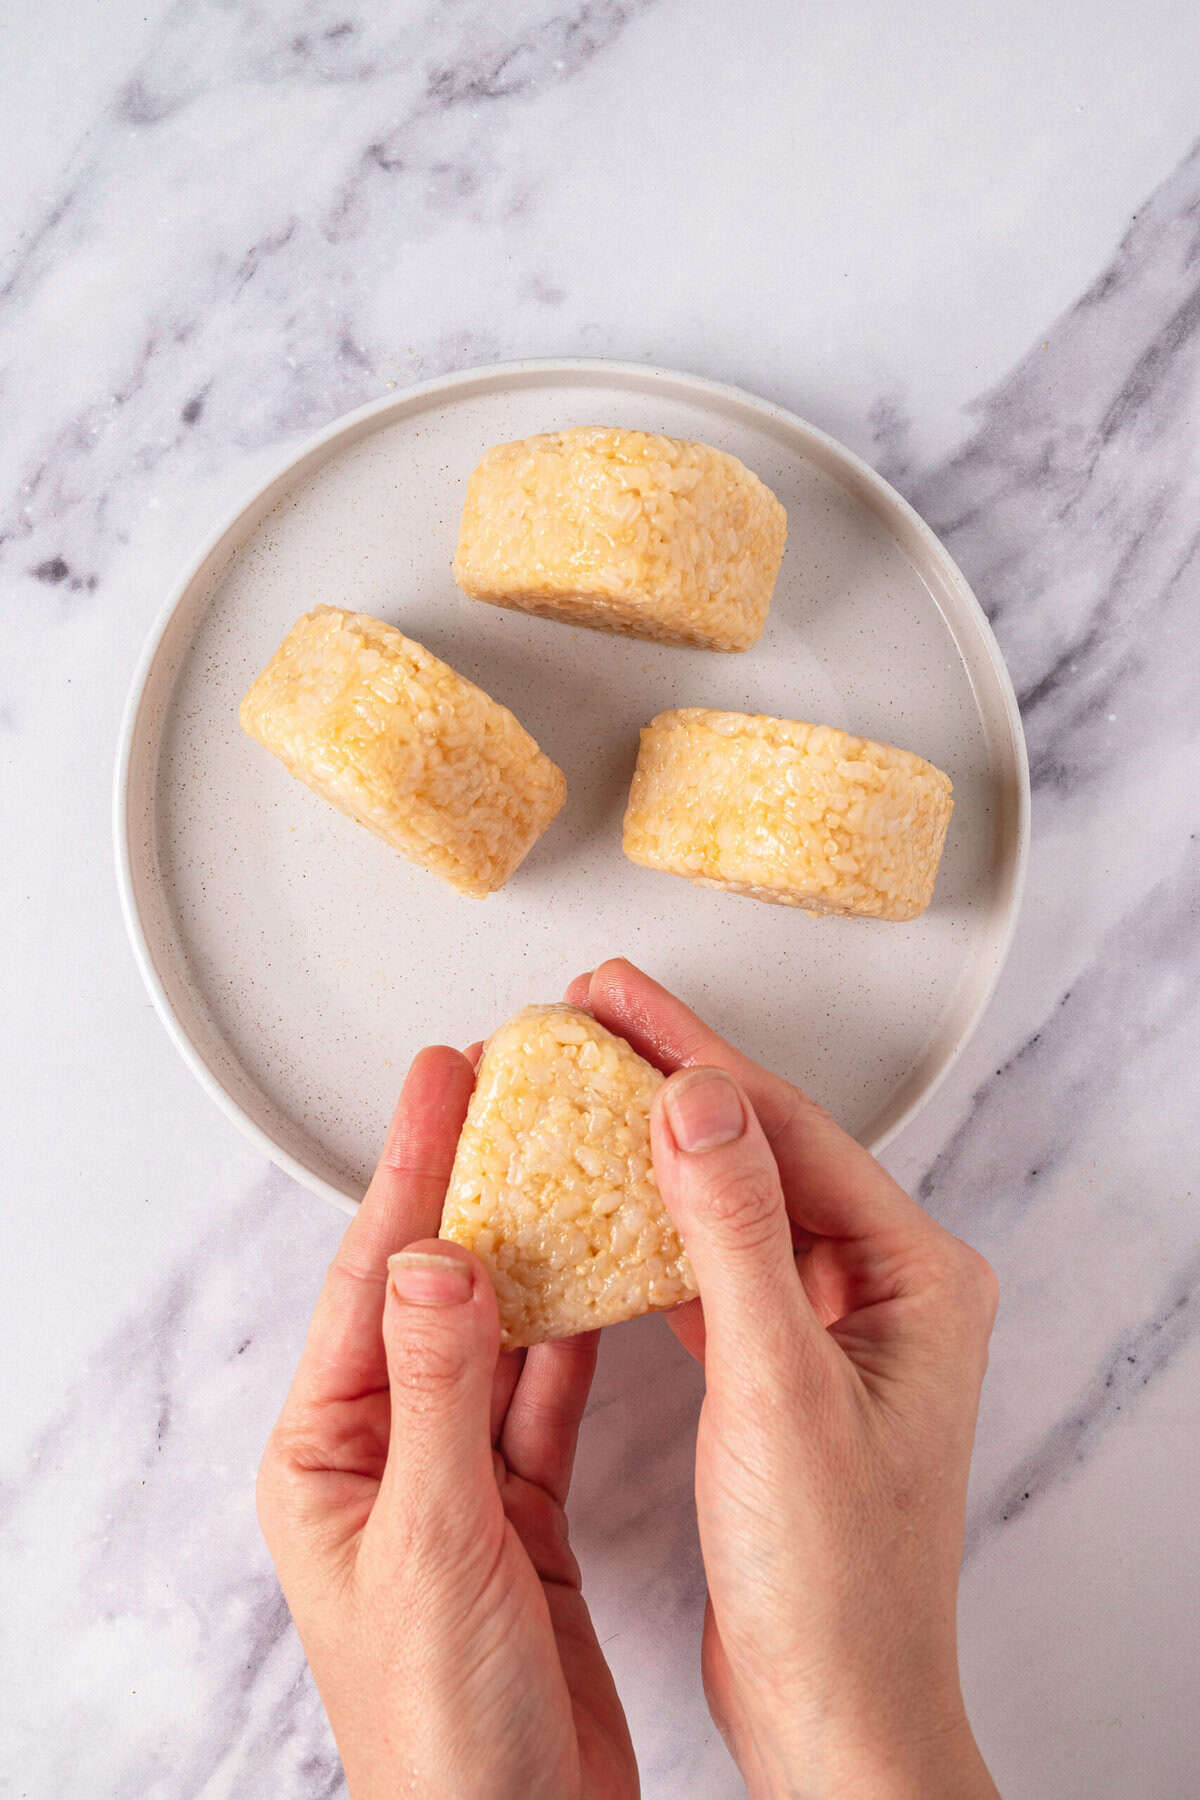
Wet your hands with water. Scoop about 1/2 cup of rice and press it firmly into a compact triangle shape.

-
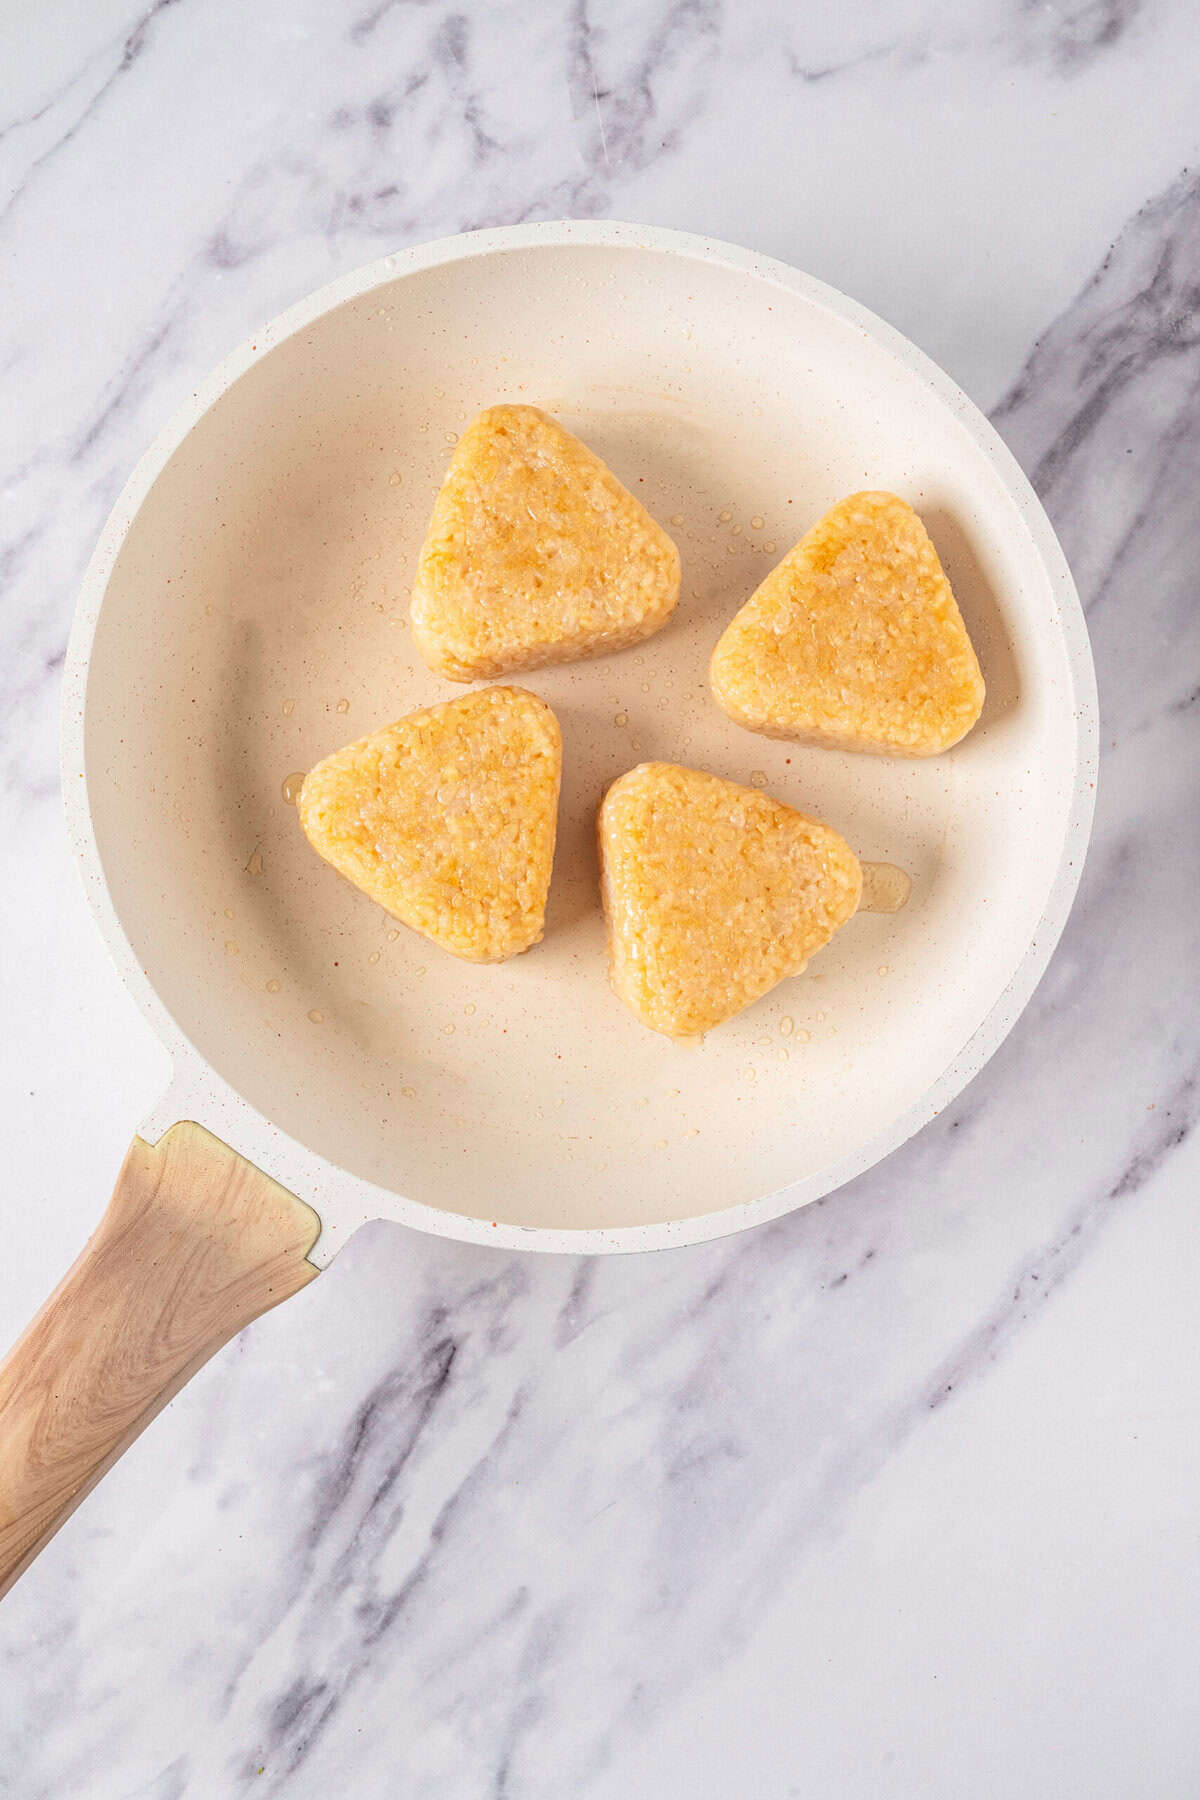
Heat the vegetable oil in a nonstick skillet over medium heat. Place the shaped rice balls in the pan and fry for about 3-4 minutes on each side until a golden, crispy crust forms.

-
If desired, brush a little extra soy sauce on each side during the last minute of cooking to add extra flavor and caramelization. Season with salt and garnish with furikake if desired.
Nutrition
The post Yaki Onigiri Recipe appeared first on Food Faith Fitness.

