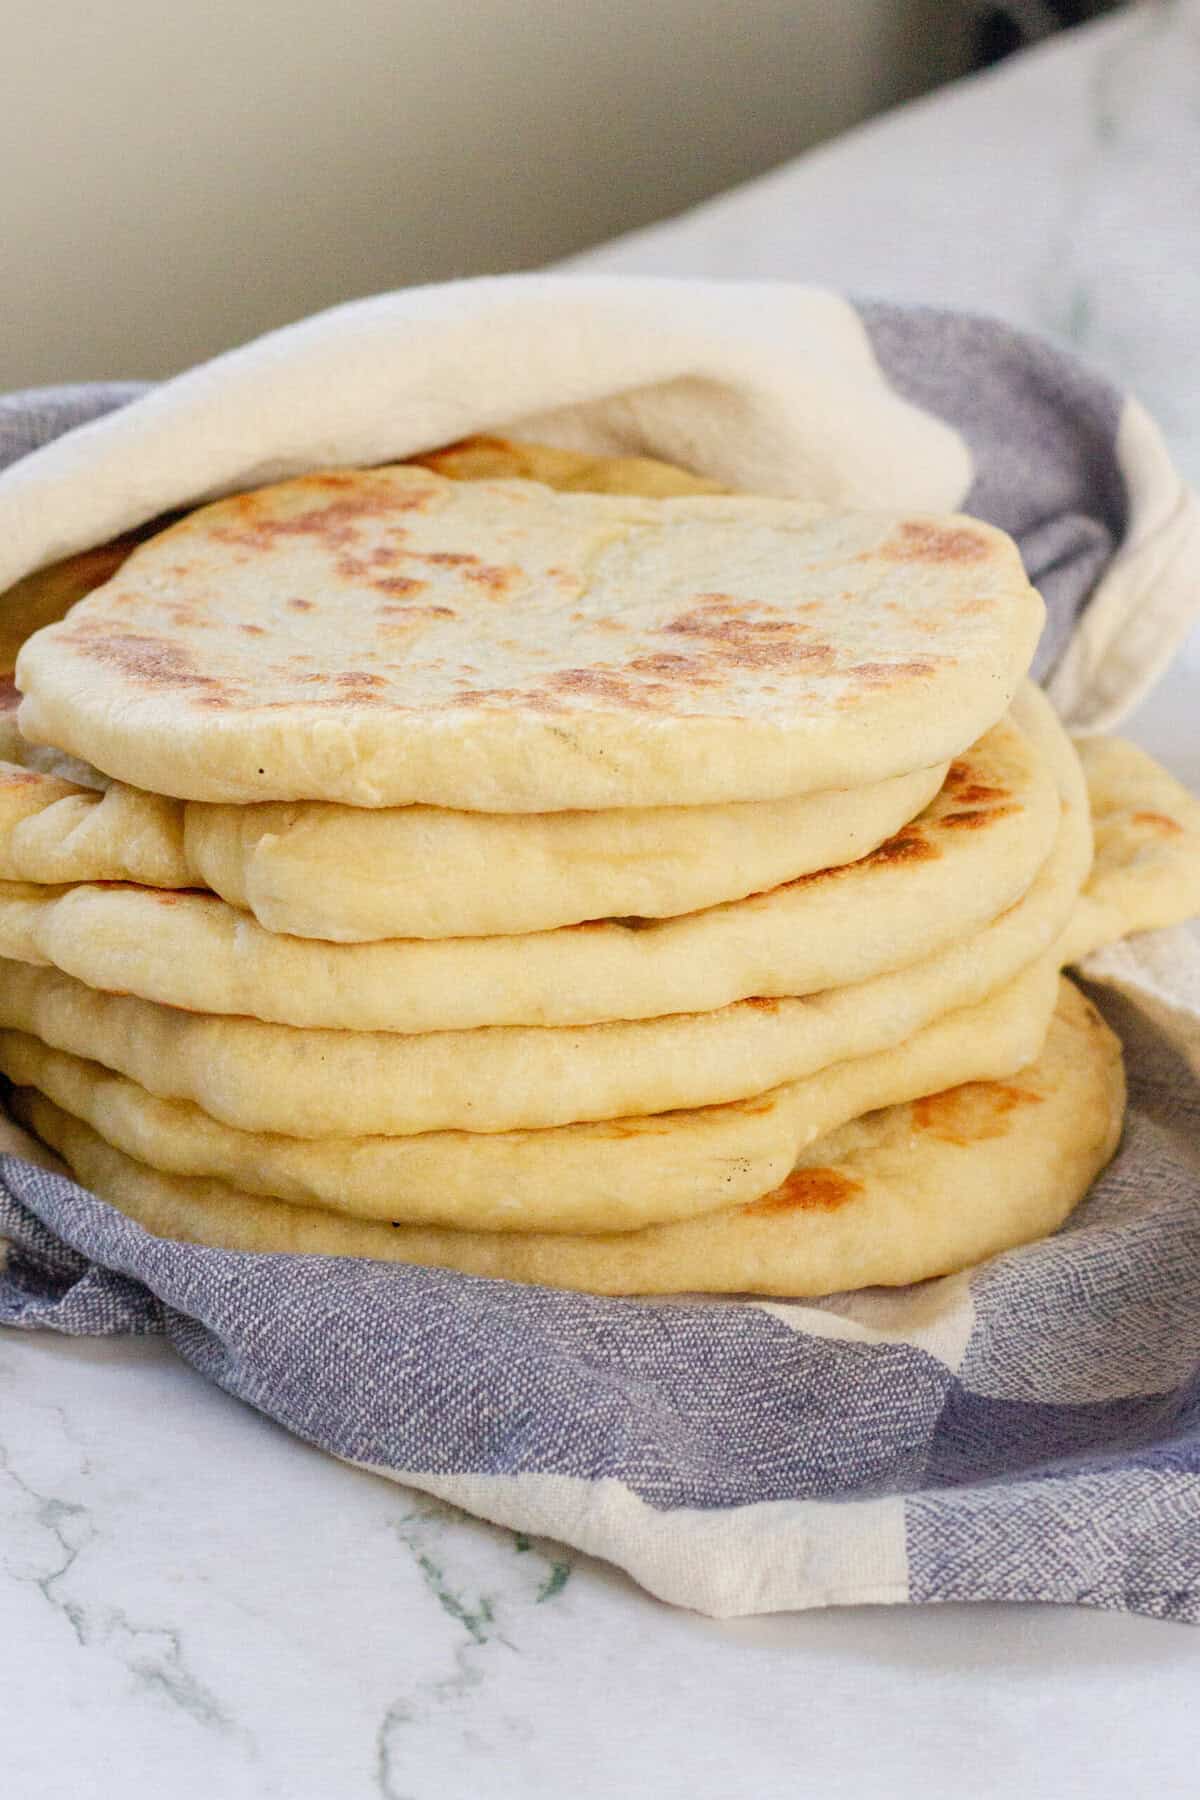
A warm and fluffy bread that’s not only good for gyros but all kinds of wraps, too!
When I was a teenager, my favorite Greek food was a gyro (pronounced “yee-row”)—a savory wrap stuffed with rotisserie-cooked meat, fresh veggies, and tzatziki sauce. It’s one of only a few foods that remains a fave in adulthood! The fluffy flatbread that holds it together makes it a perfect handheld meal for lunch or dinner. It’s like a warm, wheat-based hug for your favorite fillings!
Gyro bread is incredibly versatile and handy for holding all kinds of meats, veggies—or even peanut butter and jelly. For this reason, it’s a great idea to host a “Make Your Own Gyro” party with this homemade bread, opening the opportunity for group creativity in the kitchen. Plus, the dough can be easily prepared ahead of time to make cooking go by like a breeze.
Special occasion or not, this recipe comes in handy any time of year. You can make these flat-yet-fluffy loaves at the beginning of the week as part of your meal prep—then whip up a new kind of wrap each day. Whether you try different filling options all at once or over a period of time, gyro bread holds a lot of potential for fresh and exciting taste tests.
Is Gyro Bread Healthy?
While gyro bread isn’t significantly nutritious on its own, this recipe does use simple ingredients and contains a small amount of protein. Paired with fiber-rich veggies and meat or plant-based proteins, gyro bread becomes a healthy part of a complete meal. It can definitely be incorporated into a well-balanced diet. If you or your guests have wheat allergies, use gluten-free all-purpose flour instead of regular. To ensure that the dough binds well and leads to a satisfying texture, I suggest finding a flour blend that also includes xanthan gum.
Why Is It Called Gyro Bread?
If you’re wondering where the name comes from, let me explain. In Greece, the word gyro is used to signify the stuffed flatbread, filled with rotisserie meat, vegetables, and tzatziki that we’re all familiar with in the U.S. But the word itself literally means “to turn”—a direct reference to the way the meat was cooked historically, on a turning vertical rotisserie. Supposedly, this method of cooking actually began in Bursa, Turkey—where it’s known as döner—but during the conflict and forced migration of the 1920s, Greeks who had been living in Turkey for centuries brought this enticing style of food with them to their new home in Greece, where it then became known as gyro.
FAQs & Tips
Once cooled, gyro bread can be stored in plastic wrap or an airtight container in the fridge for 3-5 days. For longer storage, transfer it to a freezer-safe container and freeze for up to 3 months. Thaw in the fridge overnight before either enjoying cold or reheating in the oven at 350°F for 5-10 minutes.
Once the dough has been separated into six separate pieces, as Step 4 instructs, you can cover and refrigerate the dough for up to 5 days. Then, simply follow Steps 5 and 6 to complete the gyro bread when you’re ready.
While this bread is already fairly fluffy, you can make it even more so by adding half a cup of Greek yogurt to the dough. The slight acidity of the yogurt also breaks down the gluten, which results in a softer and puffier bread. Of course, this addition means the bread is no longer vegan.
Serving Suggestions
This recipe is perfect for making a traditional Gyro with a mix of beef and lamb, plus tomatoes, onions, and lettuce. However, there are many variations, like Falafel Gyro and Chicken Gyro. You might also try it with other Mediterranean-inspired dishes, like this fragrant and unique Greek Yogurt Chicken Salad. Pair your flatbread-wrapped main with Greek Fries and Healthy Broccoli Salad.
If it’s an appetizer you’re looking for, consider putting out a whole mezze platter with gyro bread alongside Baked Feta, Melitzanosalata (Greek Eggplant Dip), Cucumber Sauce, and Greek Fava (Split Pea Dip). Whichever way you choose to serve it, gyro bread is a simple yet decadent addition to all kinds of Greek food.

Gyro Bread
Ingredients
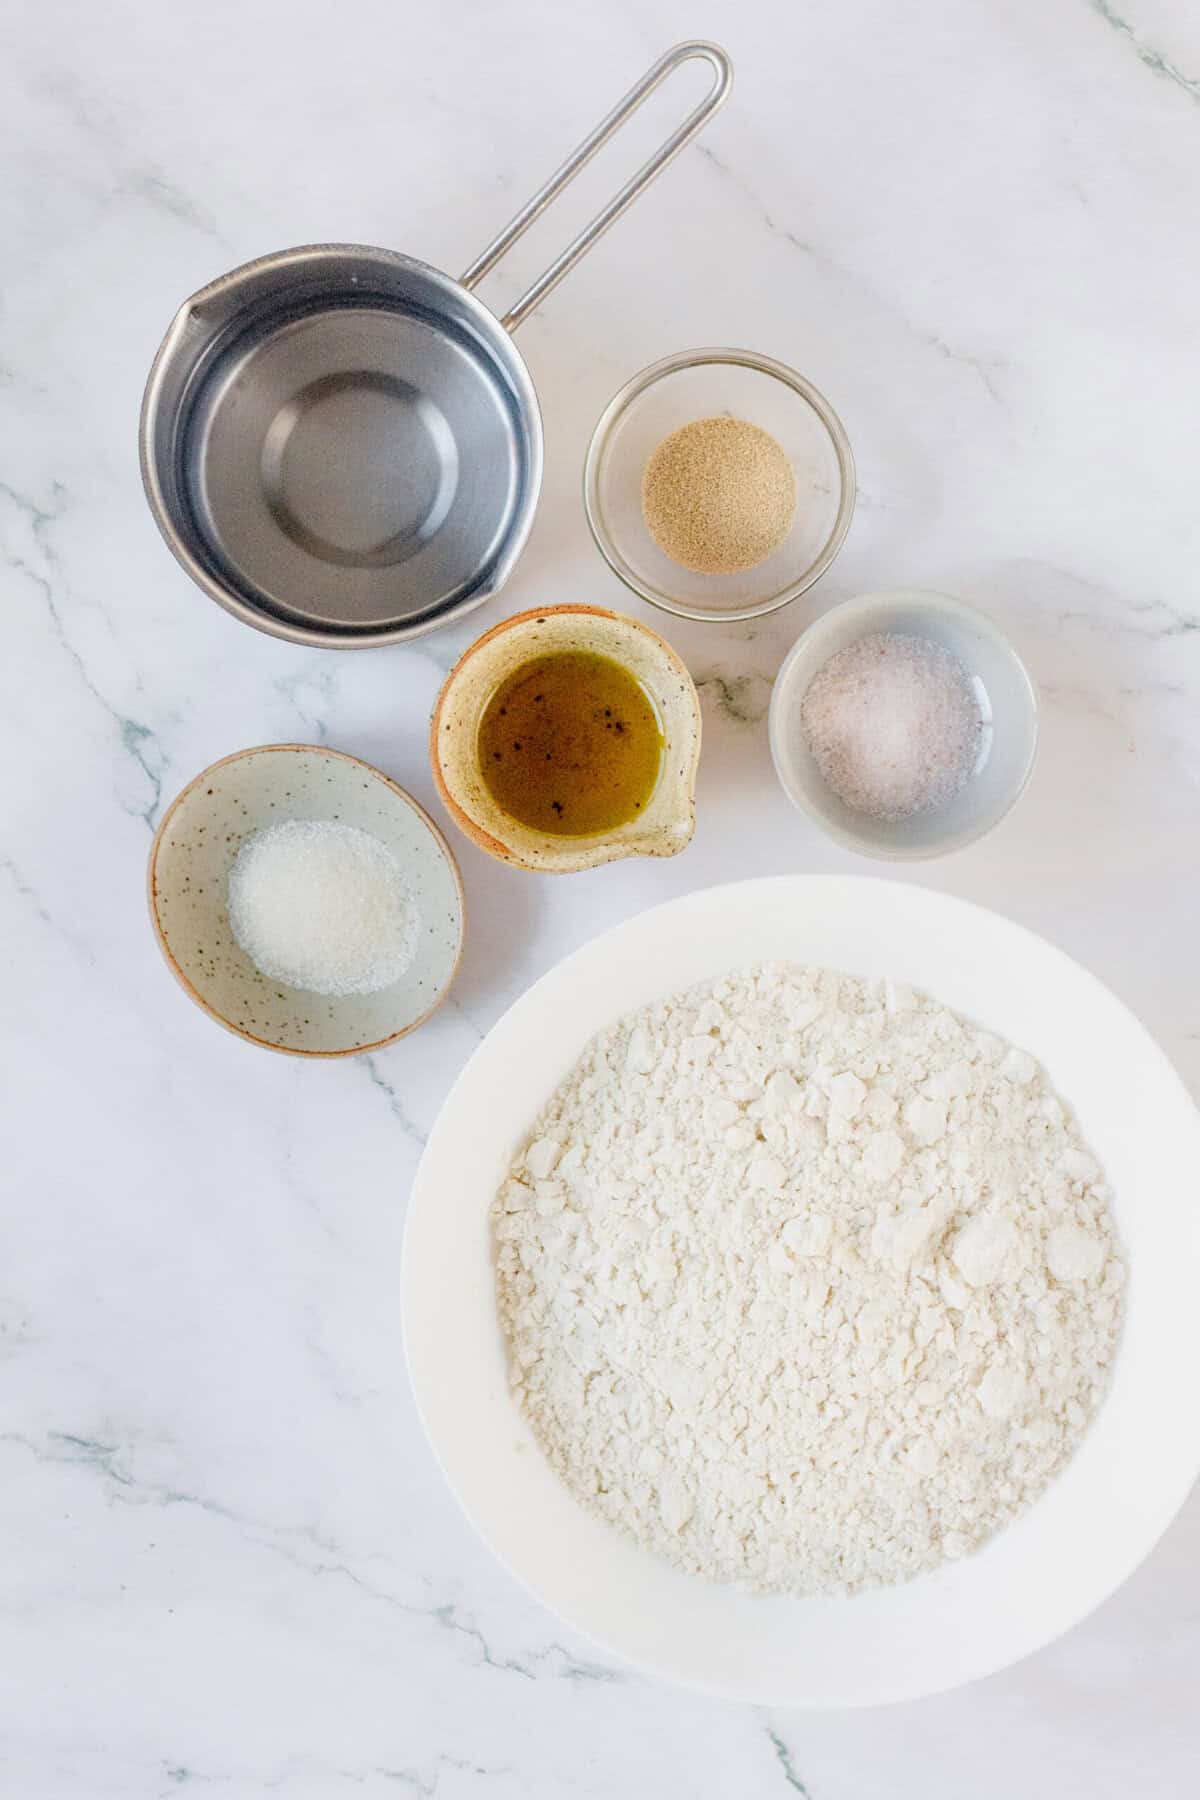
- 1 1/2 cups warm water about 105°F
- 1 1/2 teaspoons sugar
- 1 1/2 teaspoons active dry yeast
- 3 cups all-purpose flour
- 1 1/2 teaspoons salt
- 1 tablespoon olive oil plus extra for brushing
Instructions
-
In a large bowl, add the warm water, sugar, and yeast. Gently stir and let rest for 5 minutes or until the water becomes foamy from the yeast.

-
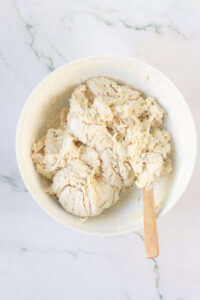
Add the flour, salt, and olive oil, then mix with a wooden spoon or your hands until a shaggy dough forms. Transfer the dough to a lightly floured surface and knead for 3-4 minutes, until smooth and elastic.
-
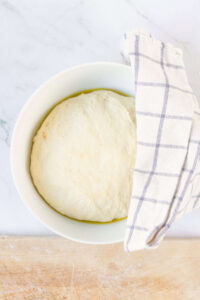
Place the kneaded dough in a lightly oiled bowl, cover with a cloth, and let it rest in a warm spot for 30 minutes or until doubled in size. If your oven has a bread proofing function, you can put your bowl in the oven on that setting to proof the dough.
-
Punch the dough down and divide it into 6 equal pieces, shaping each into a smooth ball.
-
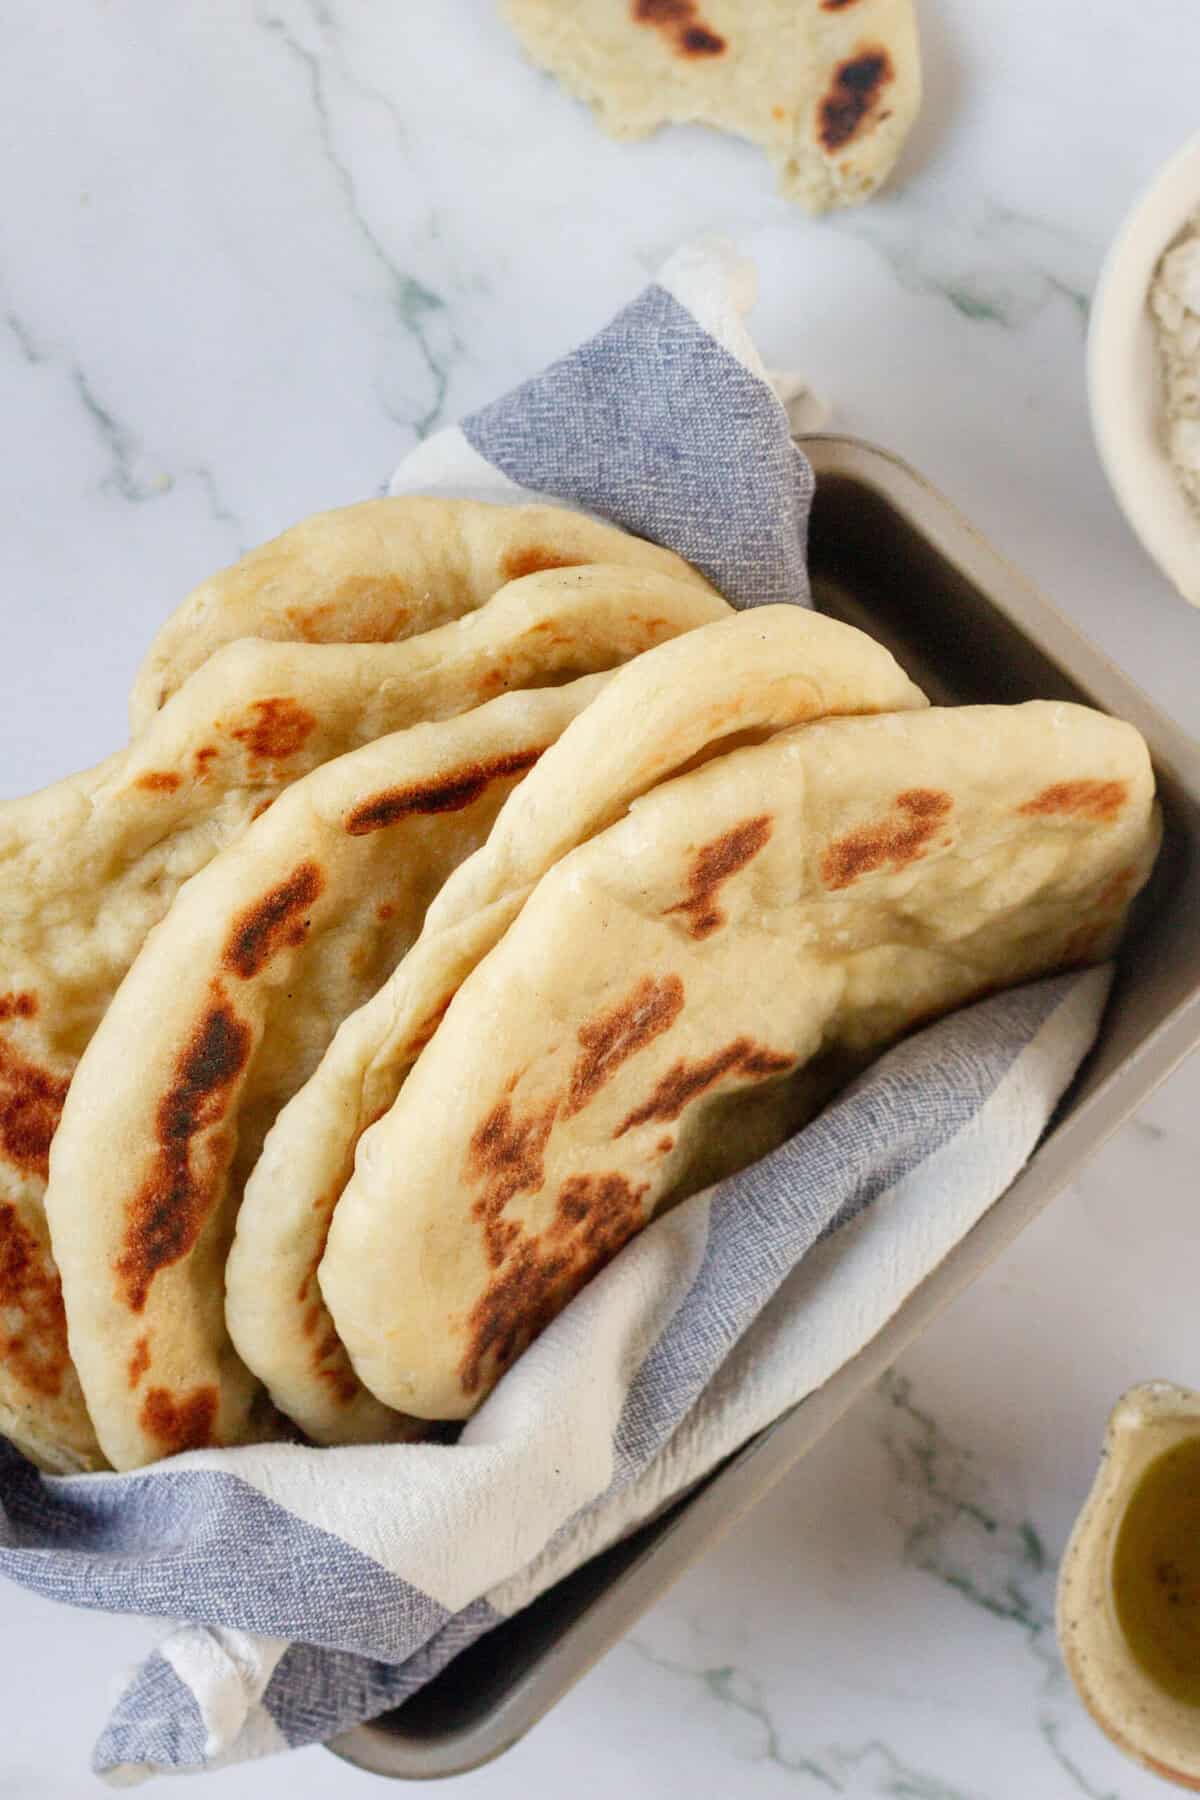
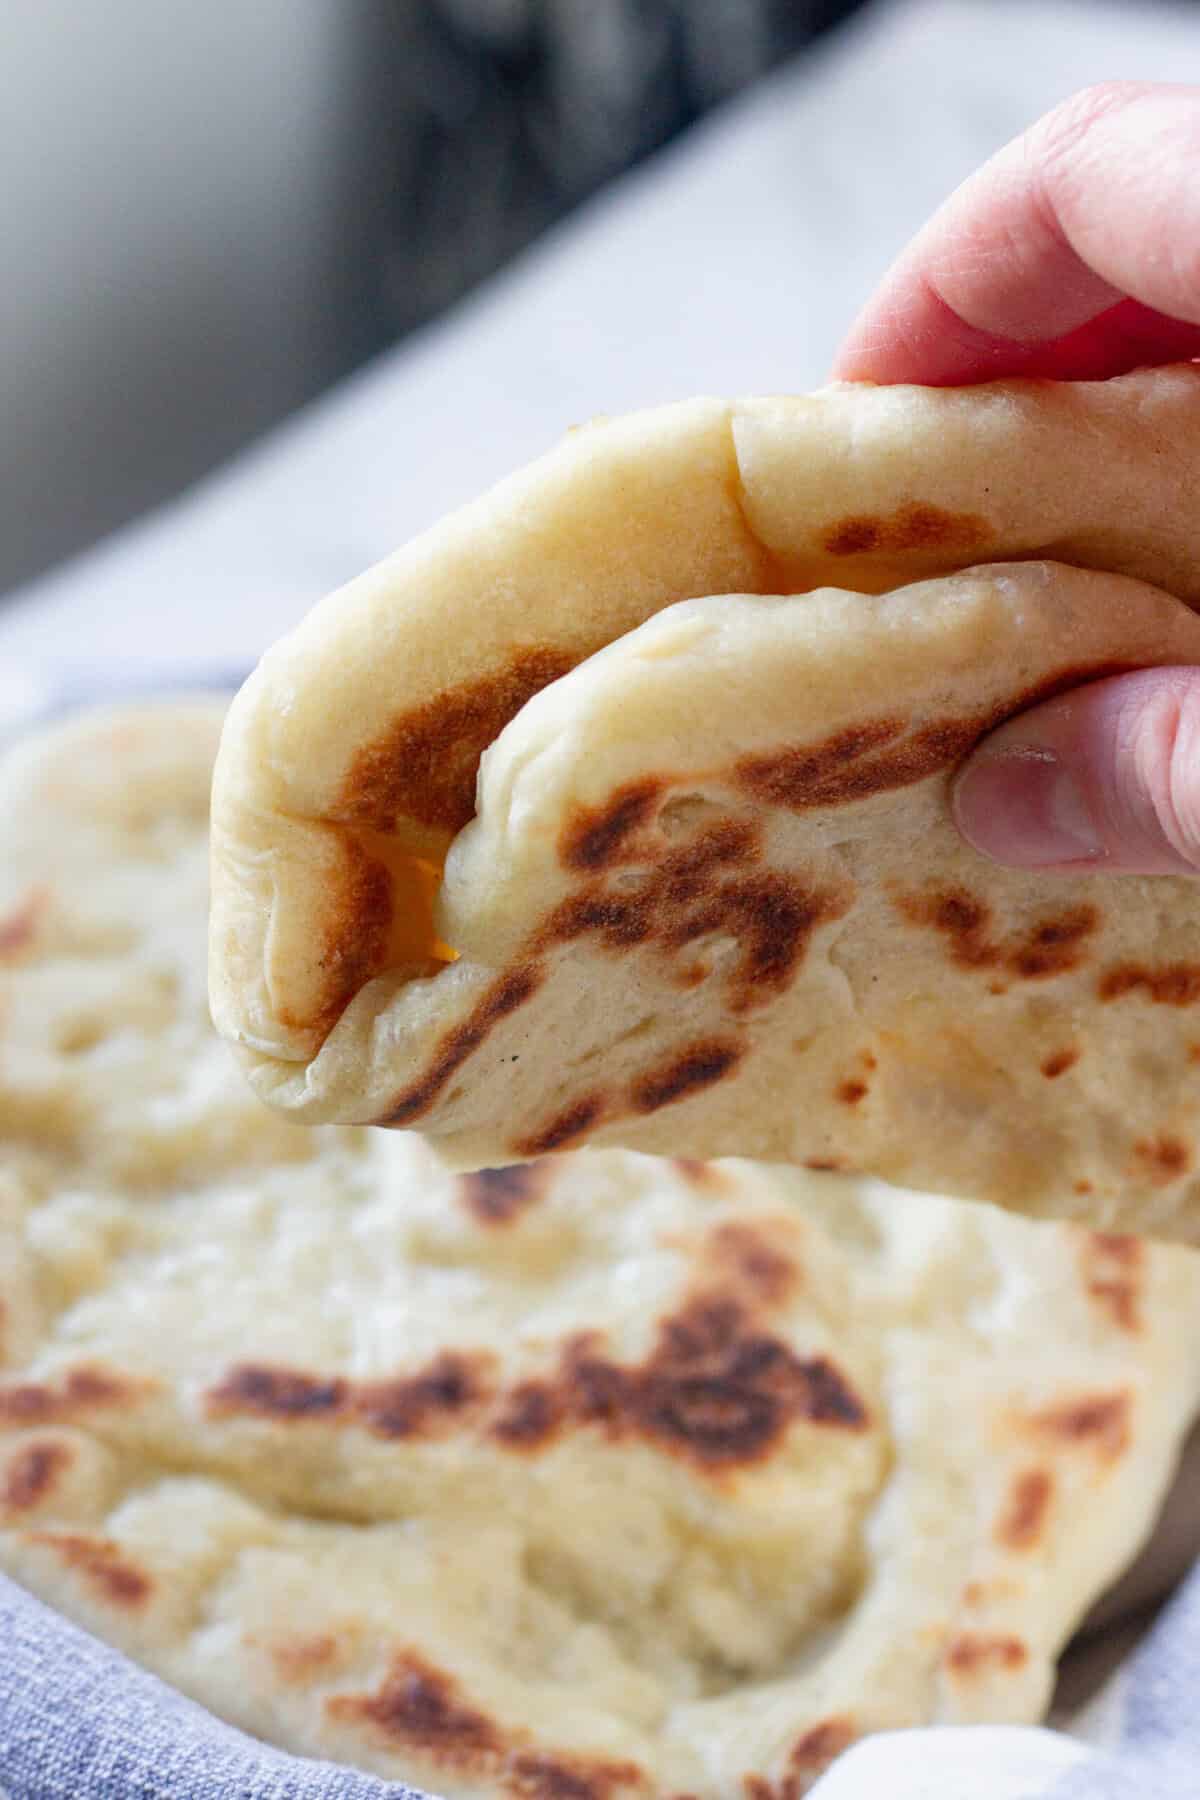
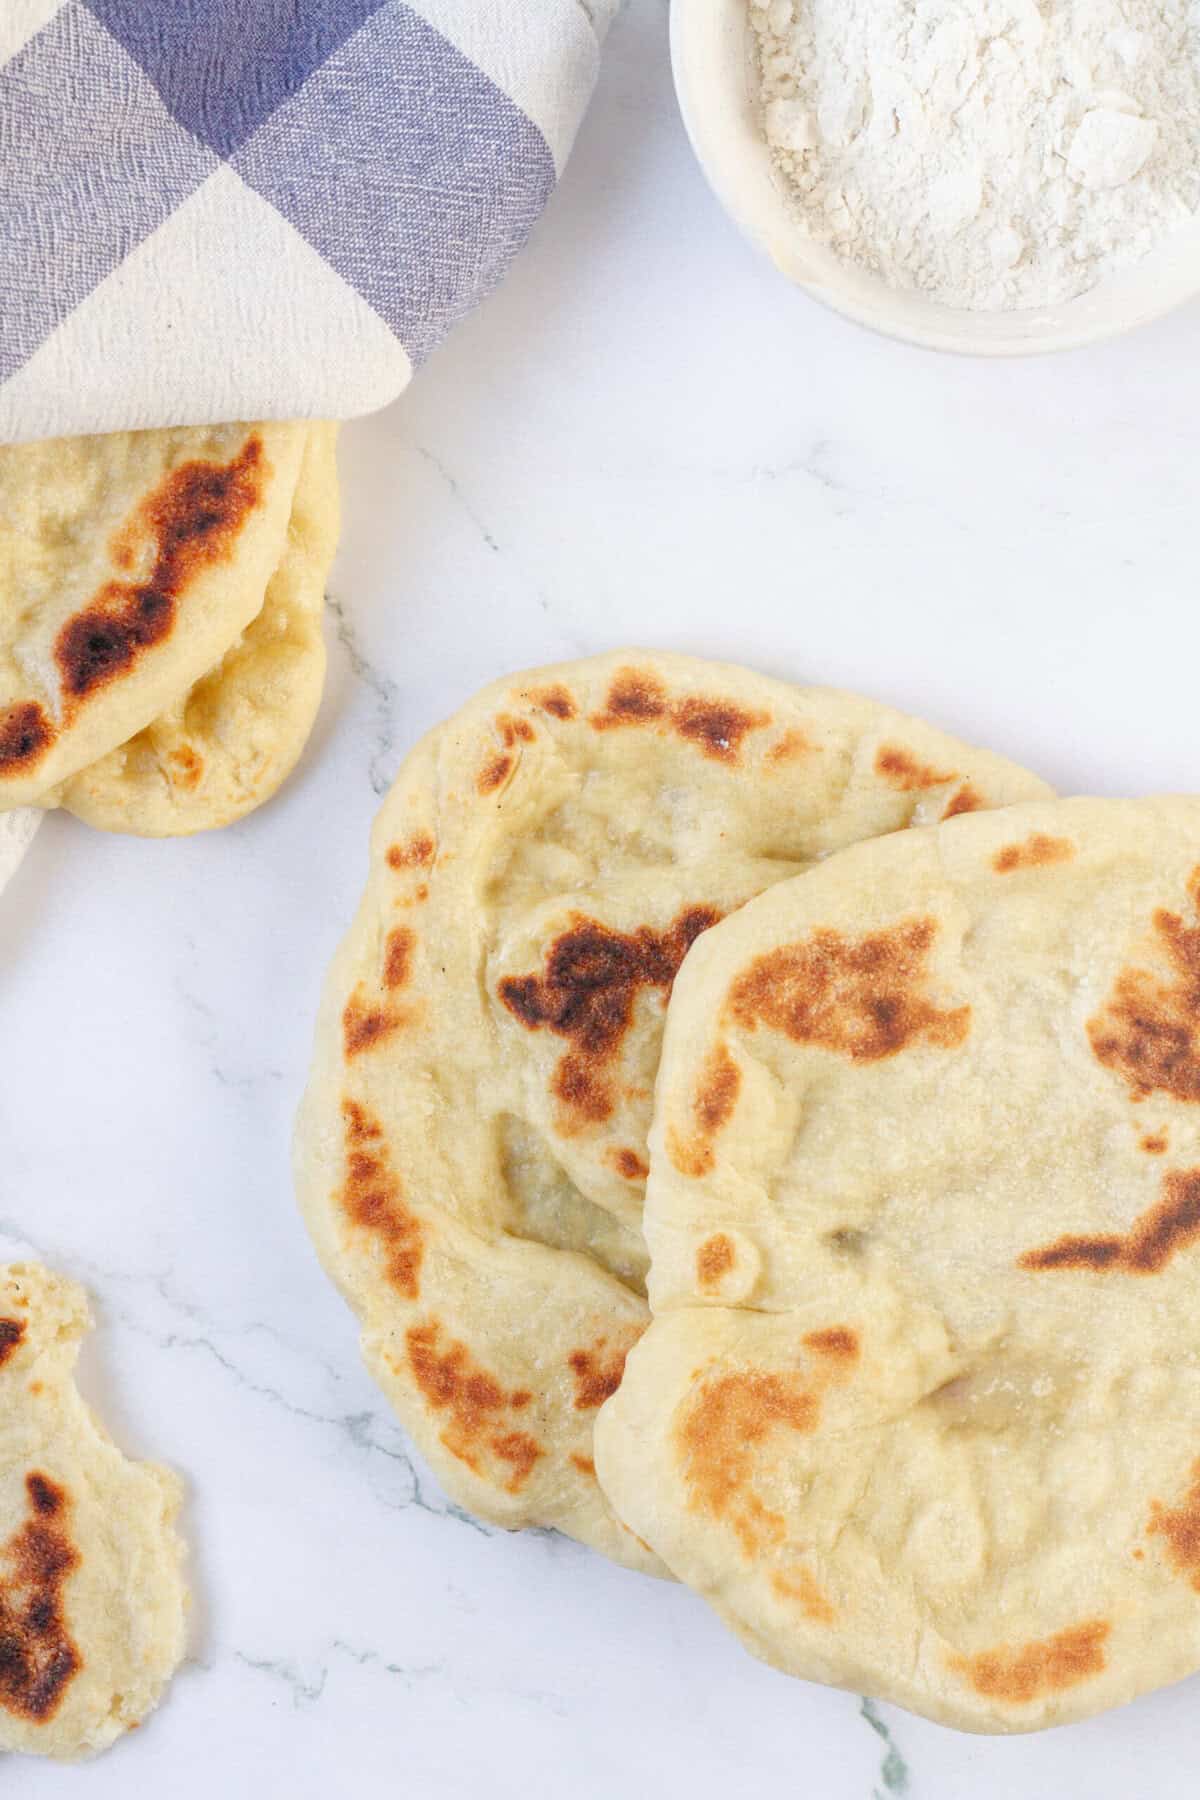
On a lightly floured surface, stretch and press each dough ball into a 6-inch circle. Use a rolling pin to make more uniform pitas or just your hands for a rustic look. Heat a cast iron skillet over medium heat and lightly brush with olive oil. Cook each pita for 2-3 minutes on each side, flipping periodically until golden brown spots appear.
-
Wrap the pitas in a towel to keep warm and serve immediately. Enjoy!

Nutrition
The post Gyro Bread appeared first on Food Faith Fitness.