This Chicken Kiev recipe is fancy enough for a dinner party yet quick and easy enough for a weeknight.

If you’ve never had chicken Kiev, it’s time to discover what you’ve been missing. For those who have enjoyed this elegant dish, you may be surprised to learn that it’s quite simple to make at home.
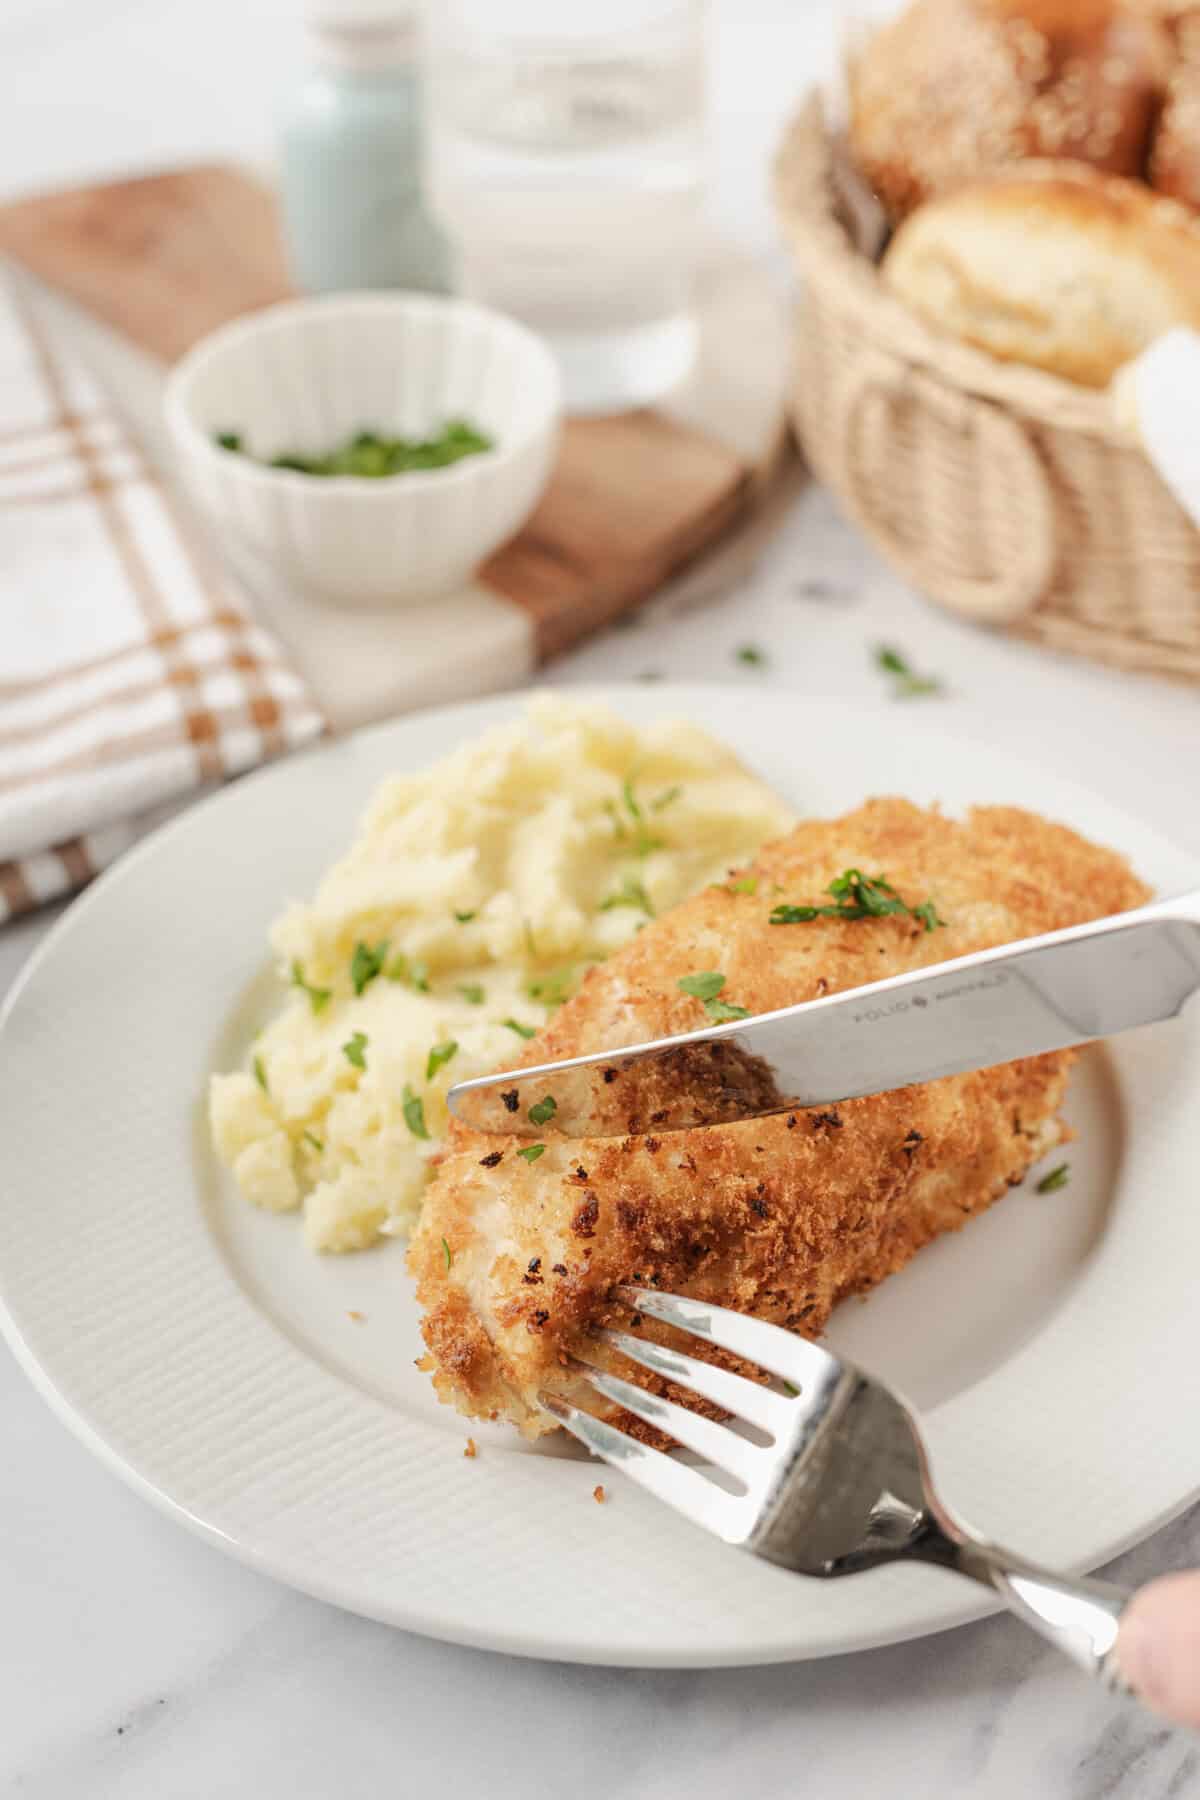
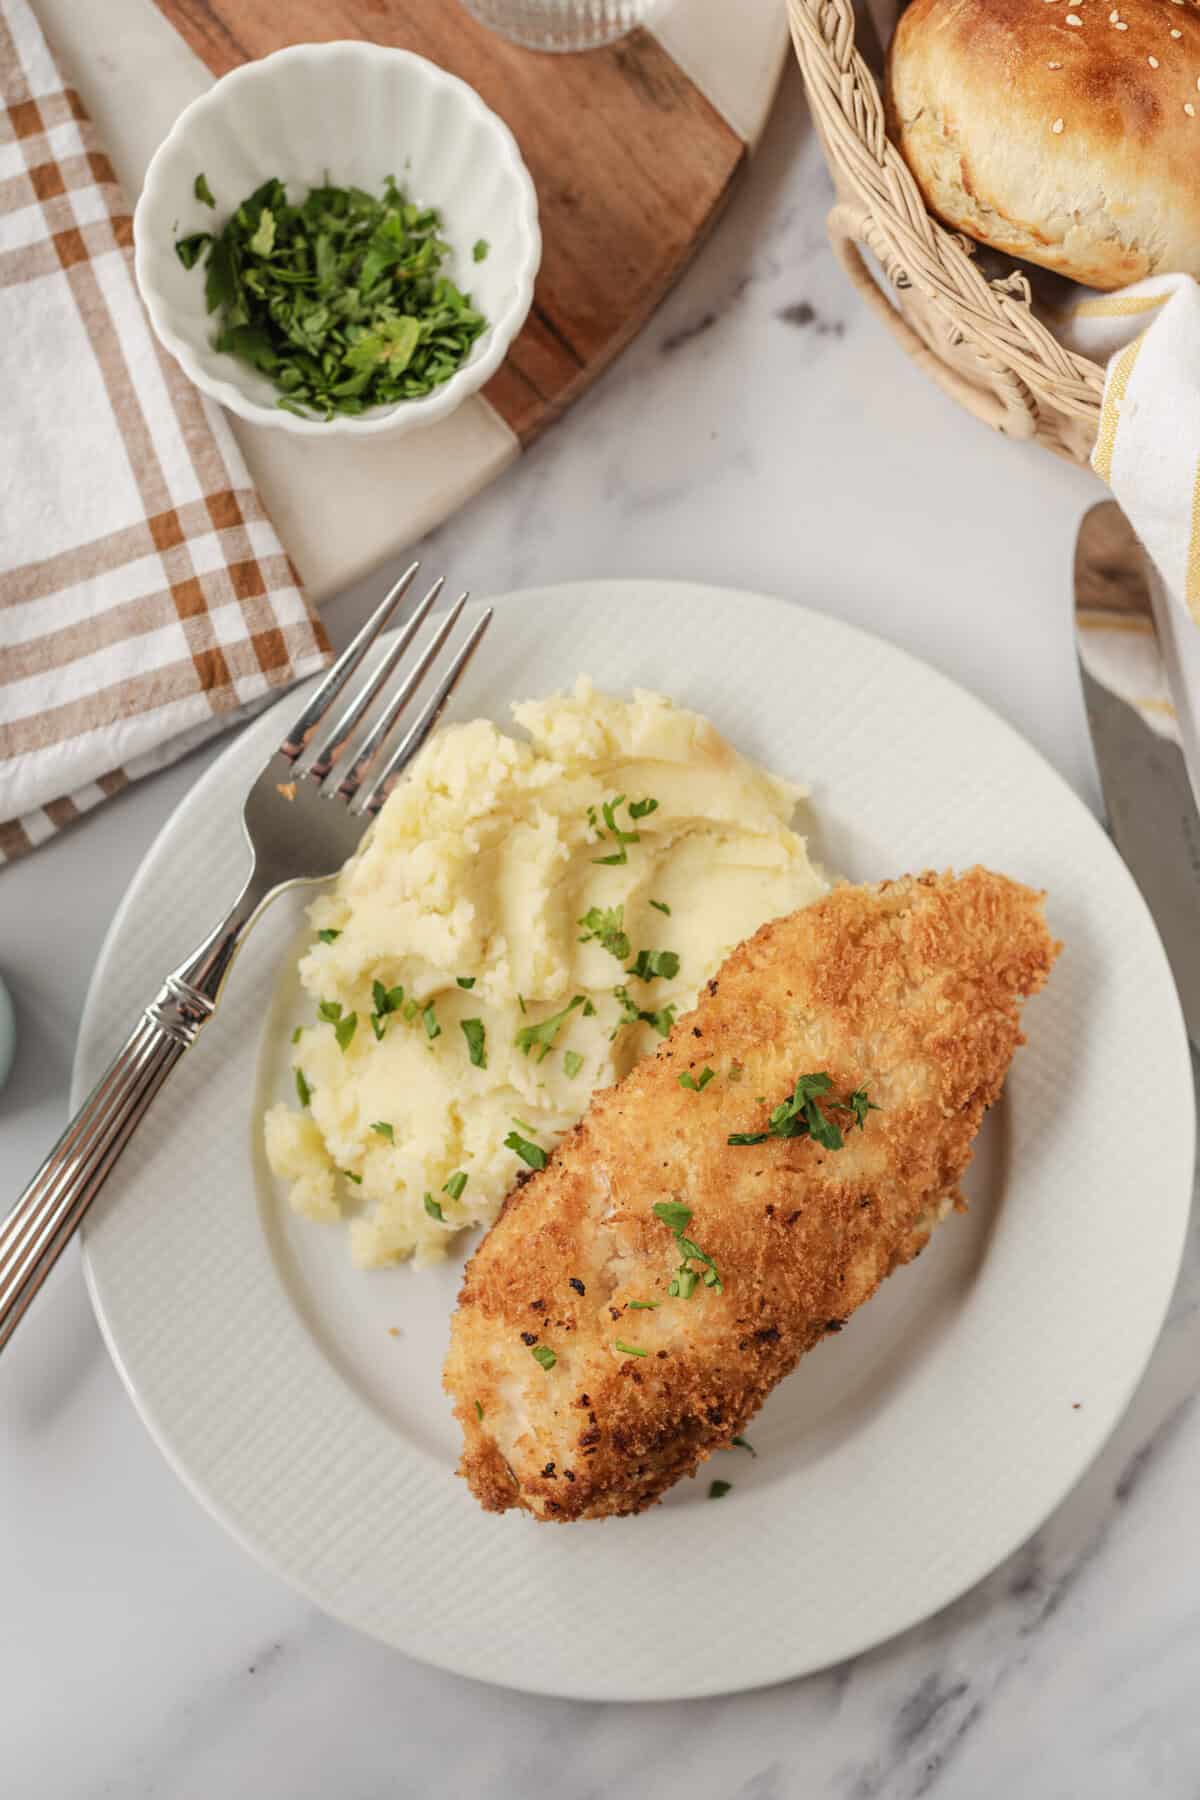
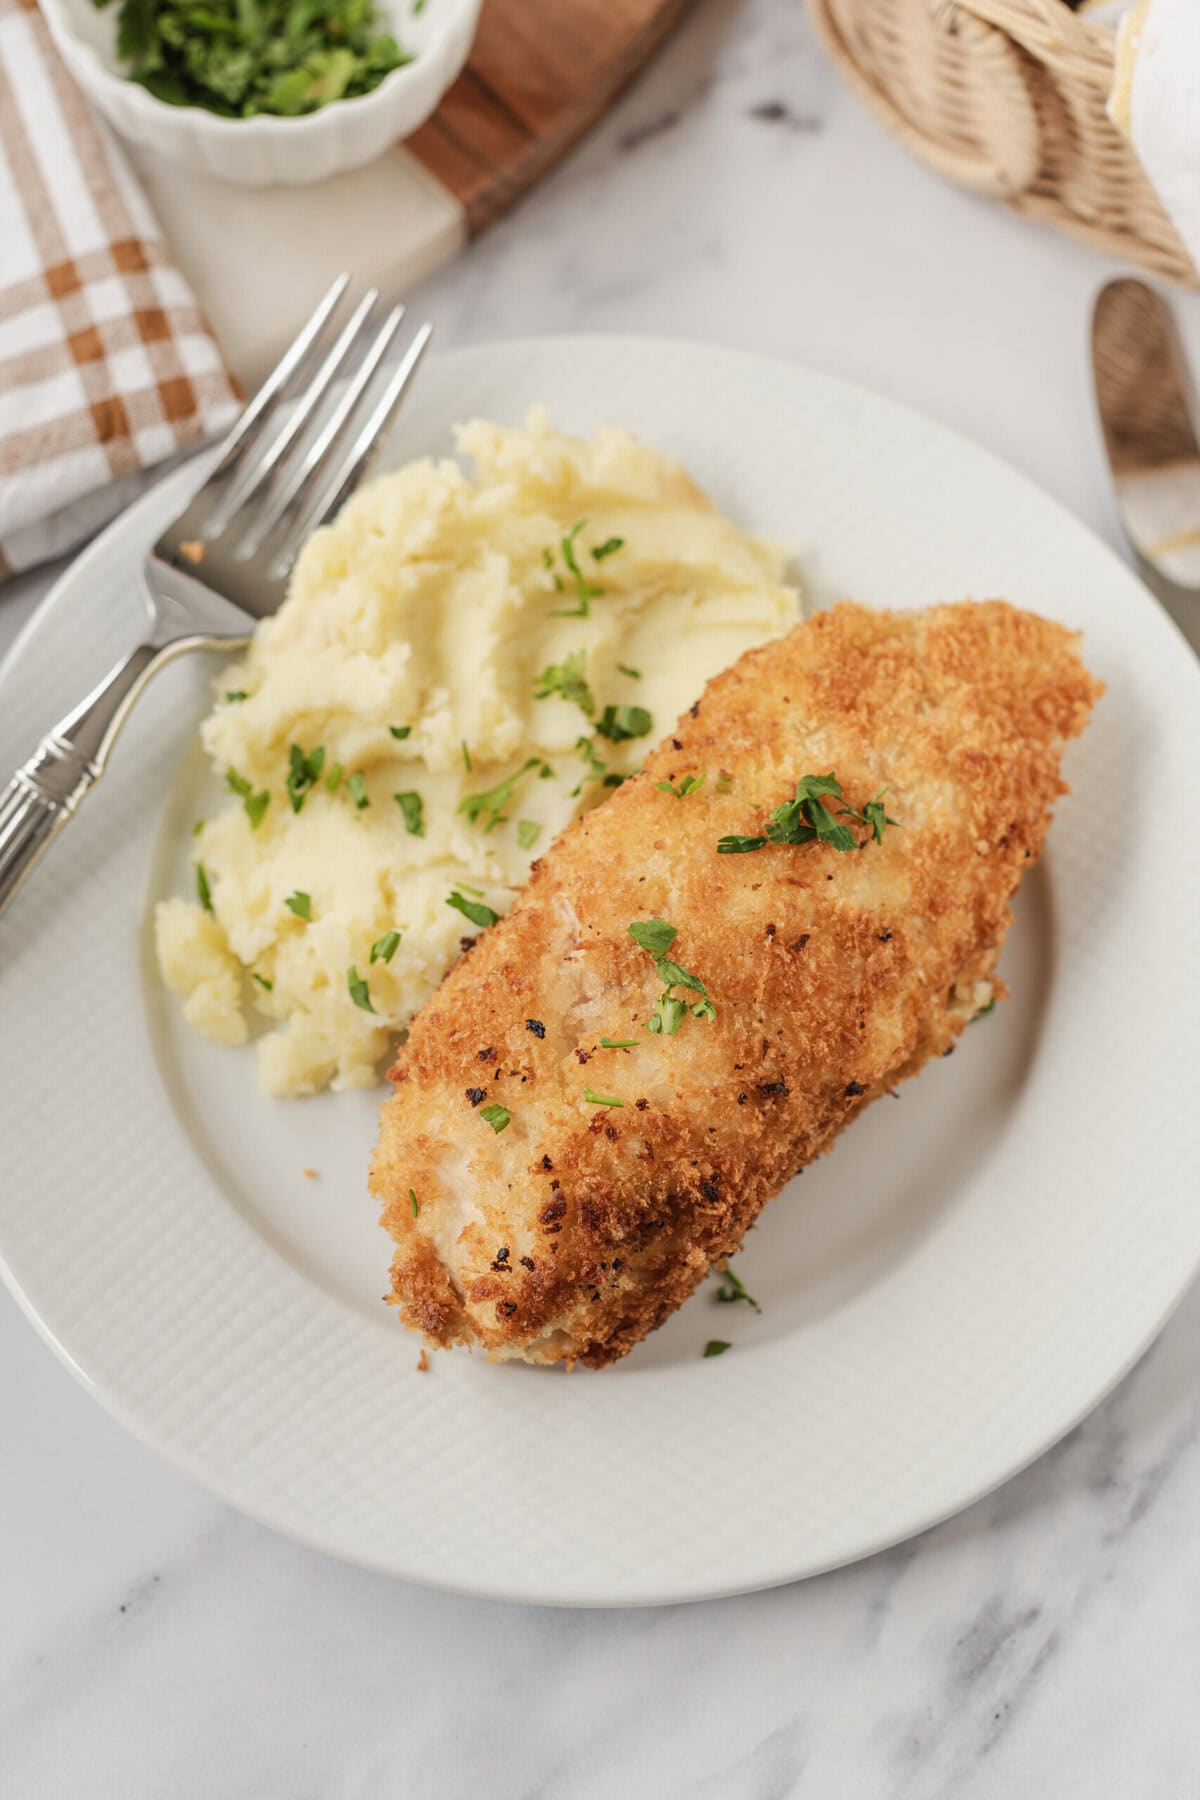
The big payoff of this dish is cutting it open to find a delicious garlicky and herby prize of butter oozing out. You get the crispness of the golden breadcrumb coating, the moistness of a perfectly cooked chicken breast, and the rich goodness of the filling—which work together to drown your taste buds in savory yumminess.
I recall the first time I ate this dish at a restaurant many years ago. I thought it had to be incredibly complicated to make. Fast-forward to today, and I have discovered that cooking this “gourmet” dish does not necessarily require advanced culinary skills. Go ahead and give this easy recipe a try. I know you will be pleasantly surprised at the outcome.
Is Chicken Kiev Healthy?
I want to tell you that chicken Kiev is a healthy recipe, but I can’t. There are far more nutritious ways to prepare chicken breasts than this recipe. Although this dish provides a good source of protein, it is also high in sodium, saturated fat, and calories. Cooking in the air fryer will reduce some fat and calories, so preheat to 400˚F and cook for 6 to 8 minutes, flipping at the halfway mark, until a meat thermometer registers the chicken at 165˚F. However, the overall nutrition profile of this dish remains indulgent rather than healthy. To incorporate this dish into an otherwise balanced and healthy diet, serve it with plenty of vegetables and be careful with portion sizes.
Make It Gluten- and Dairy-Free!
I remember when I first started cooking gluten-free over two decades ago, there were far fewer products available. But times have certainly changed. The sheer volume of products on the shelves now can make it difficult to know what to buy. My suggestion is to become a label sleuth. If it contains ingredients with chemical names that you cannot pronounce, skip it and move on to the next one.
You can use any non-dairy butter in this recipe to accommodate dairy-free diners. Substituting your favorite gluten-free all-purpose flour and GF panko breadcrumbs will also work. In fact, they work so well that most people will have no idea they’re enjoying a gluten-free dish!
FAQs & Tips
Once the leftover chicken Kiev has cooled to room temperature, refrigerate it in an airtight container for up to 3 days. After chilling, it can also be stored in the freezer for up to 3 months. Wrap each piece tightly in freezer wrap and store in airtight containers or zip-top freezer bags. Defrost it overnight in the fridge or reheat it from frozen.
Sure! Follow recipe steps 1 through 4, then stop. Tightly wrap each panko-coated breast in plastic freezer wrap or freezer paper. Place each packet on a baking sheet in a single layer and freeze until solid. Transfer the frozen packets to an airtight freezer container or zipper bag and freeze for up to 3 months. When you’re ready to cook them, take the frozen breasts directly from the freezer to the air fryer set at 400°F for 15 to 20 minutes—or to the oven preheated to 350°F for 45 to 50 minutes. Remember to flip the breast halfway through cooking and use a poultry or meat thermometer to ensure the chicken reaches a safe internal temperature of 165˚F.
I find that freezing the butter in cubes or tiny logs before stuffing it in the chicken helps. You can also tightly wrap the stuffed breasts and place them in the freezer for 30 minutes before coating them in flour, egg, and breadcrumbs. That also makes them easier to handle. Roll the stuffed chicken breast tightly in the wrap, ensuring the butter is sealed inside. If you’re planning to cook this dish immediately, chilling the stuffed and breaded breasts for an hour before cooking can help prevent the butter from seeping out, too.
Serving Suggestions
This chicken Kiev pairs well with a variety of side dishes, including Seasoned Rice, Instant Pot Quinoa, Asparagus Risotto, and Smashed Potatoes. Some great veggie pairings include Roasted Sweet Potatoes And Carrots, Garlic Brussels Sprouts, and Easy Sautéed Broccoli.

Chicken Kiev
Ingredients
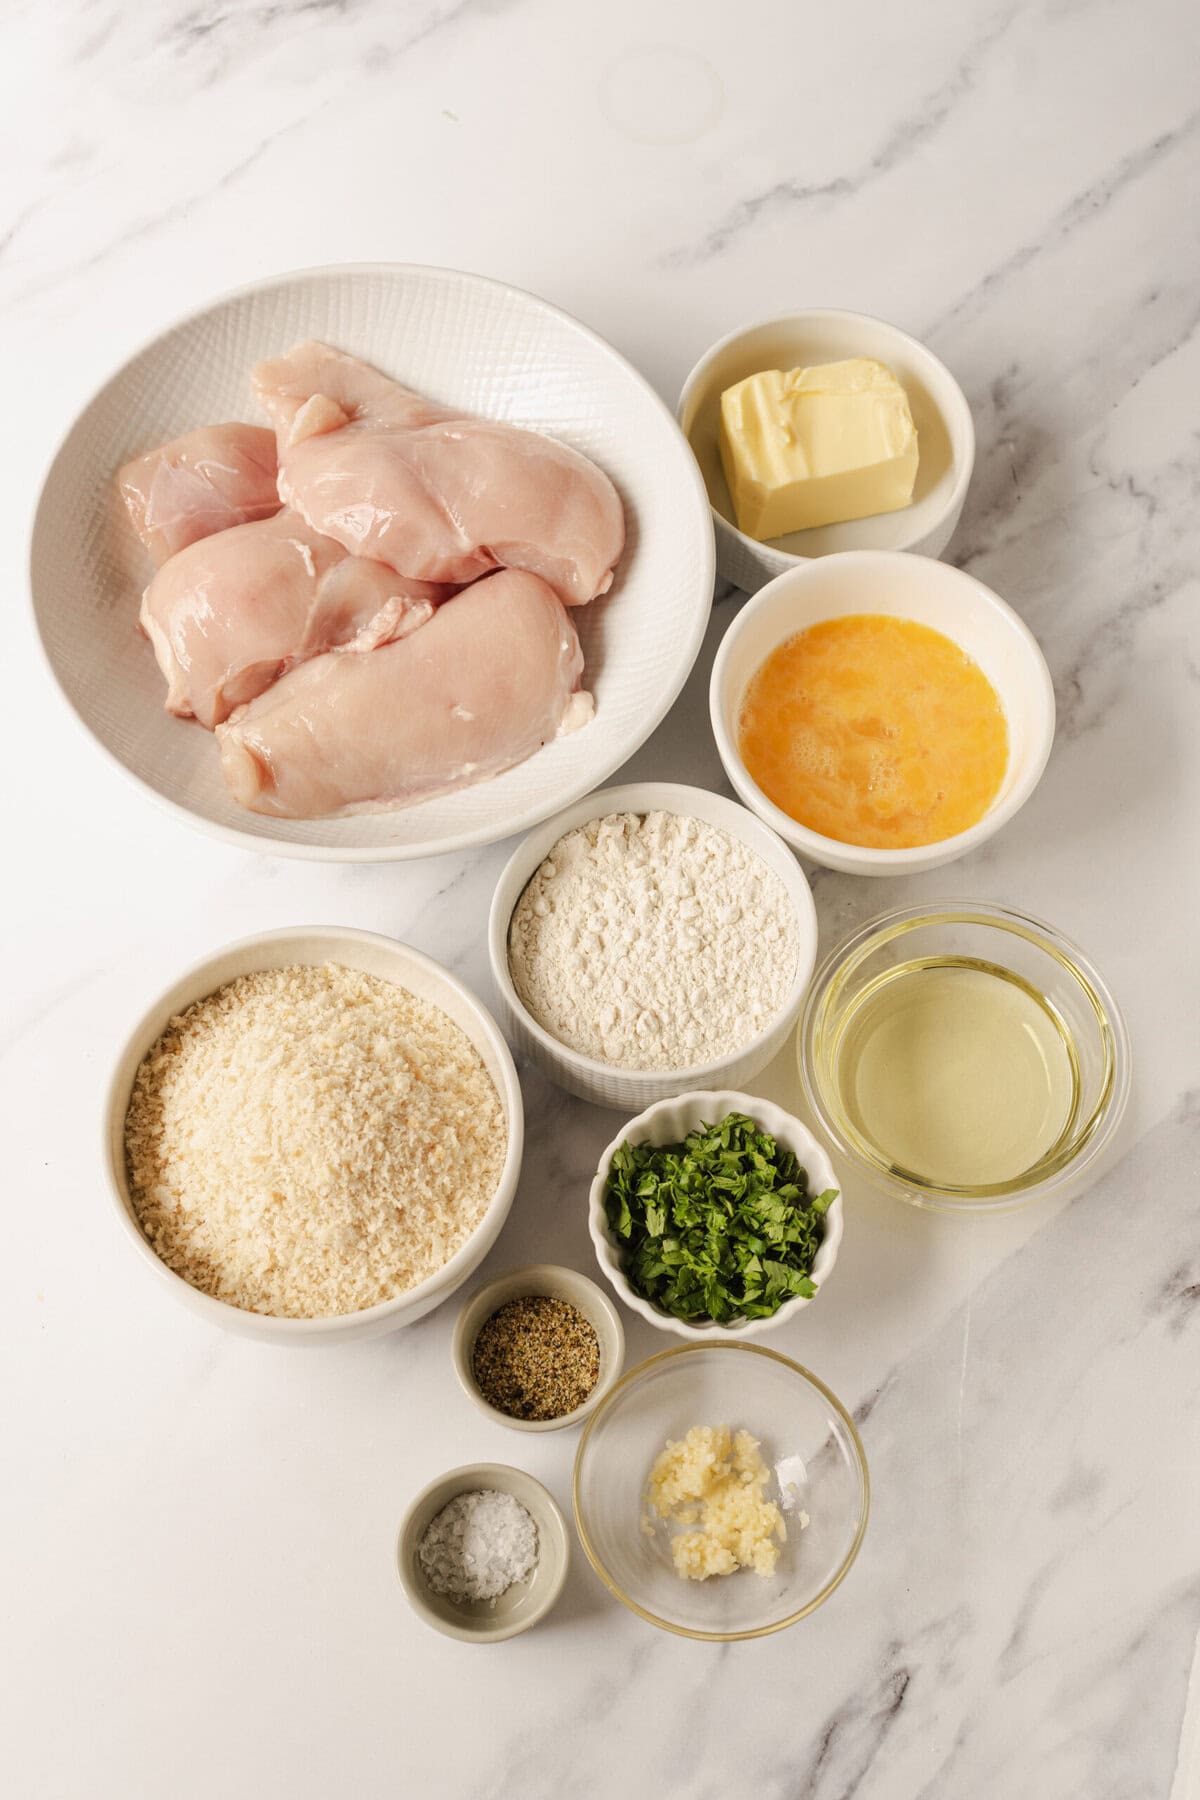
- 4 small boneless skinless chicken breasts
- 6 tablespoons unsalted butter softened
- 1 1/2 tablespoons fresh parsley chopped
- 2 cloves garlic minced
- 1 teaspoon lemon-pepper seasoning
- 3/4 cup all-purpose flour
- 1 teaspoon salt plus more to taste
- 2 large eggs beaten
- 2 cups panko breadcrumbs
- Oil for frying enough to coat the bottom of a large skillet to about 3/4 inch deep
- Fresh parsley chopped (for garnish)
Instructions
-
Place each chicken breast on a cutting board and use a sharp knife to cut them horizontally almost in half, leaving one edge intact. Open them like a book so they are evenly thin.

-
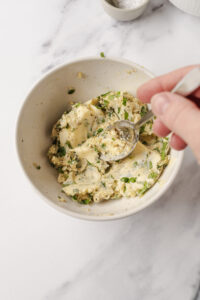
In a small bowl, mix the softened butter with the chopped parsley, minced garlic, and lemon-pepper seasoning. Ensure the mixture is smooth and well-blended.
-
Place about 1 1/2 tablespoons of the herb butter in the center of each opened chicken breast. Fold the chicken over the butter and press the edges firmly to seal in the filling.
-
Set up three shallow dishes. In the first, combine the all-purpose flour with 1 teaspoon salt. In the second, beat the eggs. In the third, place the panko breadcrumbs. Dredge each stuffed chicken breast in the flour first (shake off excess), then dip in the egg, and finally coat evenly with the breadcrumbs.
-
Heat oil in a large skillet over medium heat until it reaches about 350°F. Place the breaded chicken breasts in the skillet and fry for 4 to 5 minutes per side until they are golden brown. Remove and drain on paper towels.
-
Sprinkle with fresh parsley and serve immediately.


Nutrition
The post Chicken Kiev appeared first on Food Faith Fitness.