Looking to jump into the world of breadmaking? Put on your apron and get started by making this easy Dutch Oven Bread!
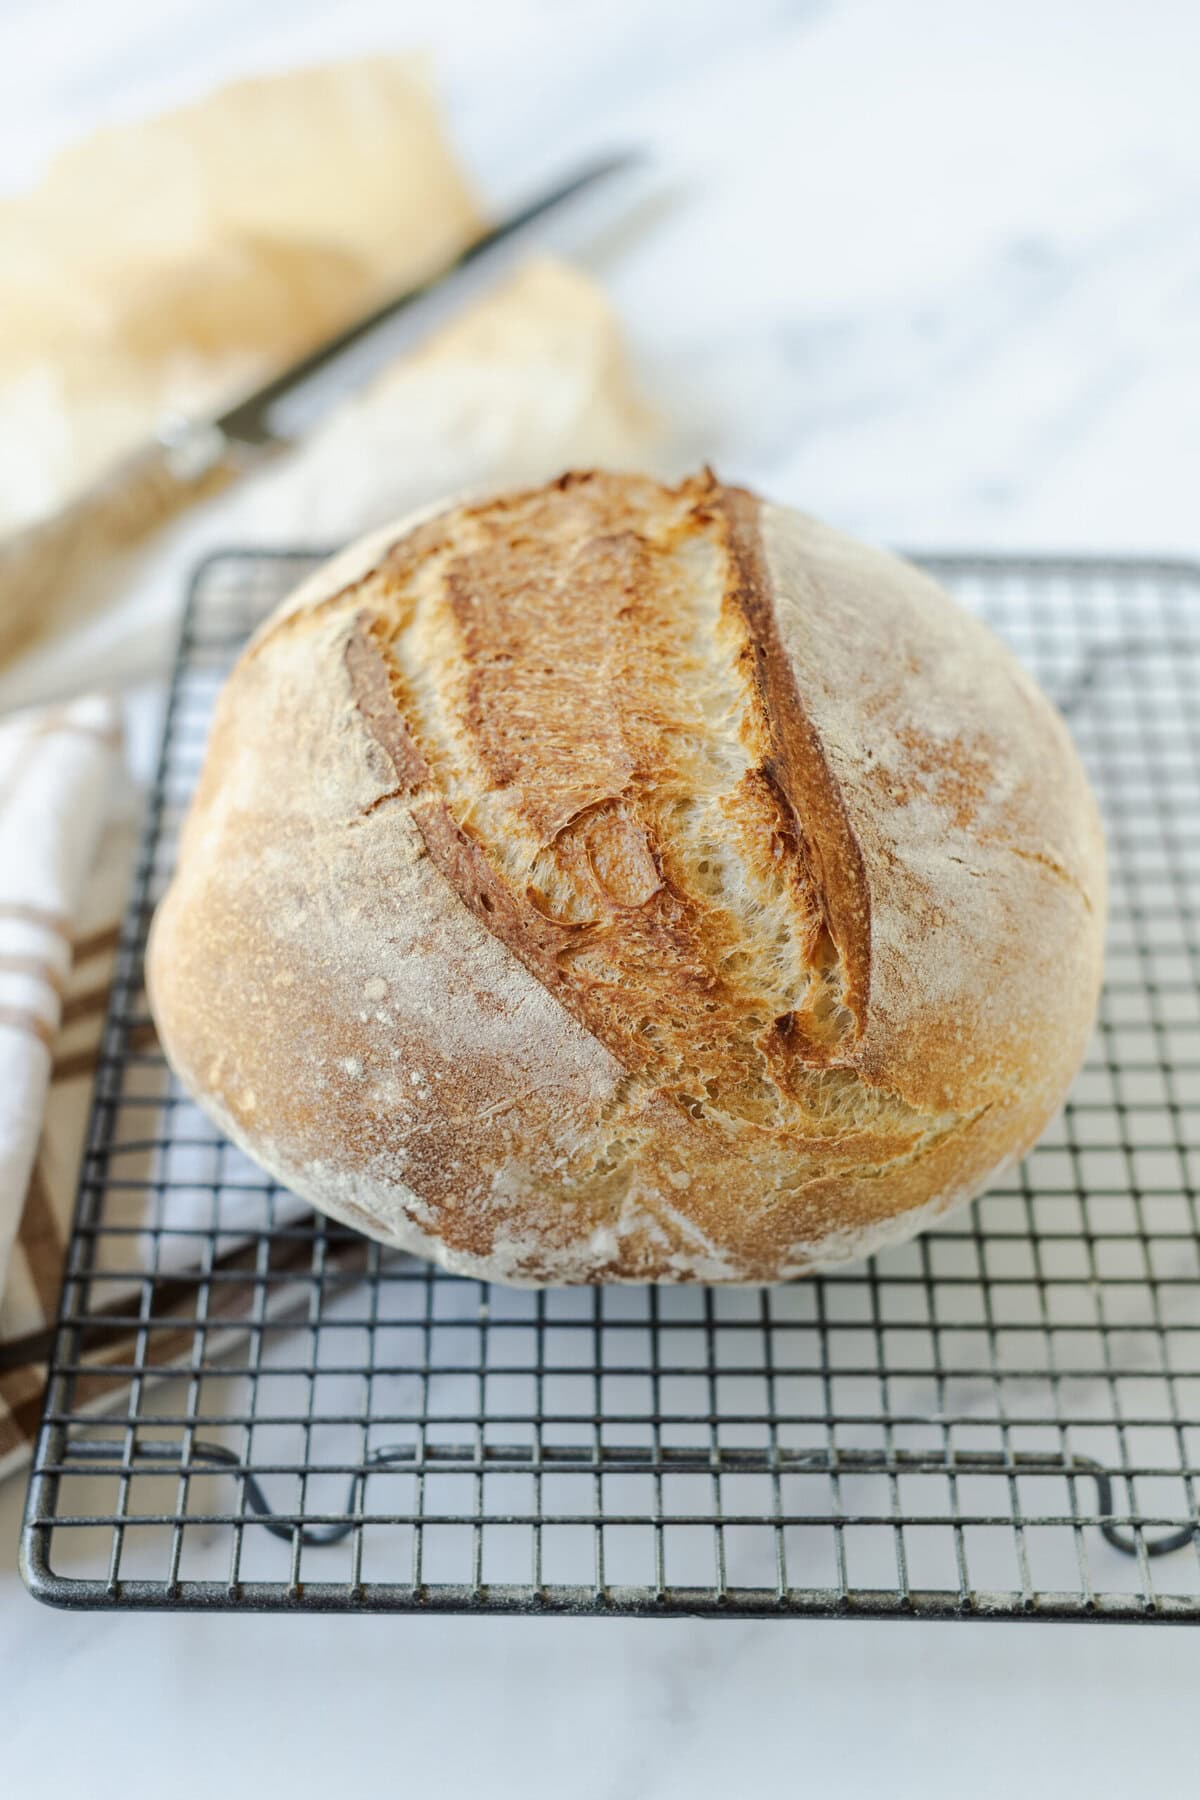
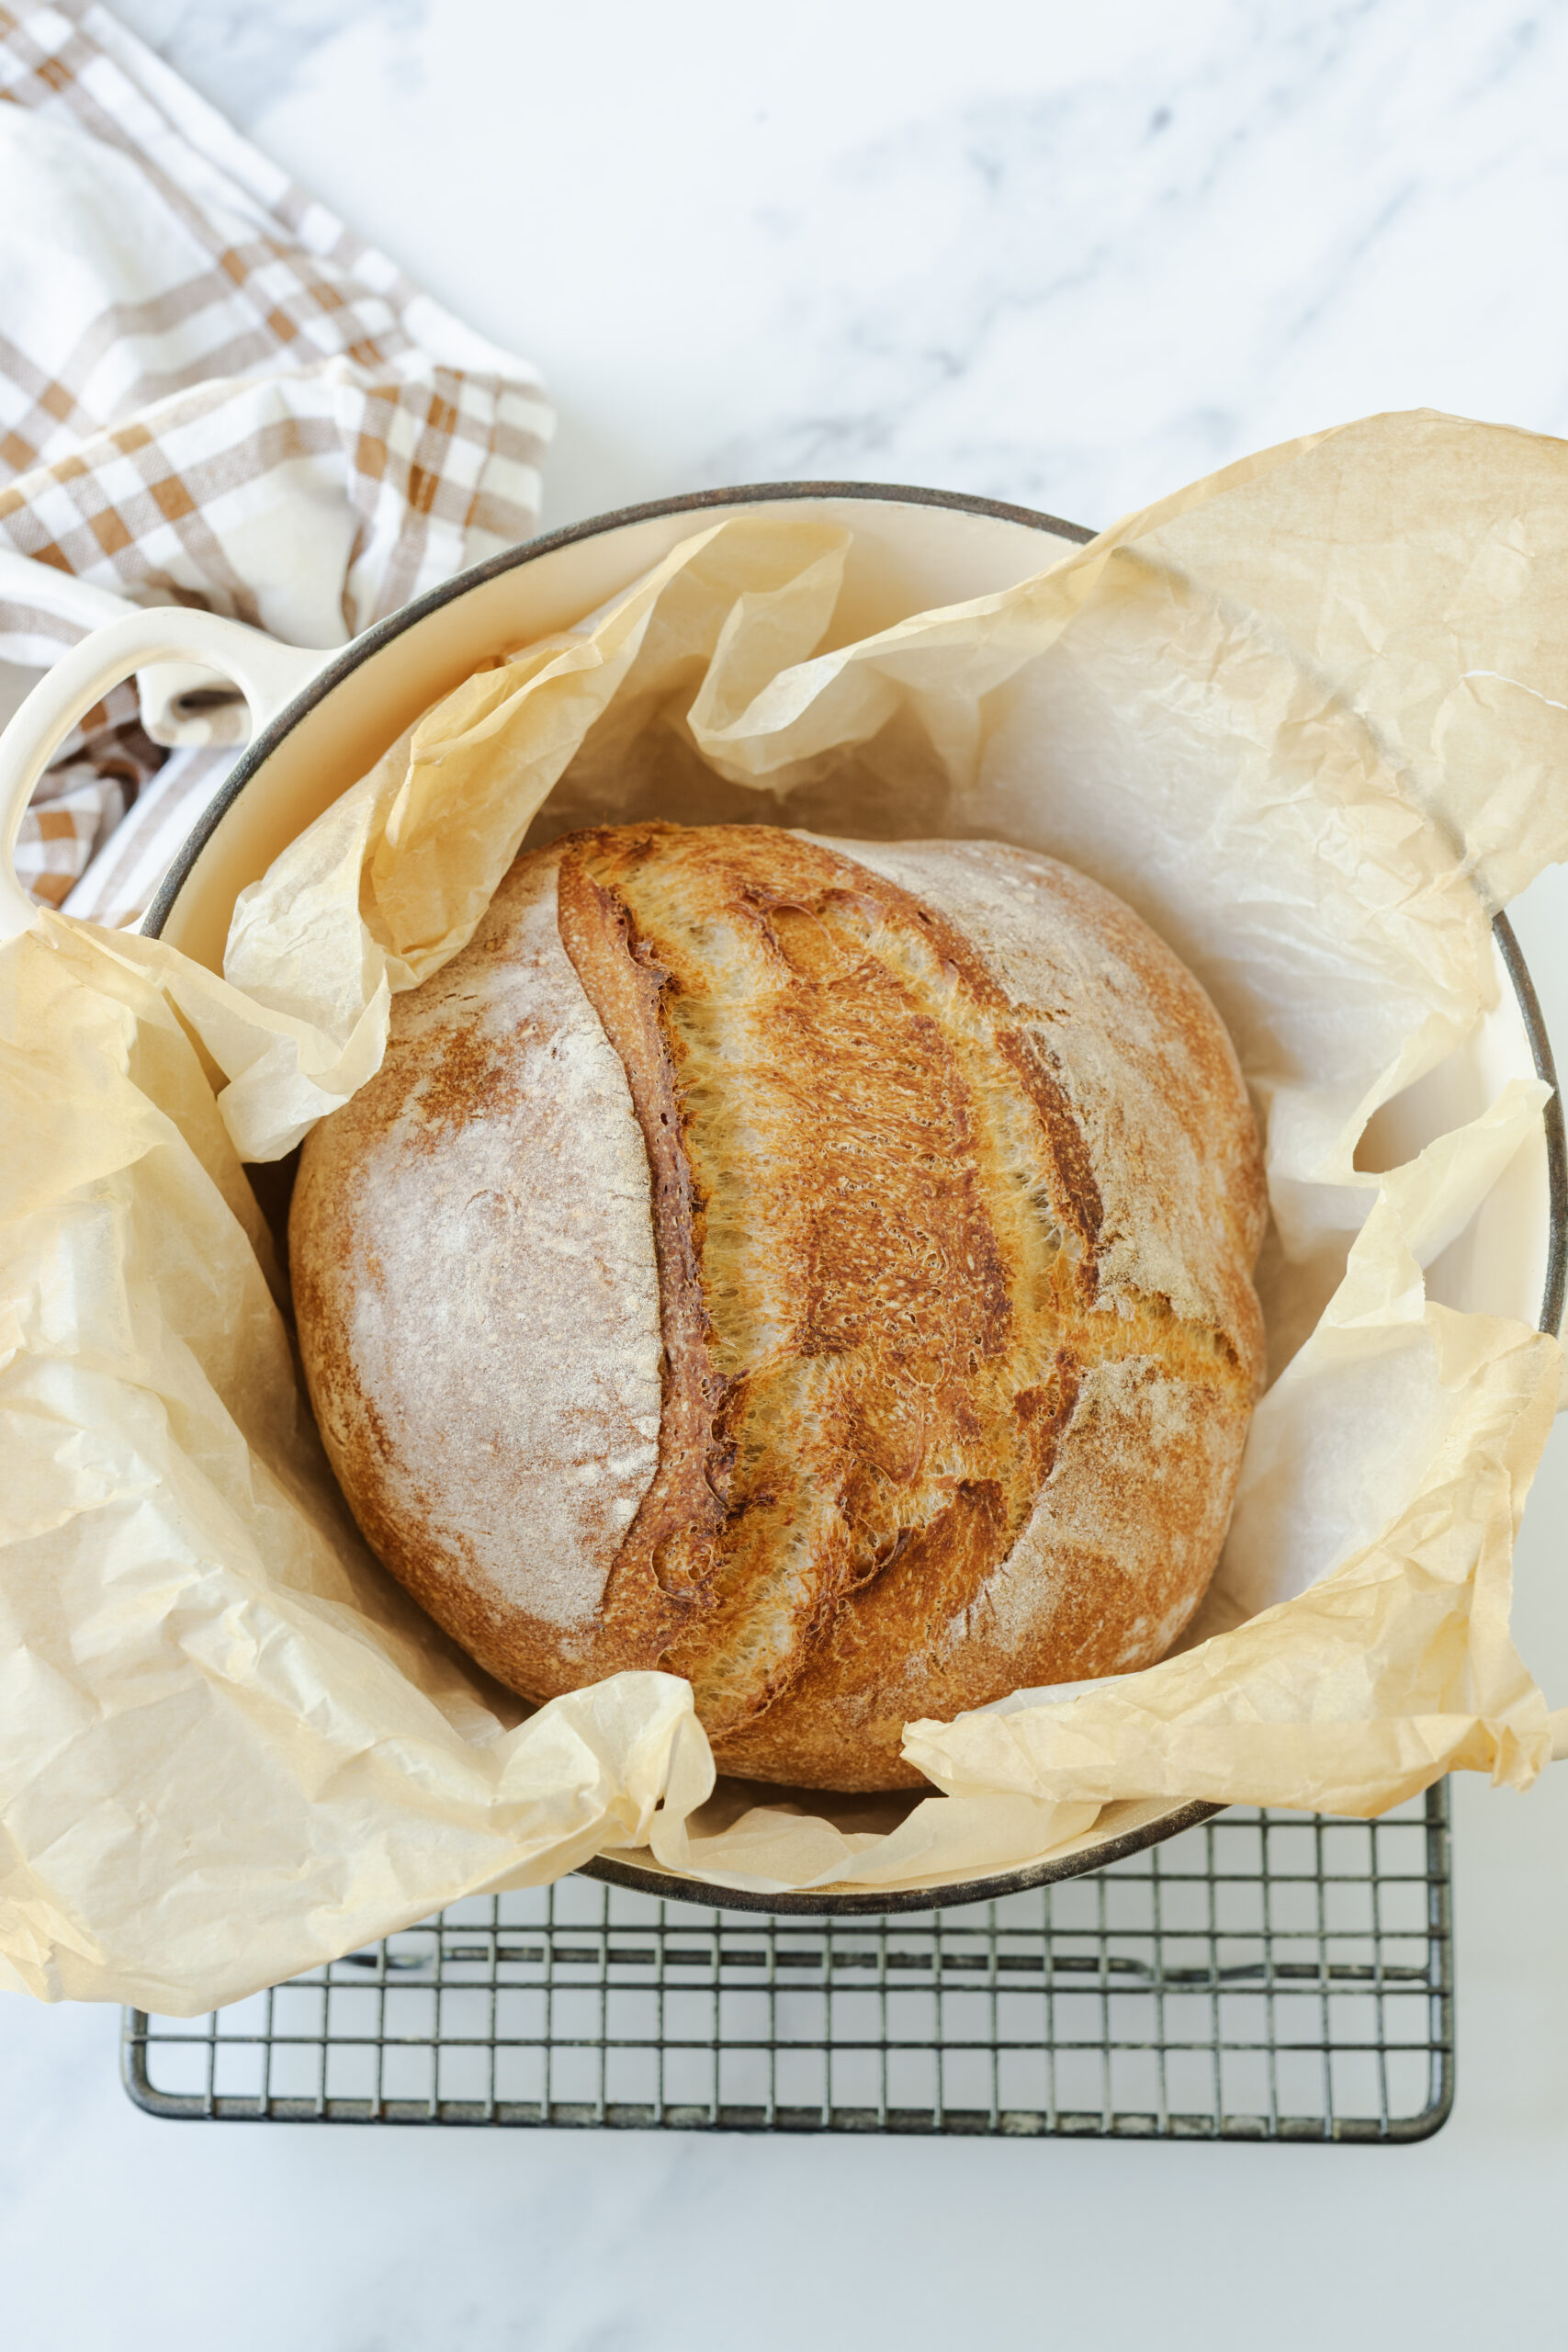
I’ll be honest—as a professional pastry chef who’s spent years perfecting bread recipes and techniques, I was initially quite skeptical about this no-knead Dutch oven method. But after countless hours of kneading, proofing, and shaping traditional breads, I’ve come to absolutely love this recipe for its pure simplicity. The long fermentation time develops a tangy, yeasty flavor, and the Dutch oven creates the perfect steam environment for an absolutely gorgeous, golden-brown crust. What I love most about this recipe is how it strips breadmaking down to its four essential elements: flour, water, yeast, and time. Due to its simple ingredient list and easy preparation, this Dutch oven bread is perfect for novice bakers.
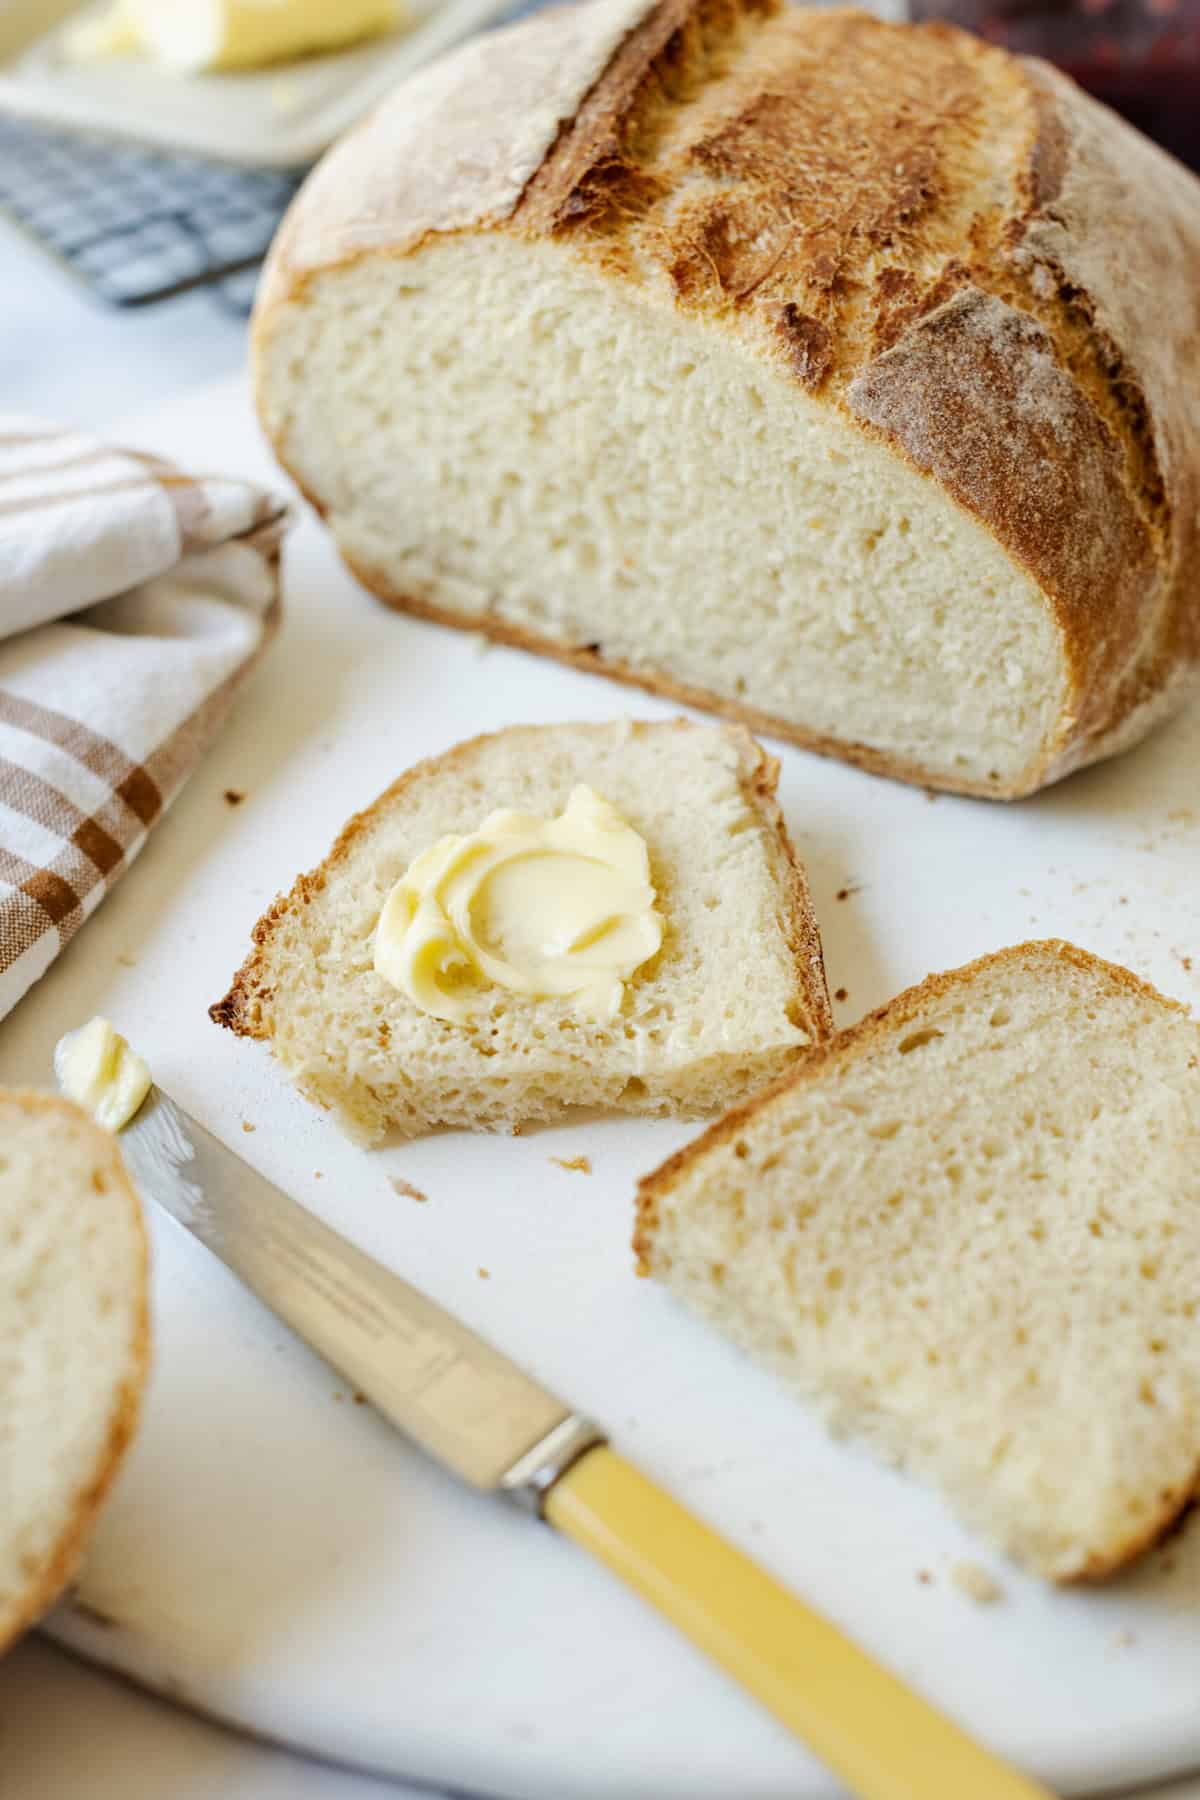
I’ve made this bread dozens of times at home now, and I still get excited watching it puff up and turn golden brown through the oven door. The aroma that fills your kitchen is absolutely intoxicating, and there’s nothing quite like slicing into a warm loaf and slathering it with butter while it’s still steaming. Even with all my baking experience, this foolproof method has become my go-to when I want bakery-quality bread without the time commitment of my usual French artisan loaves!
What is active dry yeast?
Active dry yeast is a type of yeast that has been dehydrated into small pellets and put into a dormant state for long-term storage. Before using it in recipes, you need to “activate” it by dissolving it in warm water (typically around 100-110°F), which causes the yeast to foam and bubble as it comes back to life. This live yeast is what creates the miniature gas bubbles that make bread dough rise, giving you that light, airy texture in your bread loaves. You can find active dry yeast in small packets or jars in the baking aisle of most grocery stores.
How do I store leftovers?
You can store any leftover bread in an airtight container or a Ziploc bag for up to 5 days. You can also stash it in the freezer for up to 3 months—slice it first so it’s easier to thaw later. Defrost the bread by leaving it at room temperature for 30-60 minutes, or just pop the frozen slices in your toaster. For faster thawing, you can microwave the bread for 15-20 seconds on medium power, though be careful not to overheat, as this can make it chewy. If you need the entire loaf to soften more quickly, wrap it in a damp paper towel and microwave for 30-45 seconds. Then, let it rest for a minute before unwrapping.
Serving suggestions
Dutch oven bread is a total blank canvas. Whether you want to slather it with salted butter and this Healthy Strawberry Chia Jam for a simple breakfast or use it as the base for a BLT Sandwich, you won’t be disappointed. Personally, I think it’s the perfect bread for a classic Air-Fryer Grilled Cheese, or perhaps something more spicy, like this Jalapeño Popper Grilled Cheese. You can also just tear it off into chunks to dip into your favorite soup or serve it alongside this Crock-Pot Beef Stew to soak up every last drop of its tasty broth.
Dutch Oven Bread
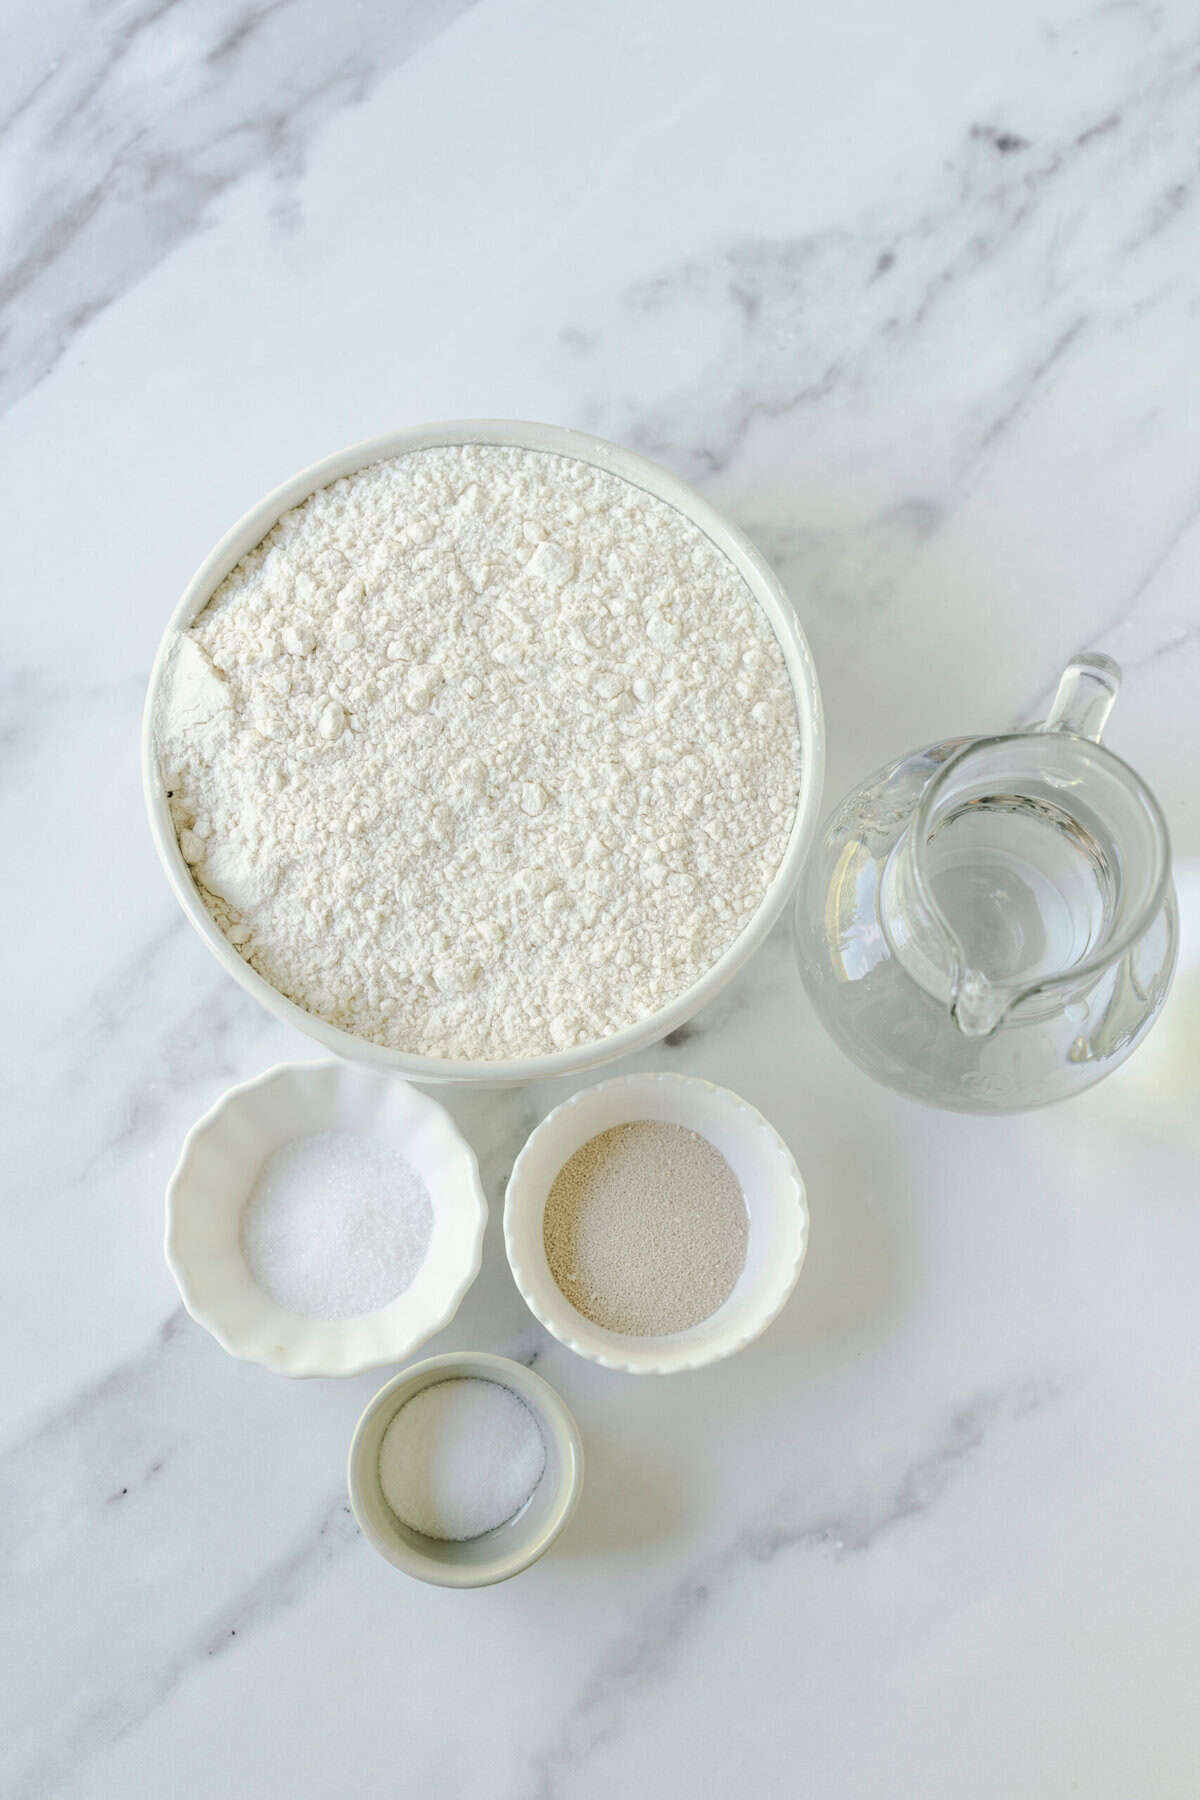
Ingredients
- 1 1/2 cups warm water about 100°F
- 2 1/4 teaspoons active dry yeast
- 1 1/2 teaspoons granulated sugar
- 3 1/4 cups all-purpose flour
- 1 3/4 teaspoons salt
Instructions
-
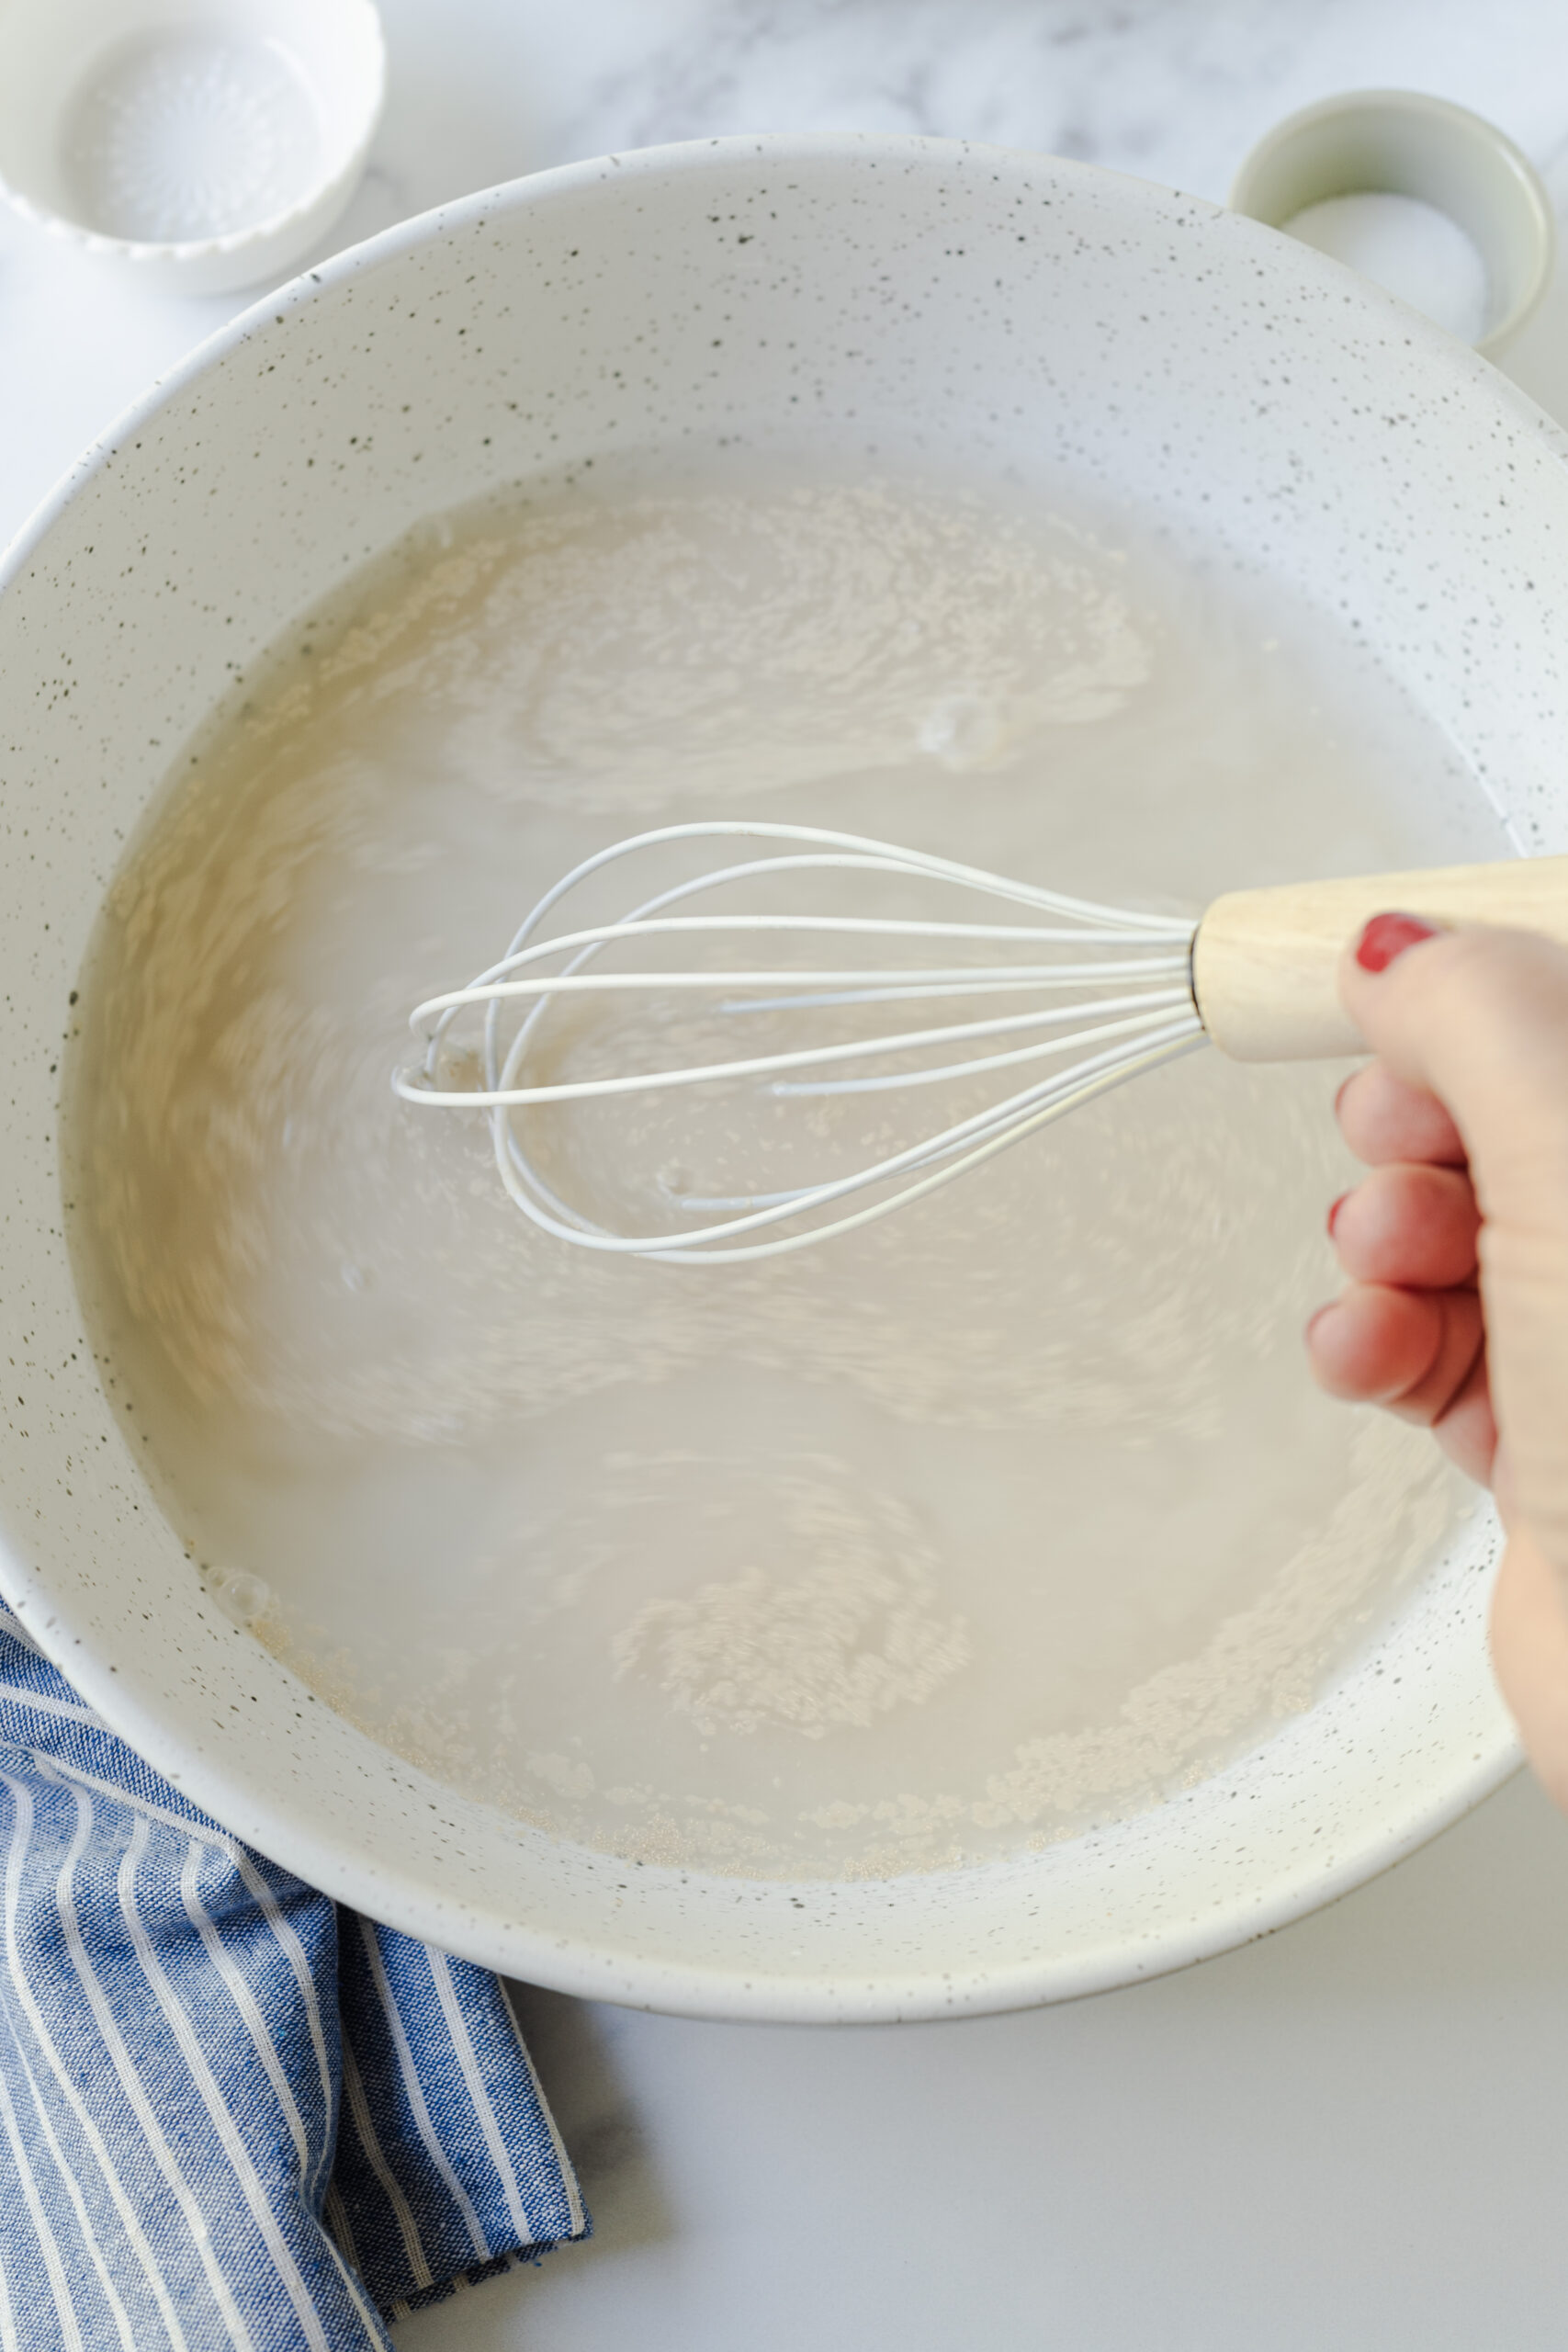
In a large bowl, whisk together the warm water, yeast, and sugar until the yeast and sugar are dissolved. Allow to sit for about 5 minutes until foamy. Stir in the flour and salt until a thick, sticky dough forms.

-
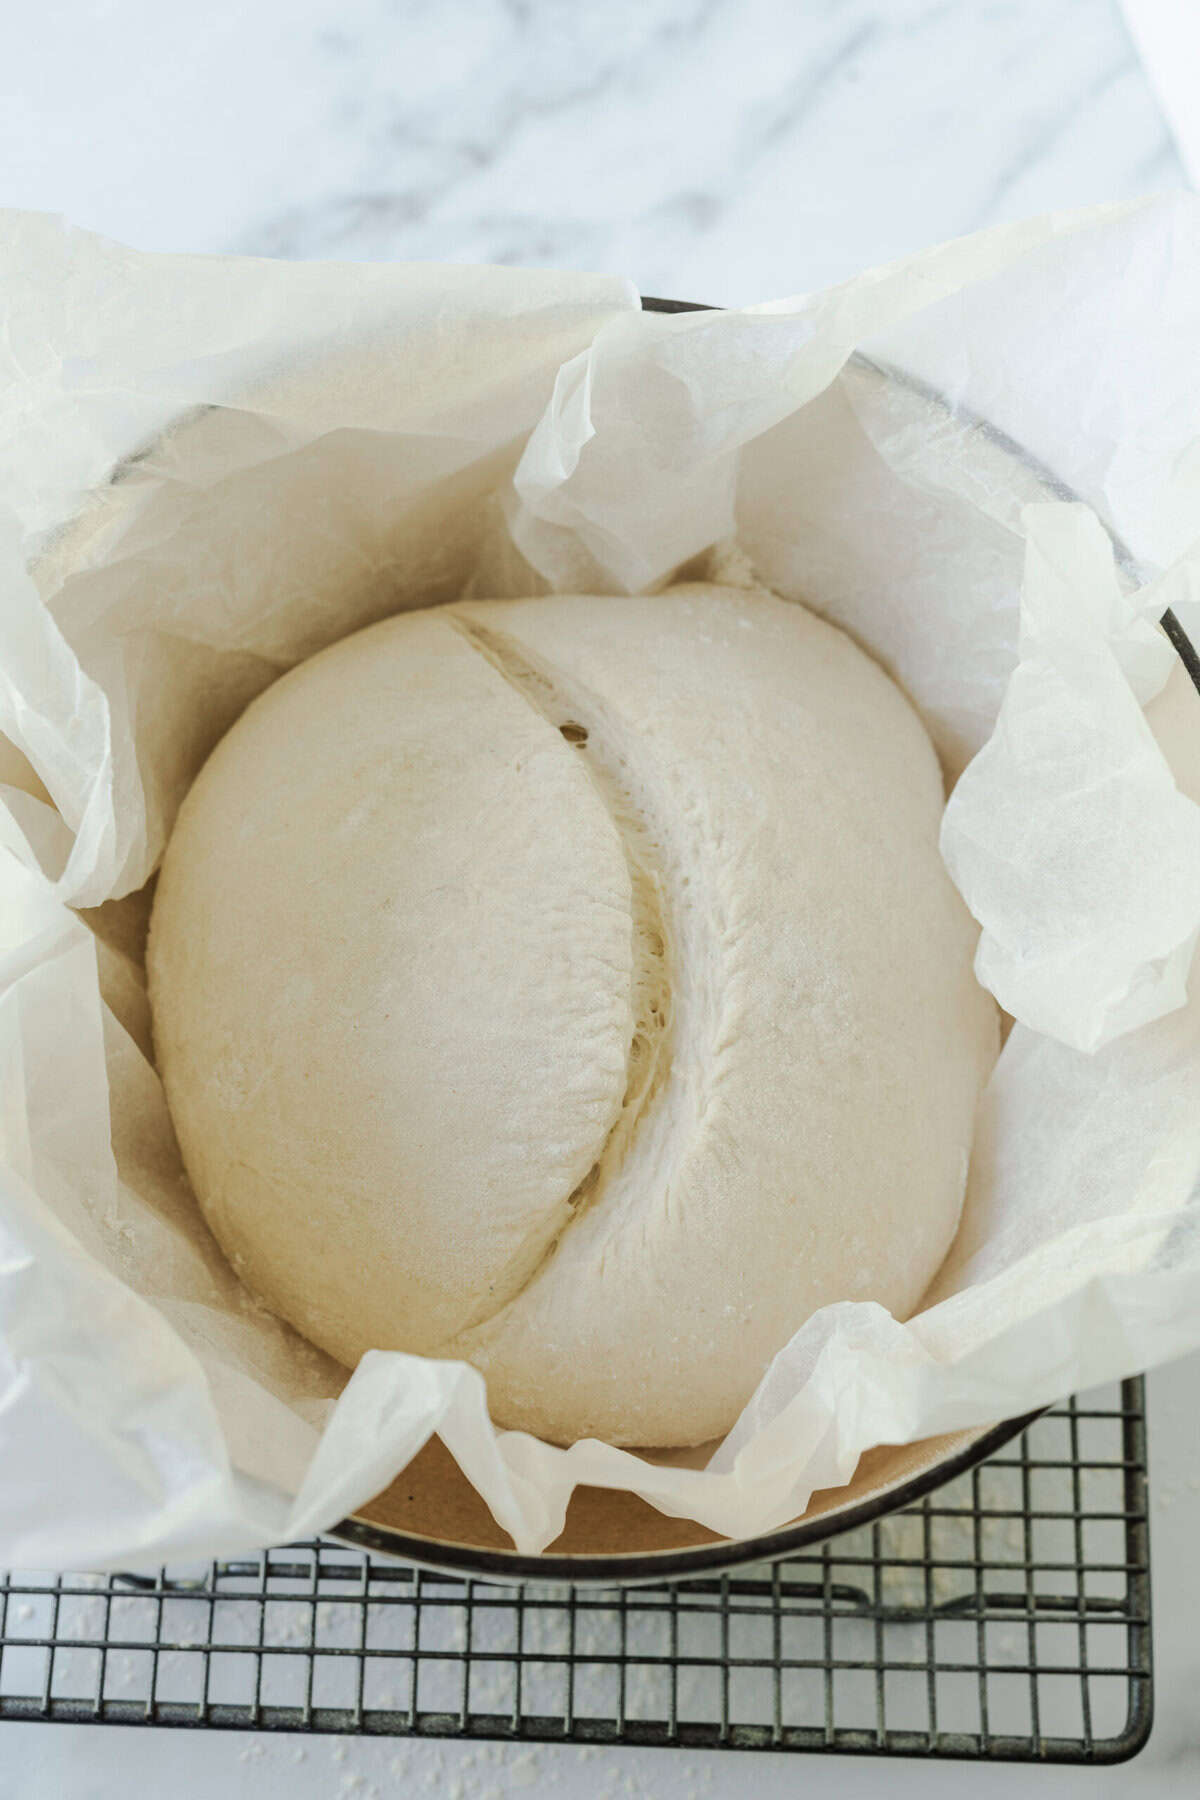
Cover the bowl with a kitchen towel or plastic wrap and let the dough sit in a warm spot for 2 to 3 hours, until it doubles in size.
-
Place a Dutch oven with its lid in the oven and preheat to 450°F for about 20 minutes.
-
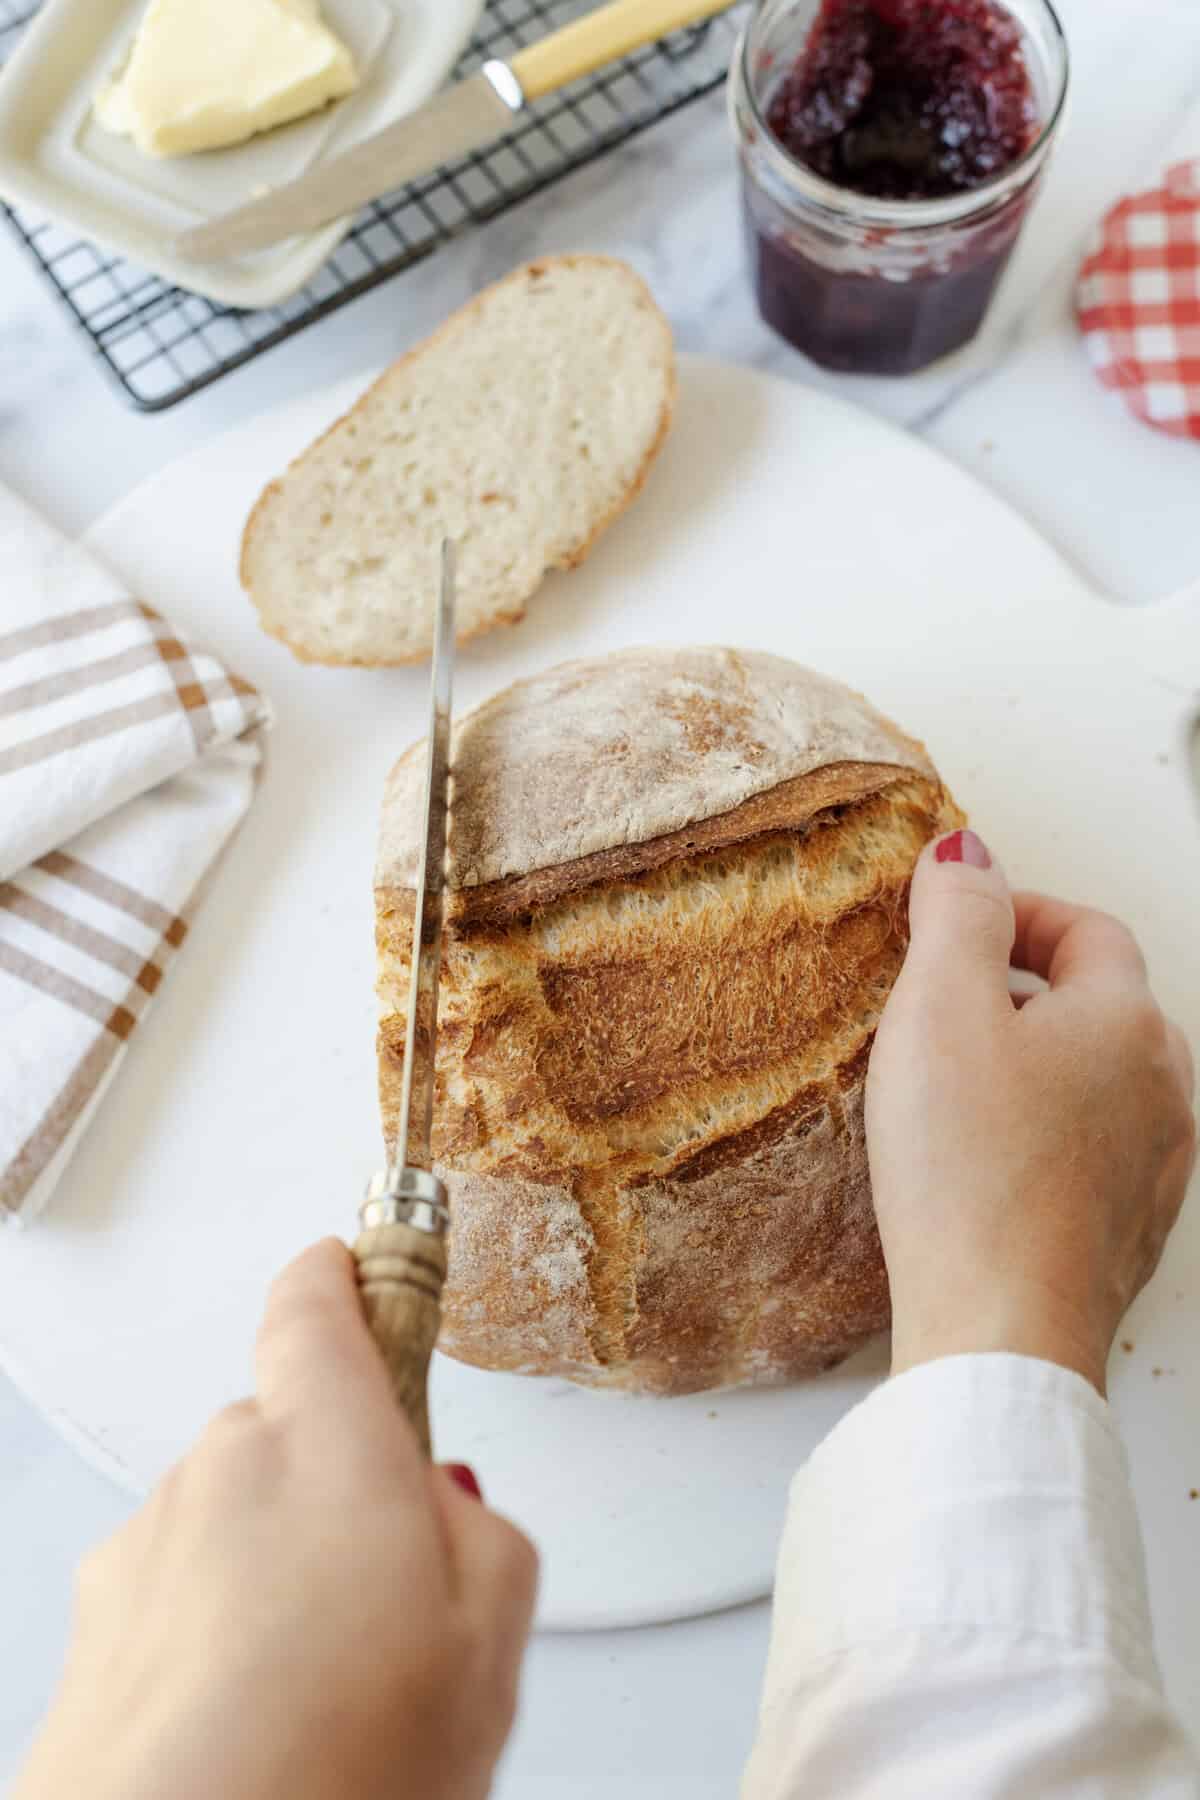
While the oven heats, gently shape the dough on a piece of floured parchment paper and, if desired, score the top with a sharp knife.
-
Carefully transfer the dough (with the parchment paper) into the heated Dutch oven, cover, and bake for 35 minutes.
-
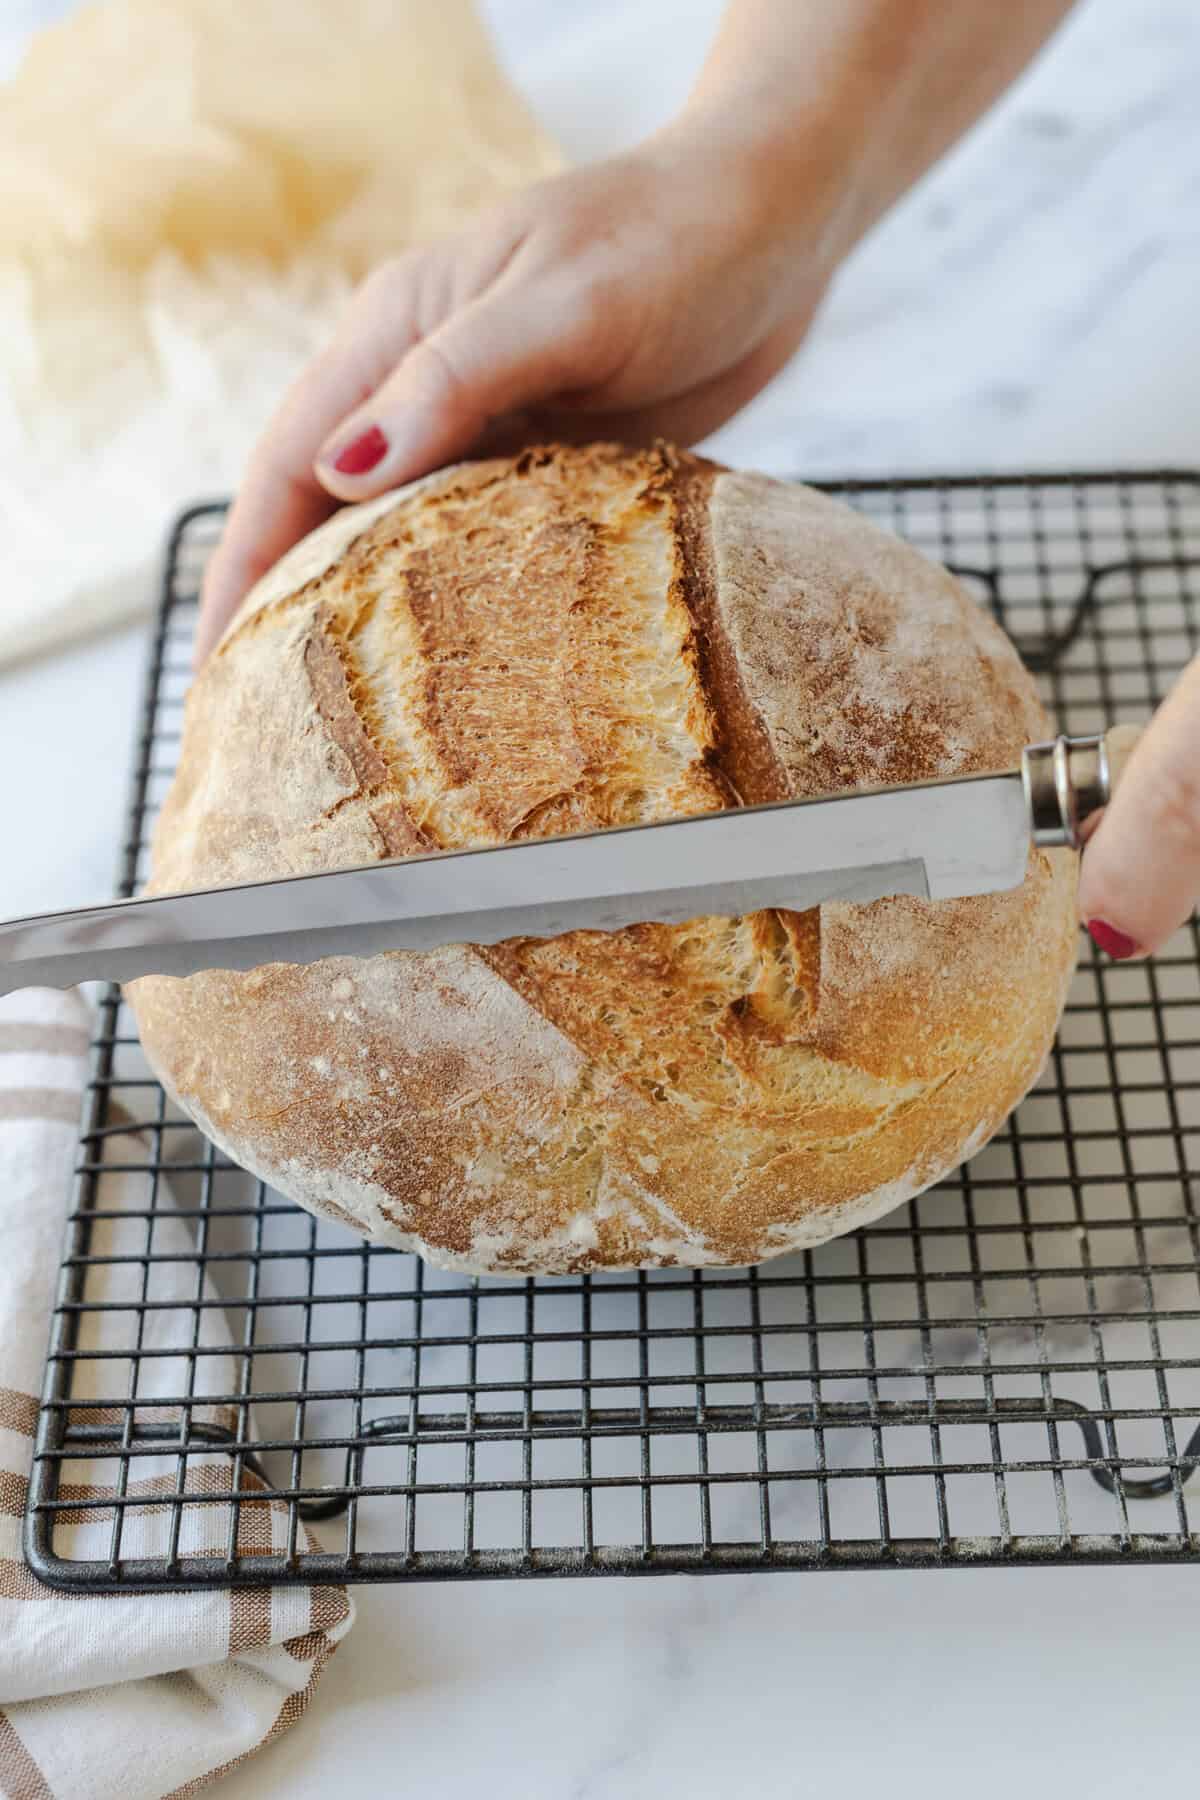
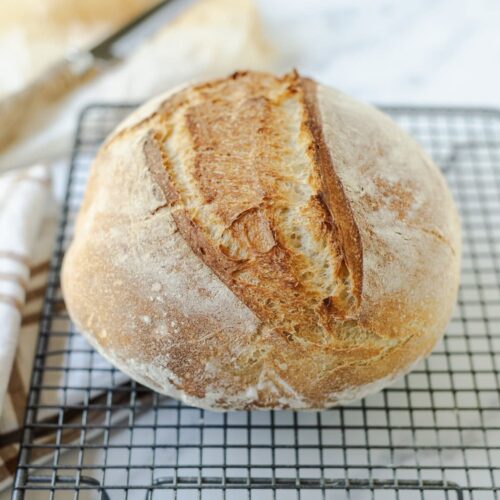
Remove the lid and continue baking for an additional 5 to 10 minutes until a deep golden crust forms. Let the bread cool on a rack for at least 10 minutes before slicing.

Nutrition
The post Dutch Oven Bread appeared first on Food Faith Fitness.